
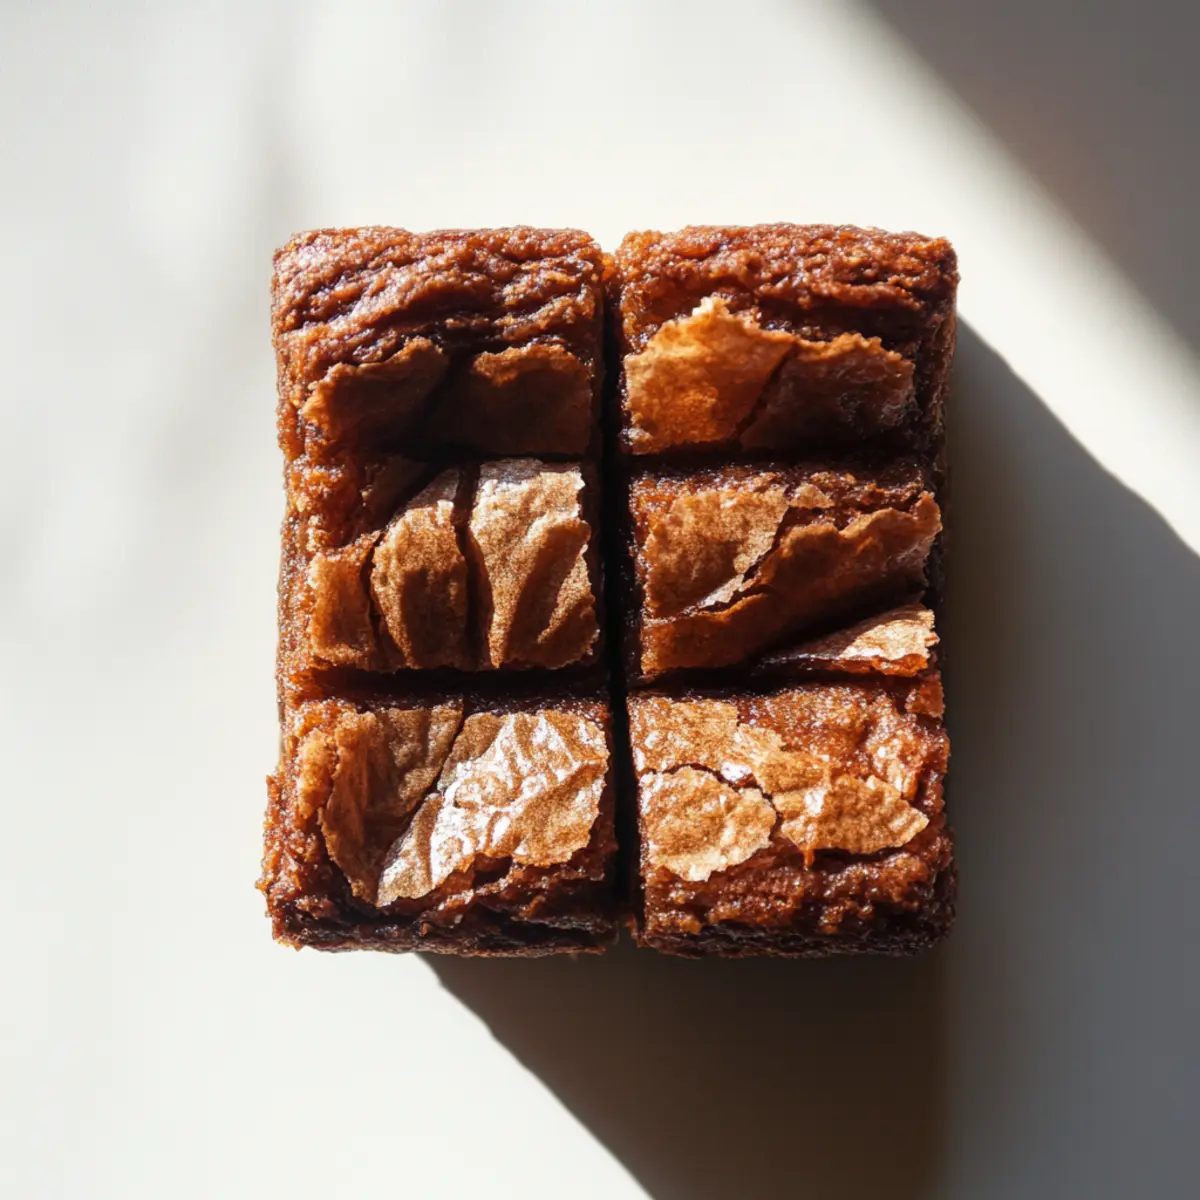
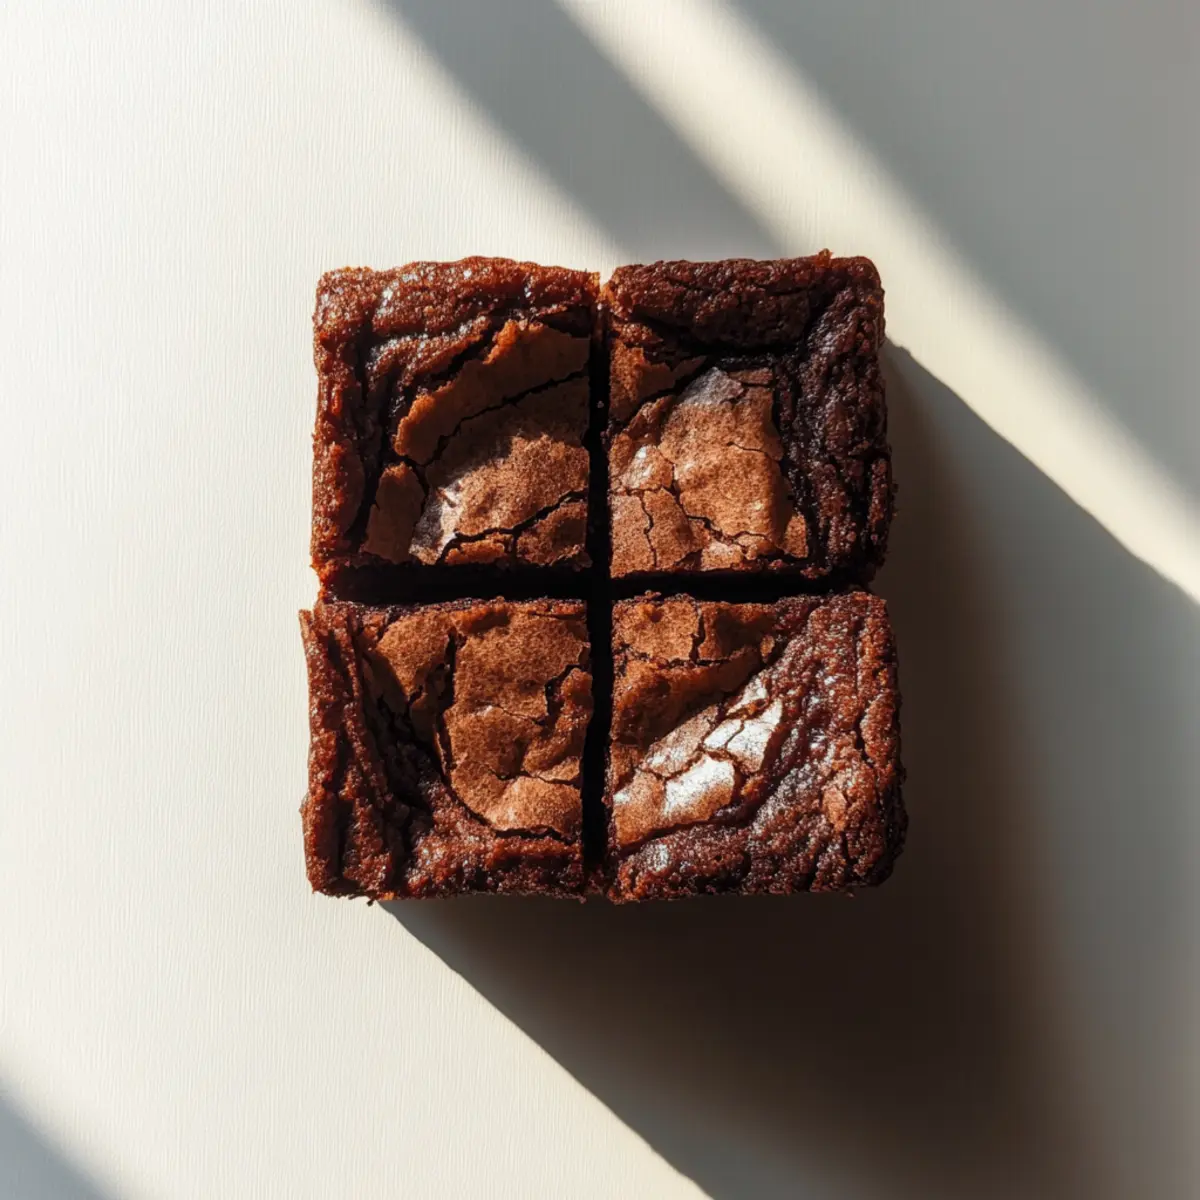
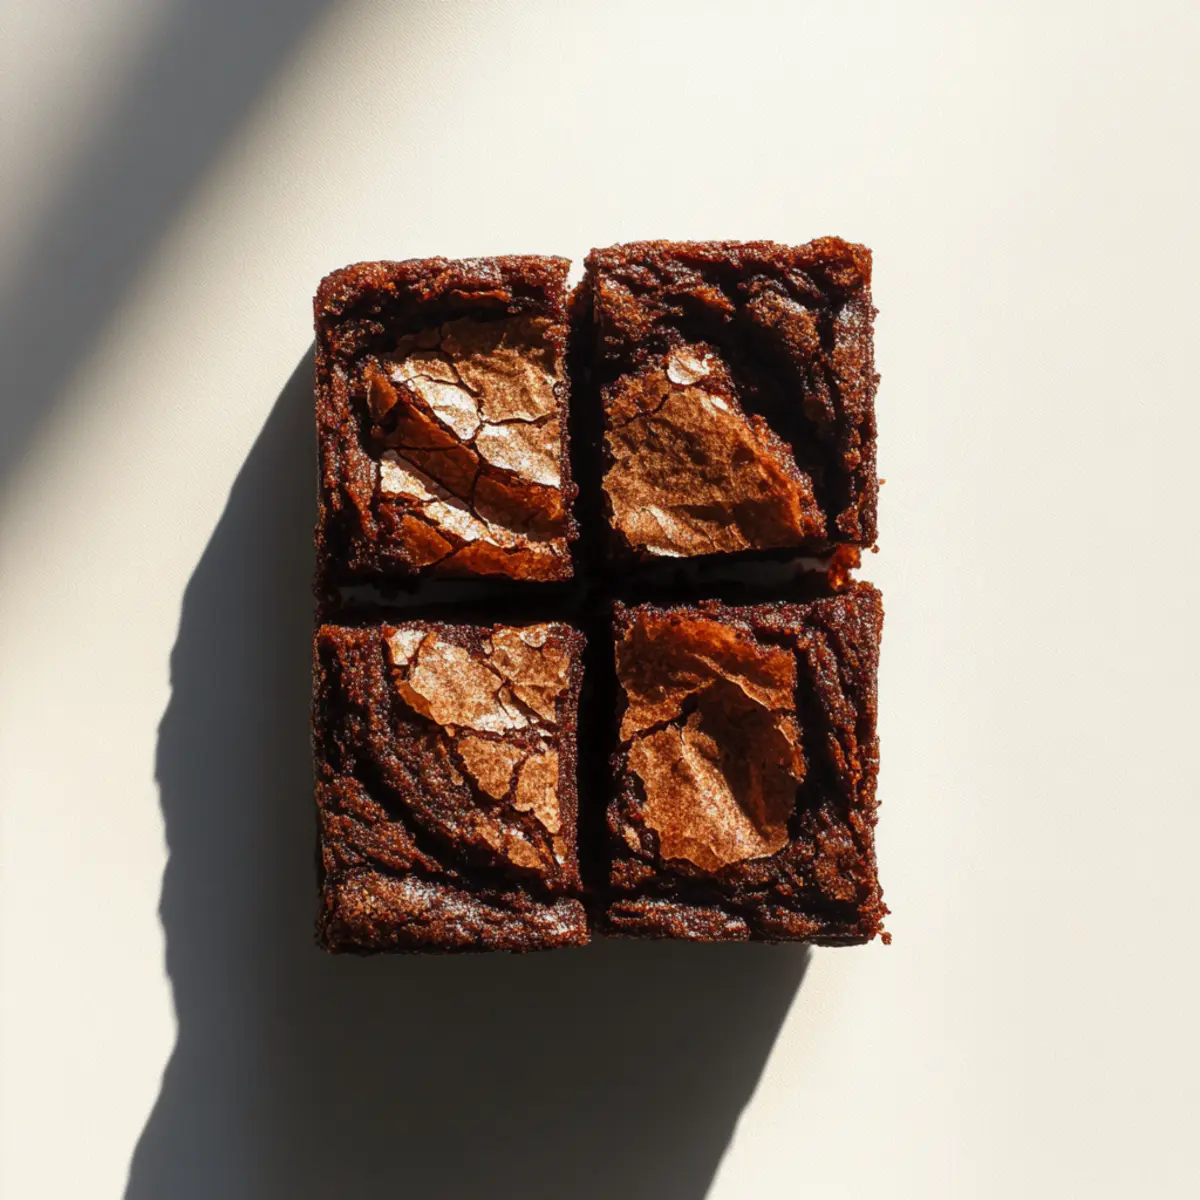
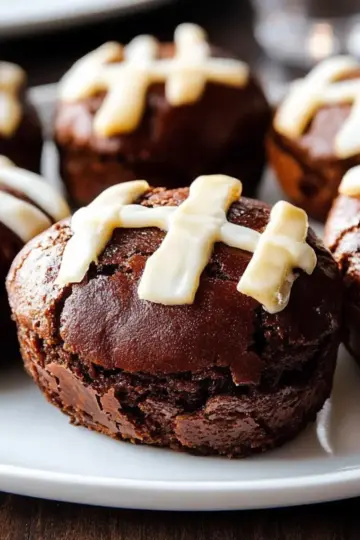
The rich, nutty aroma of brown butter wafts through my kitchen as I reminisce about the day I first tried making Brown Butter Espresso Brownies. This delightful treat has quickly become my go-to for satisfying that afternoon chocolate craving—perfectly fudgy with a sophisticated twist. Not only are these brownies incredibly simple to whip up in about 50 minutes, but they also offer a fantastic burst of energy thanks to the espresso, making them an irresistible pick-me-up. Each bite is a perfect blend of sweet and savory, and that touch of sea salt elevates the flavor to new heights. Whether you’re hosting a cozy gathering or simply indulging in a quiet evening, these brownies are sure to impress. Curious to discover just how delightful they are? Let’s dive into this mouthwatering recipe!
Why are Brown Butter Espresso Brownies amazing?
Decadent Indulgence: These brownies are rich and fudgy, combining chocolate and coffee for a heavenly bite.
Unique Flavor Boost: The brown butter adds a nutty taste, perfectly balanced with espresso’s robust flavor.
Easy to Make: With just a handful of simple ingredients, you’ll have a show-stopping dessert in about 50 minutes!
Perfect Anytime Treat: Whether it’s a casual gathering or a cozy night in, they’re bound to impress friends and family.
Elevated Experience: A sprinkle of sea salt on top transforms them into an irresistible sweet and salty delight!
Brown Butter Espresso Brownies Ingredients
For the Brown Butter
• Unsalted butter – this is essential for that rich, nutty flavor; don’t skip browning it!
For the Brownie Batter
• Granulated sugar – helps create that sweet, fudgy texture.
• Large eggs – these contribute to the moistness and structure of the brownies.
• Instant espresso powder – adds a delightful coffee kick that elevates your brownies to gourmet status.
• Vanilla extract – a splash enhances the overall flavor profile beautifully.
• Dutch-process cocoa powder – for deep, rich chocolate flavor; crucial for those divine brownies.
• All-purpose flour – a little structure is needed without making them cakey.
• Sea salt – balances sweetness and reinforces the unique taste of the Brown Butter Espresso Brownies.
Step‑by‑Step Instructions for Brown Butter Espresso Brownies
Step 1: Preheat and Prepare
Begin by preheating your oven to 350 degrees Fahrenheit. Line an 8x8 inch square baking pan with parchment paper, allowing some overhang for easy removal later. This simple step sets the stage for your decadent Brown Butter Espresso Brownies, ensuring they bake evenly and release effortlessly once cooled.
Step 2: Brown the Butter
In a light-colored saucepan over medium heat, melt 1 cup of unsalted butter, swirling it constantly. Keep an eye on the color; when it turns golden brown and releases a nutty aroma, remove it from the heat. Immediately whisk in ¾ cup of Dutch-process cocoa powder and 2 tablespoons of instant espresso powder until smooth, creating the rich base for your brownies.
Step 3: Whisk the Eggs and Sugar
In a large mixing bowl, vigorously whisk together 1.5 cups of granulated sugar and 3 large eggs for about 3 to 5 minutes. The mixture should become light and fluffy, doubling in volume and creating a lovely pale texture. This aeration is crucial to achieving the ideal fudgy consistency in your Brown Butter Espresso Brownies.
Step 4: Combine Mixtures
Carefully pour the warm chocolate and brown butter mixture into the egg and sugar mixture, whisking constantly to combine. The warmth will help meld the flavors together. Be attentive to maintain a smooth consistency, as this will enhance the silkiness of your brownies.
Step 5: Fold in Dry Ingredients
Gently fold in ¾ cup of all-purpose flour and ½ teaspoon of sea salt until no streaks remain. Use a spatula to ensure that the flour is fully incorporated without over-mixing. This step is vital for achieving the perfect texture, keeping your Brown Butter Espresso Brownies fudgy and rich.
Step 6: Bake the Brownies
Pour the batter into the prepared baking pan, smoothing the top with a spatula. Place it in the preheated oven and bake for 25 to 30 minutes. You'll know they’re ready when the edges are set, but the center still has a slight jiggle. This will ensure that delicious fudgy texture everyone loves.
Step 7: Add a Finishing Touch
As soon as your Brown Butter Espresso Brownies come out of the oven, sprinkle a tiny bit of extra sea salt over the top. This step elevates the flavor profile, adding that irresistible sweet and salty contrast that perfectly complements the chocolate and espresso notes.
Step 8: Cool and Slice
Allow the brownies to cool completely in the pan before lifting them out using the parchment overhang. Once cool, slice them into squares. Take a moment to appreciate your beautiful Brown Butter Espresso Brownies, perfect for sharing or indulging in all by yourself!
Brown Butter Espresso Brownies Variations
Get ready to personalize your baking adventure and elevate your Brown Butter Espresso Brownies!
-
Dairy-Free: Substitute the unsalted butter with coconut oil or a dairy-free butter alternative for a deliciously creamy texture. The brownies still maintain their rich flavor without the dairy.
-
Gluten-Free: Swap out the all-purpose flour with a gluten-free blend. This simple switch allows you to enjoy every fudgy bite while catering to gluten sensitivities.
-
Nutty Twist: Add ½ cup of chopped walnuts or pecans for a delightful crunch that complements the rich chocolate. The nuts provide a lovely contrast in texture, making each bite more interesting.
-
Espresso-Heavy: Use 3 tablespoons of instant espresso powder to amp up the coffee flavor for all coffee lovers. The extra kick creates a more robust taste that will wake up your senses.
-
Spicy Kick: Incorporate a pinch of cayenne pepper for a surprising heat that beautifully contrasts with the sweetness. Just a dash will add a fascinating depth of flavor and warmth.
-
Caramel Drizzle: Once cooled, drizzle some warm caramel sauce over the brownies for an indulgent treat that takes them to the next level. This luscious addition adds a sweet, gooey layer.
-
Minty Fresh: Mix in a few drops of peppermint extract for a refreshing twist—perfect for those who love a hint of mint with chocolate. This variation will remind you of delicious peppermint patties!
-
Zesty Citrus: Grate in the zest of an orange or a lemon for a bright, zesty flavor that complements the chocolate and coffee beautifully. This unexpected brightness adds an uplifting touch to your brownies.
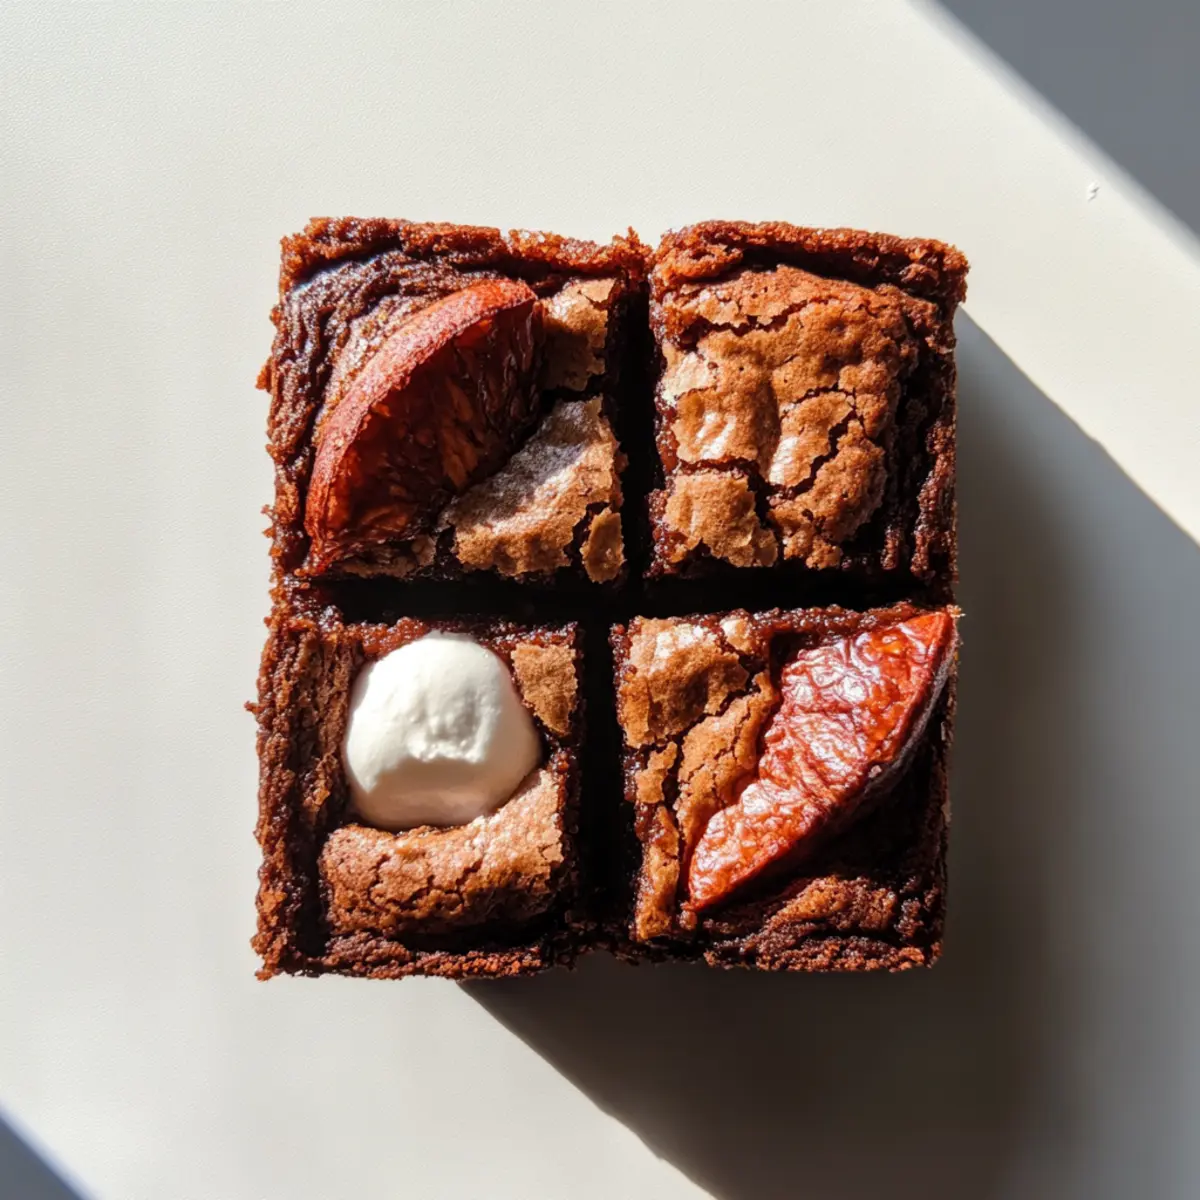
What to Serve with Brown Butter Espresso Brownies
Indulging in a brownie experience? Let’s elevate your dessert table with delightful pairings that enhance every luscious bite!
- Vanilla Ice Cream: A scoop of creamy ice cream adds a luscious contrast to the rich fudginess, making every bite feel indulgent.
- Fresh Berries: Juicy strawberries or raspberries bring a burst of freshness that cuts through the sweetness beautifully. Their tartness balances perfectly with the brownies' richness.
- Espresso or Coffee: A warm cup enhances the espresso flavor in the brownies, creating a cozy café experience right at home. Pairing these two is a match made in heaven!
- Caramel Sauce: Drizzling warm caramel over your brownies adds a decadent sweetness and gooey texture that takes the dessert to the next level.
- Nuts or Pecans: Chopped nuts provide a satisfying crunch and earthy flavor, enhancing the depth of the brownies. Sprinkle some on top or mix them in for added texture.
- Chocolate Sauce: For the ultimate chocolate lover, a drizzle of hot fudge will create a luxurious experience and deepen that rich chocolate flavor.
How to Store and Freeze Brown Butter Espresso Brownies
Room Temperature: Store your brownies in an airtight container at room temperature for up to 3 days to maintain their fudgy texture and flavor.
Fridge: For longer freshness, refrigerate the brownies in an airtight container for up to 7 days. Bring them to room temperature before serving for the best taste.
Freezer: Freeze the brownies individually wrapped in plastic wrap, then placed in a freezer-safe container for up to 3 months. Thaw in the fridge before enjoying.
Reheating: If you prefer warm brownies, reheat in the microwave for 10-15 seconds until just warmed through, enhancing the deliciousness of your Brown Butter Espresso Brownies!
Expert Tips for Brown Butter Espresso Brownies
-
Brown the Butter Right: Keep an eye on the butter as it melts; if it burns, your brownies will taste bitter. Golden brown and nutty is the goal!
-
Whisk Vigorously: To achieve the perfect fudgy texture, whisk the eggs and sugar until they double in volume. It’s a key step for lightness in your brownies.
-
Fold Gently: When incorporating flour and salt, use a spatula to fold—over-mixing will lead to cakey brownies instead of the desired fudgy consistency.
-
Watch the Oven: Start checking your brownies at 25 minutes; the center should be just slightly jiggly. Overbaking can lead to dryness, ruining the magic of Brown Butter Espresso Brownies.
-
Sea Salt Magic: Don’t skip the sprinkle of sea salt on top right after baking—this enhances the flavors, making them even more decadent!
Make Ahead Options
These Brown Butter Espresso Brownies are ideal for meal prep enthusiasts! You can prepare the brownie batter up to 24 hours in advance by mixing all the ingredients and then refrigerating it in an airtight container. This helps to meld the flavors while keeping the batter fresh and ready to go. Simply pour the chilled batter into your prepared pan and bake it right before serving. For a longer prep option, you can bake the brownies and store them at room temperature for up to 3 days. To maintain their delicious fudgy texture, wrap them tightly in plastic wrap or store them in an airtight container. Enjoy the convenience of having these delightful treats ready to impress your family and friends anytime!
Brown Butter Espresso Brownies Recipe FAQs
How do I choose the right butter for Brown Butter Espresso Brownies?
Absolutely! Use unsalted butter to control the salt levels in your brownies, and make sure it's fresh; look out for a pale yellow color without any dark spots. Fresh butter will enhance the nutty flavor when browned.
How should I store Brown Butter Espresso Brownies?
After baking, let your brownies cool completely, then store them in an airtight container at room temperature for up to 3 days. For extended freshness, refrigerate them for up to 7 days. Just bring them back to room temperature before indulging for that perfect fudgy bite!
Can I freeze Brown Butter Espresso Brownies?
Yes, you can! To freeze, wrap the brownies individually in plastic wrap and then place them in a freezer-safe container. They can be stored for up to 3 months. When ready to enjoy, simply thaw them in the refrigerator overnight.
What should I do if my brownies turn out cakey instead of fudgy?
No worries! To achieve that fudgy consistency, ensure you don’t over-mix the batter after adding the flour, and keep a close eye on the baking time. Remember, a slight jiggle in the center is a good indicator of fudginess. If they do come out cakey, try serving them warm with a scoop of ice cream; it’s a delicious way to rescue them!
Are Brown Butter Espresso Brownies suitable for those with dietary restrictions?
These brownies do contain gluten and dairy, so if you're looking for alternatives, you can substitute the all-purpose flour with a gluten-free blend and use dairy-free butter. Just keep in mind that the texture and flavor may vary slightly. Always check if your espresso powder contains allergens if serving to someone with sensitivities!
Irresistibly Decadent Brown Butter Espresso Brownies
Ingredients
Equipment
Method
- Preheat your oven to 350 degrees Fahrenheit and line an 8x8 inch square baking pan with parchment paper.
- Melt 1 cup of unsalted butter in a saucepan over medium heat until golden brown and nutty.
- In a bowl, whisk together 1.5 cups of granulated sugar and 3 large eggs for 3-5 minutes until light and fluffy.
- Combine the warm butter mixture into the egg and sugar mixture and whisk until smooth.
- Fold in ¾ cup of all-purpose flour and ½ teaspoon of sea salt until just combined.
- Pour the batter into the prepared pan and bake for 25-30 minutes until edges are set and center jiggles slightly.
- Sprinkle extra sea salt on top right after baking.
- Allow to cool completely in the pan before slicing into squares.


Leave a Reply