
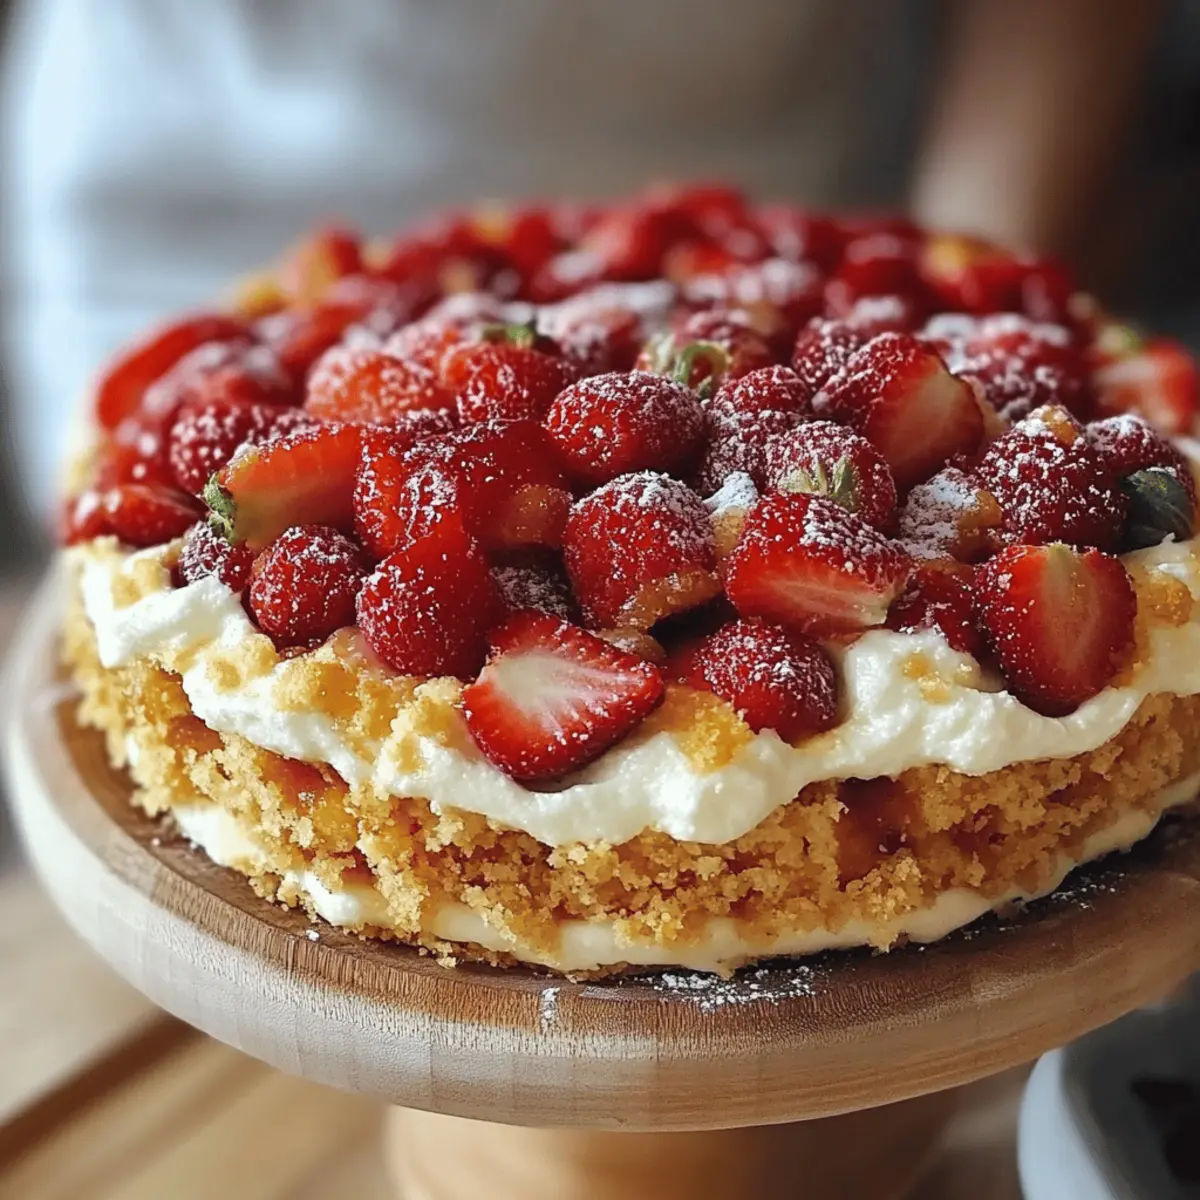
As I stared at my collection of ripe strawberries, the idea struck me: what if I could transform this sweet bounty into something extraordinary and effortless? Enter the Strawberry Cheesecake Dump Cake, a delightful dessert that takes minimal effort and rewards with maximum joy. This recipe is perfect for those busy weeknights or spontaneous gatherings, as it combines a luscious cream cheese layer with fresh strawberries and a fluffy cake topping—all from simple ingredients. Its quick prep time of just 15 minutes means you’ll spend less time in the kitchen and more time enjoying laughter and good conversation. Plus, it’s an absolute crowd-pleaser, making it the ideal treat to impress family or friends. Are you ready to dive into an easy dessert that feels like a hug in every bite?
Why is this dump cake so delicious?
Effortless Delight: You’ll love how quickly this dessert comes together, with just 15 minutes of prep time.
Decadent Layers: The creamy cheesecake and sweet strawberries create a flavor explosion that will make your taste buds sing.
Versatile Treat: Perfect for any occasion—whether it’s a weeknight dessert or a special gathering, this cake shines.
Time-Saving Solution: Minimal work means more time for you; simply mix, layer, and bake!
Universal Appeal: With its delightful combination of textures, it’s a sure way to please both kids and adults alike.
Bake, Serve, Enjoy: Serve it warm with whipped cream for an extra touch of indulgence!
Strawberry Cheesecake Dump Cake Ingredients
• Here’s everything you need to create this easy dessert delight!
For the Cake Base
- Yellow cake mix – This forms the fluffy layer that balances the rich cheesecake.
- ½ cup butter, melted – Adds moisture and flavor to the cake base; don't skimp on this!
- 1 cup water – Keeps the cake layers moist while baking.
- 1 teaspoon vanilla extract – A touch of vanilla enhances the overall flavor beautifully.
For the Cheesecake Layer
- 8-ounce package cream cheese, softened – The star of the show; make sure it's softened for easy mixing.
- 1 cup granulated sugar – Sweetens the cheesecake layer while balancing the tartness of strawberries.
For the Strawberry Layer
- 1 cup sliced strawberries (fresh or frozen) – Use fresh strawberries for a bright flavor, or frozen for convenience; both options work!
For Serving
- Whipped cream (optional) – A delightful topping that adds an extra layer of creamy goodness to your already indulgent Strawberry Cheesecake Dump Cake.
Step‑by‑Step Instructions for Strawberry Cheesecake Dump Cake
Step 1: Preheat the Oven
Start by preheating your oven to the temperature specified on the yellow cake mix package. This step is crucial for ensuring your Strawberry Cheesecake Dump Cake bakes evenly. While the oven warms up, gather all your ingredients, and grab a greased 9x13-inch baking dish to prepare for layering.
Step 2: Mix the Cheesecake Layer
In a large mixing bowl, combine the softened cream cheese and granulated sugar. Use a hand mixer or whisk to blend these ingredients until the mixture is smooth and creamy, which should take about 3-4 minutes. Once combined, gently fold in the sliced strawberries, ensuring they are evenly coated with the cream cheese mixture.
Step 3: Layer the Strawberry Mixture
Pour the strawberry and cream cheese mixture into the greased baking dish, spreading it evenly across the bottom. This creates a luscious layer of flavor beneath the cake that will bake beautifully. Ensure that the mixture reaches the corners of the dish for uniform baking.
Step 4: Prepare the Cake Batter
In another mixing bowl, combine the yellow cake mix with the melted butter, water, and vanilla extract. Stir gently until just combined, avoiding over-mixing to keep the cake light and fluffy. This cake batter will be the crowning layer of your Strawberry Cheesecake Dump Cake, offering a perfect contrast to the creamy filling.
Step 5: Spread the Cake Batter
Carefully pour the cake batter over the strawberry layer in the baking dish. Use a spatula to spread it evenly, covering the entire surface. Be gentle, so you don’t disturb the cheesecake layer underneath. This creates a delightful layered effect that will be irresistible once baked.
Step 6: Bake the Cake
Place the baking dish in the preheated oven and bake according to the cake mix package instructions, typically around 45 minutes. Keep an eye on the cake as it bakes—it's done when a toothpick inserted in the center comes out clean. The top should be lightly golden and set.
Step 7: Cool and Serve
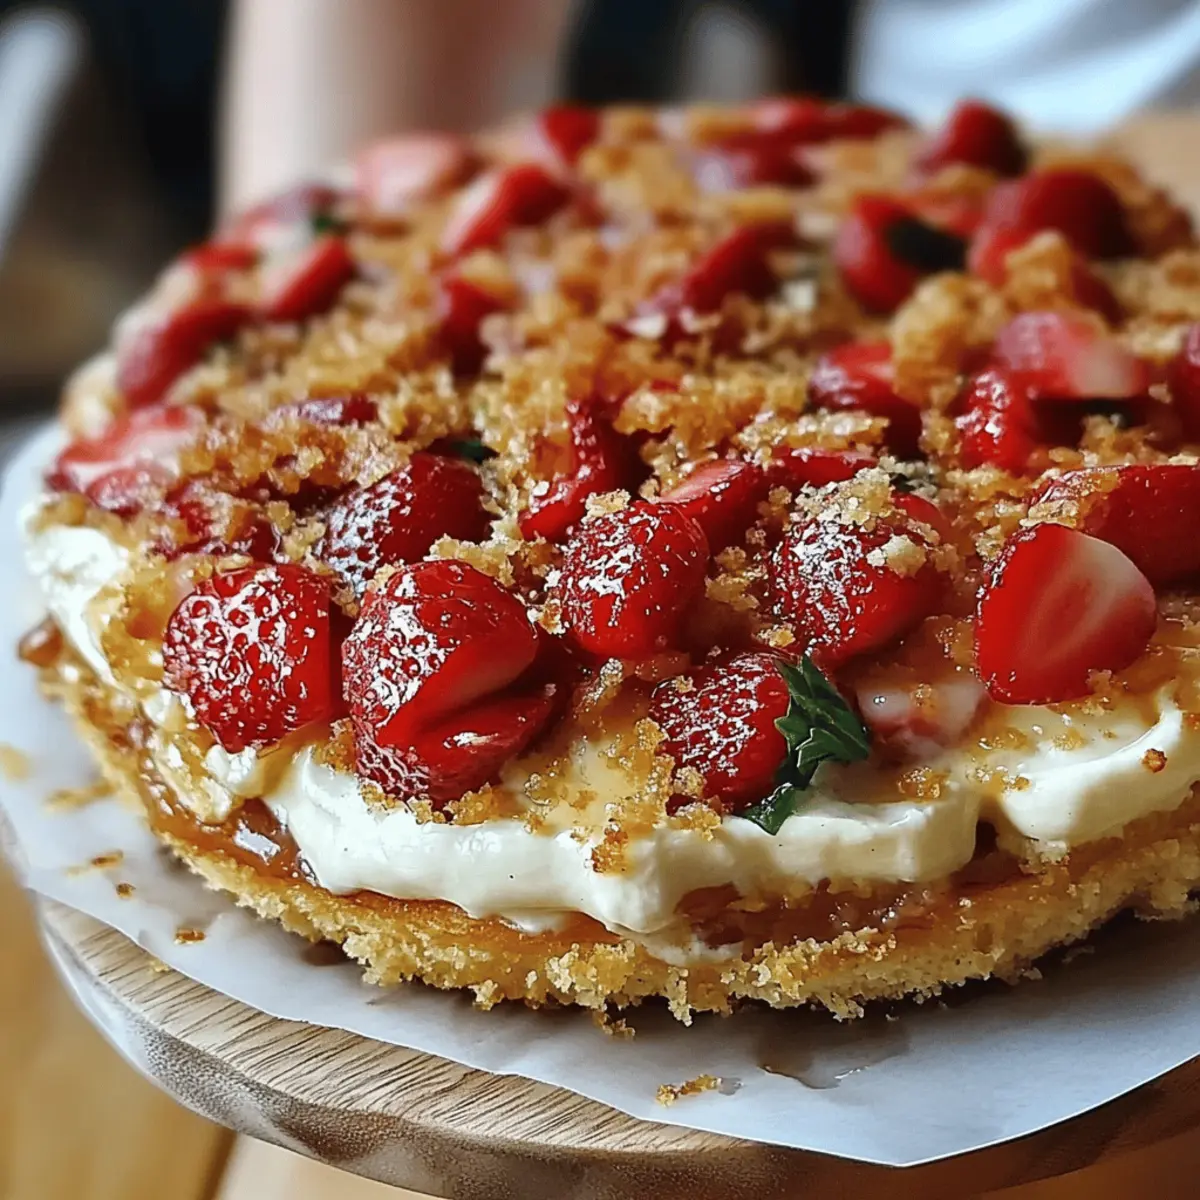
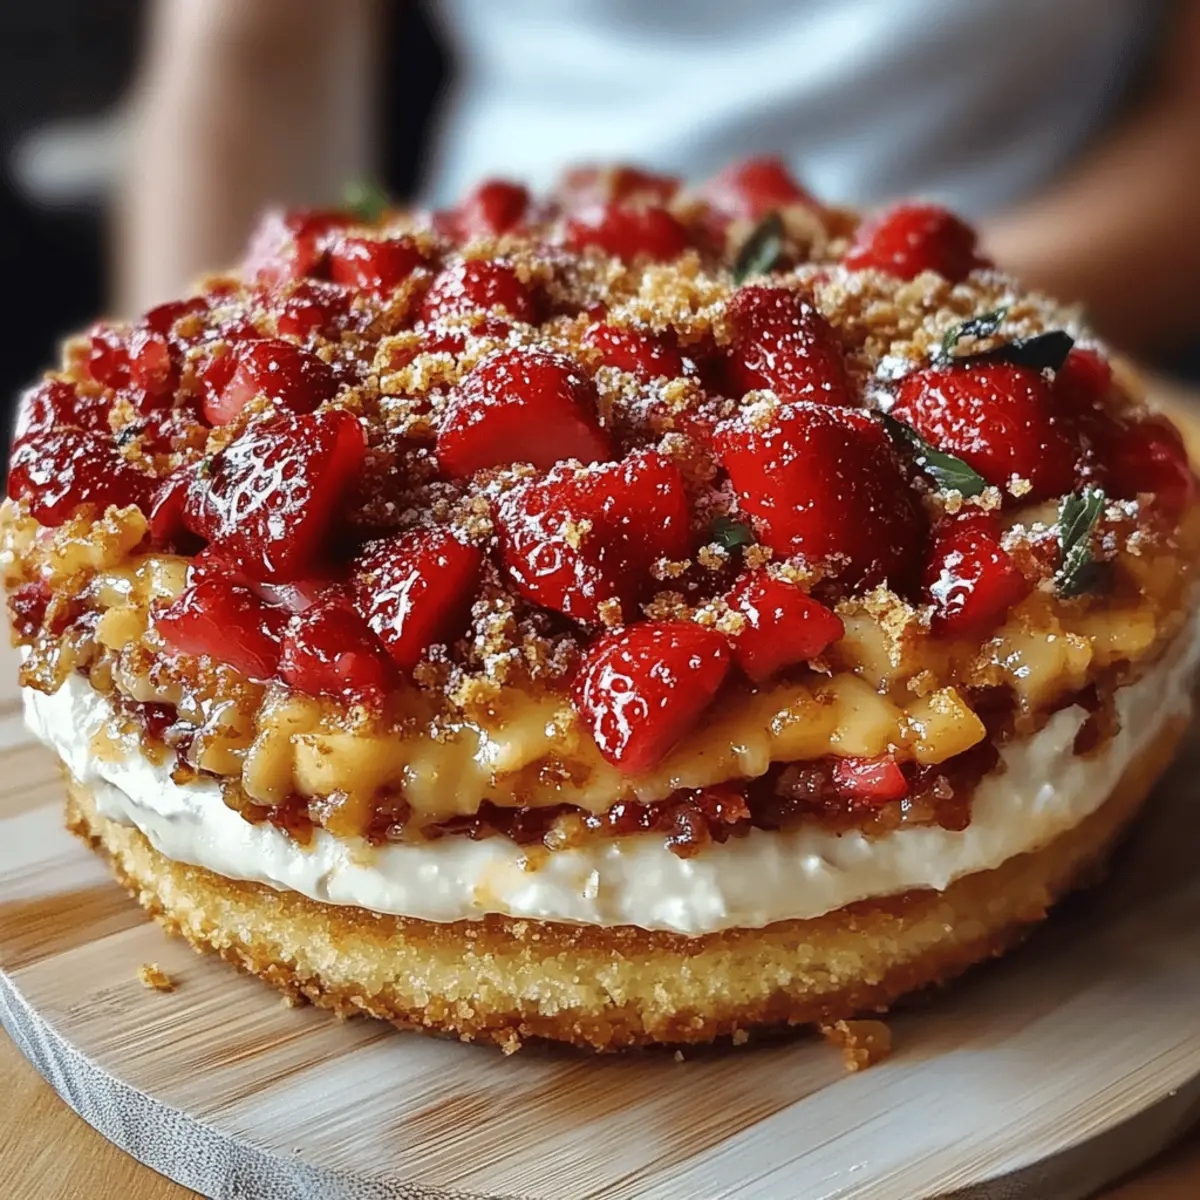
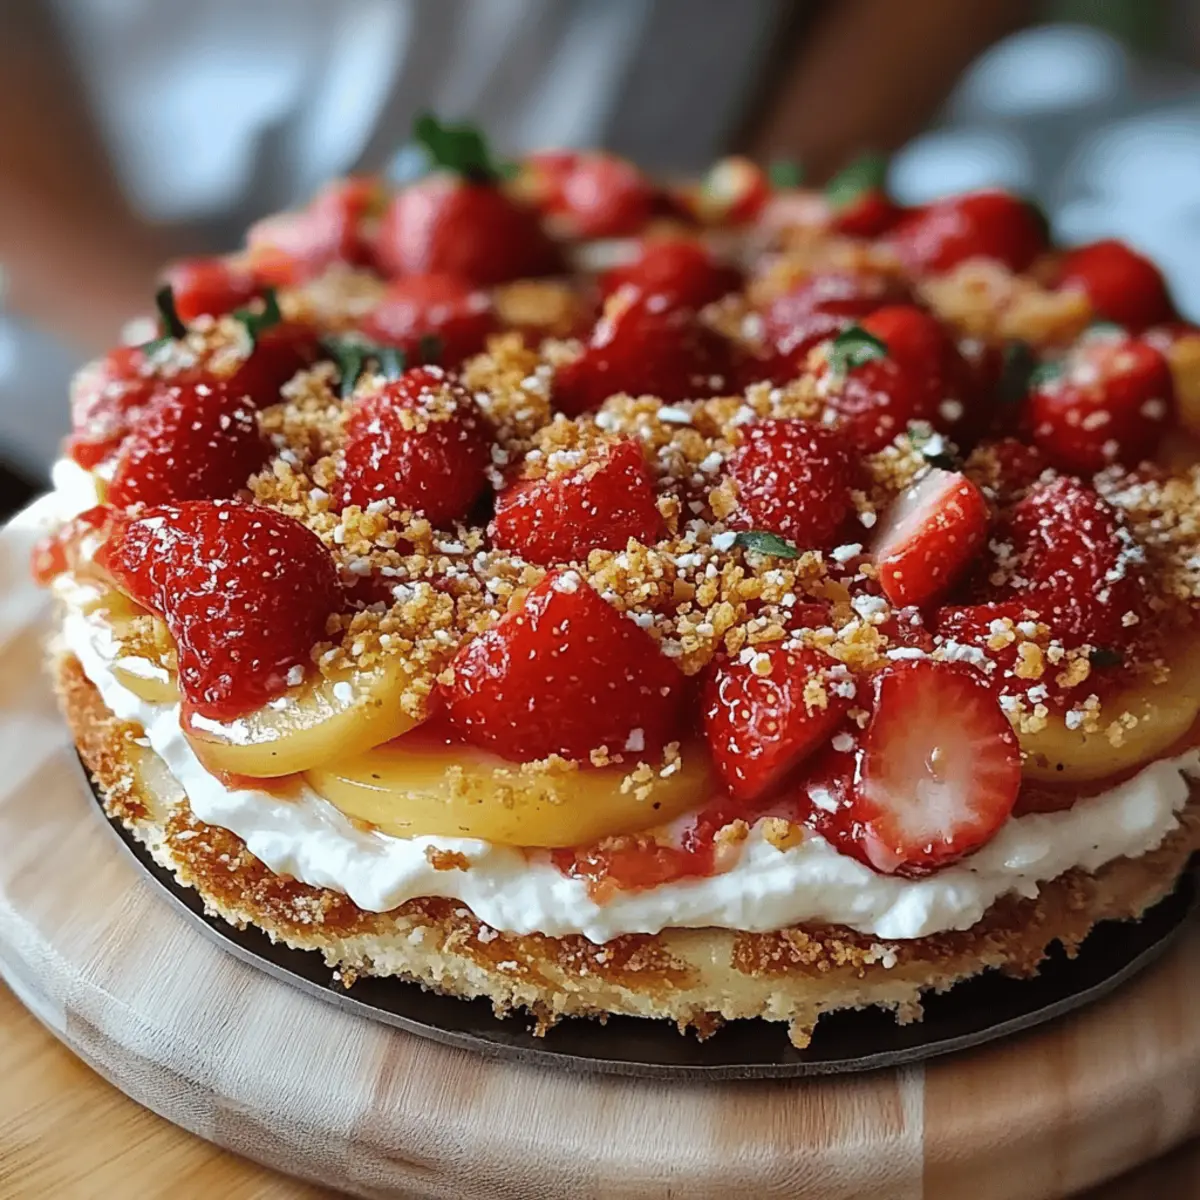
Once baked, remove the Strawberry Cheesecake Dump Cake from the oven and let it cool slightly for about 10-15 minutes. This resting period will help the layers settle but is still warm enough to be delicious. Serve warm or at room temperature, topped with whipped cream for an extra touch of indulgence.
Strawberry Cheesecake Dump Cake Variations
Get ready to personalize your dessert experience with delightful, creative twists to this easy treat!
-
Gluten-Free: Substitute the yellow cake mix with a gluten-free cake mix for a deliciously inclusive dessert anyone can enjoy.
-
Lower Sugar: Swap granulated sugar with coconut sugar or a sugar alternative to cut calories without compromising on sweetness.
-
Berry Medley: Add a mix of berries—such as blueberries or raspberries—to the strawberry layer for a vibrant burst of color and flavor.
-
Chocolate Drizzle: Once cooled, drizzle melted chocolate over the top for a rich, decadent finish that adds a delightful contrast.
-
Nutty Crust: Sprinkle chopped nuts, like pecans or almonds, on the cake mix layer for an added crunch that contrasts beautifully with the creaminess below.
-
Creamy Twist: For an extra creamy texture, mix in additional cream cheese with the strawberries to create a thicker, more luscious filling.
-
Zesty Citrus: Add a teaspoon of lemon or orange zest to the cream cheese mixture to brighten the flavors and make every bite pop with freshness.
-
Heat it Up: Toss in a pinch of cayenne pepper to the cake batter for a surprising, subtle warmth that balances perfectly with the sweetness of strawberries.
Expert Tips for Strawberry Cheesecake Dump Cake
- Use Fresh Strawberries: For the best flavor, opt for fresh strawberries. If using frozen, thaw and drain them to prevent excess moisture.
- Avoid Overmixing: When preparing the cake batter, mix until just combined to keep the texture light and fluffy, ensuring a delightful contrast with the creamy cheesecake.
- Check Oven Temperature: Make sure your oven is properly preheated. An incorrect temperature may lead to uneven baking, impacting the perfect rise of your Strawberry Cheesecake Dump Cake.
- Let it Cool: Allowing the cake to cool for 10-15 minutes before serving helps the layers set and makes for easier slicing.
- Microwave for Warmth: If you have leftovers, reheat slices in the microwave for about 30 seconds for that just-baked taste, especially with whipped cream on top!
What to Serve with Strawberry Cheesecake Dump Cake
Transform your Strawberry Cheesecake Dump Cake into an unforgettable meal by pairing it with delightful sides and drinks that enhance its flavors.
-
Fresh Salad: A crisp green salad with a citrus vinaigrette adds a refreshing contrast to the sweetness of the cake. The acidity in the dressing brightens each bite, making it a perfect finale.
-
Vanilla Ice Cream: Serve a scoop of creamy vanilla ice cream alongside for an indulgent twist. The ice cream melts into the warm cake, creating a luscious, creamy embrace that feels decadent.
-
Chocolate-Covered Strawberries: Elevate the fruity experience by including chocolate-covered strawberries on the side. Their rich, chocolaty exterior beautifully complements the strawberry notes in the dump cake, adding extra flair to your dessert table.
-
Sparkling Water: A glass of chilled sparkling water or a lemon-flavored soda provides a refreshing, bubbly respite between bites. It's a light, palate-cleansing drink that won't compete with the dessert's sweetness.
-
Coffee or Tea: Brew a cup of rich coffee or herbal tea to serve with the cake. The warmth and depth of flavors in these beverages create a cozy pairing that enhances the cake's creamy textures.
-
Berry Compote: Drizzle homemade or store-bought berry compote over the top before serving. The additional tartness of the berries enhances the strawberry flavor and adds a sophisticated touch.
-
Whipped Cream: Don't forget to add a dollop of whipped cream! It adds a luscious, airy element that perfectly complements the rich cheesecake base and fluffy cake layer.
-
Champagne: For a celebratory touch, pair your dessert with a glass of champagne. Its effervescence and mild sweetness balance the richness of the cake, turning any moment into a special occasion.
Make Ahead Options
These Strawberry Cheesecake Dump Cake is a fantastic choice for meal prep enthusiasts! You can prepare the cheesecake layer and strawberry mixture up to 24 hours in advance, allowing the flavors to meld beautifully. To do this, mix the softened cream cheese and sugar, then fold in the sliced strawberries. Transfer this mixture to a greased baking dish, cover with plastic wrap, and refrigerate. When ready to bake, simply prepare the cake batter and layer it over the chilled cheesecake mix before baking. For best results, enjoy it within 3 days for peak freshness, but rest assured it will be just as delicious!
How to Store and Freeze Strawberry Cheesecake Dump Cake
Fridge: Store leftovers in an airtight container in the fridge for up to 3 days to maintain freshness.
Freezer: For longer storage, freeze portions wrapped tightly in plastic wrap and then in aluminum foil for up to 2 months.
Reheating: When you’re ready to enjoy, simply reheat slices in the microwave for about 30 seconds, or until warmed through, bringing back that original delicious flavor of the Strawberry Cheesecake Dump Cake.
Serving Tip: Top with whipped cream just before serving for an extra touch of indulgence!
Strawberry Cheesecake Dump Cake Recipe FAQs
What should I look for when selecting strawberries?
Absolutely! For the best results, choose fresh strawberries that are bright red, firm, and free from dark spots or blemishes. If you're opting for frozen strawberries, make sure they are whole or sliced without added sugars or syrups, as these can alter the taste and texture of your cake.
How should I store leftovers of the Strawberry Cheesecake Dump Cake?
Very! To store leftovers, place them in an airtight container in the fridge where they’ll stay fresh for up to 3 days. If you find yourself with lots of extras, freezing is a great option!
Can I freeze the Strawberry Cheesecake Dump Cake?
Absolutely! To freeze, cut the cake into portions and wrap each slice tightly in plastic wrap. Then, place the wrapped slices in a freezer-safe bag or container. This way, your delicious cake can be stored for up to 2 months. When you’re ready to indulge again, simply thaw in the fridge overnight and reheat in the microwave for about 30 seconds!
What if the cake seems too dry after baking?
Very! If your cake turns out dry, it could be due to overbaking or not using enough moisture in the batter. Make sure to check the cake at the minimum baking time, and keep an eye on it as it approaches being done. Also, adding a dollop of whipped cream when serving can help enhance moisture and richness!
Is this recipe safe for people with allergies?
Yes! However, be mindful of any potential allergies, as this recipe contains common allergens like gluten (from the cake mix) and dairy (from the cream cheese). If you're serving guests with dietary restrictions, consider using gluten-free cake mix and plant-based cream cheese as alternatives to make it more accommodating.
Indulgent Strawberry Cheesecake Dump Cake for Easy Bliss
Ingredients
Equipment
Method
- Preheat your oven to the temperature specified on the yellow cake mix package.
- In a large bowl, combine the softened cream cheese and granulated sugar until smooth and creamy.
- Pour the strawberry and cream cheese mixture into the greased baking dish, spreading it evenly.
- In another bowl, mix yellow cake mix with melted butter, water, and vanilla extract until just combined.
- Carefully pour the cake batter over the strawberry layer, spreading it evenly.
- Bake according to the cake mix package instructions, typically around 45 minutes.
- Remove from the oven, let cool for about 10-15 minutes, then serve warm or at room temperature.


Leave a Reply