
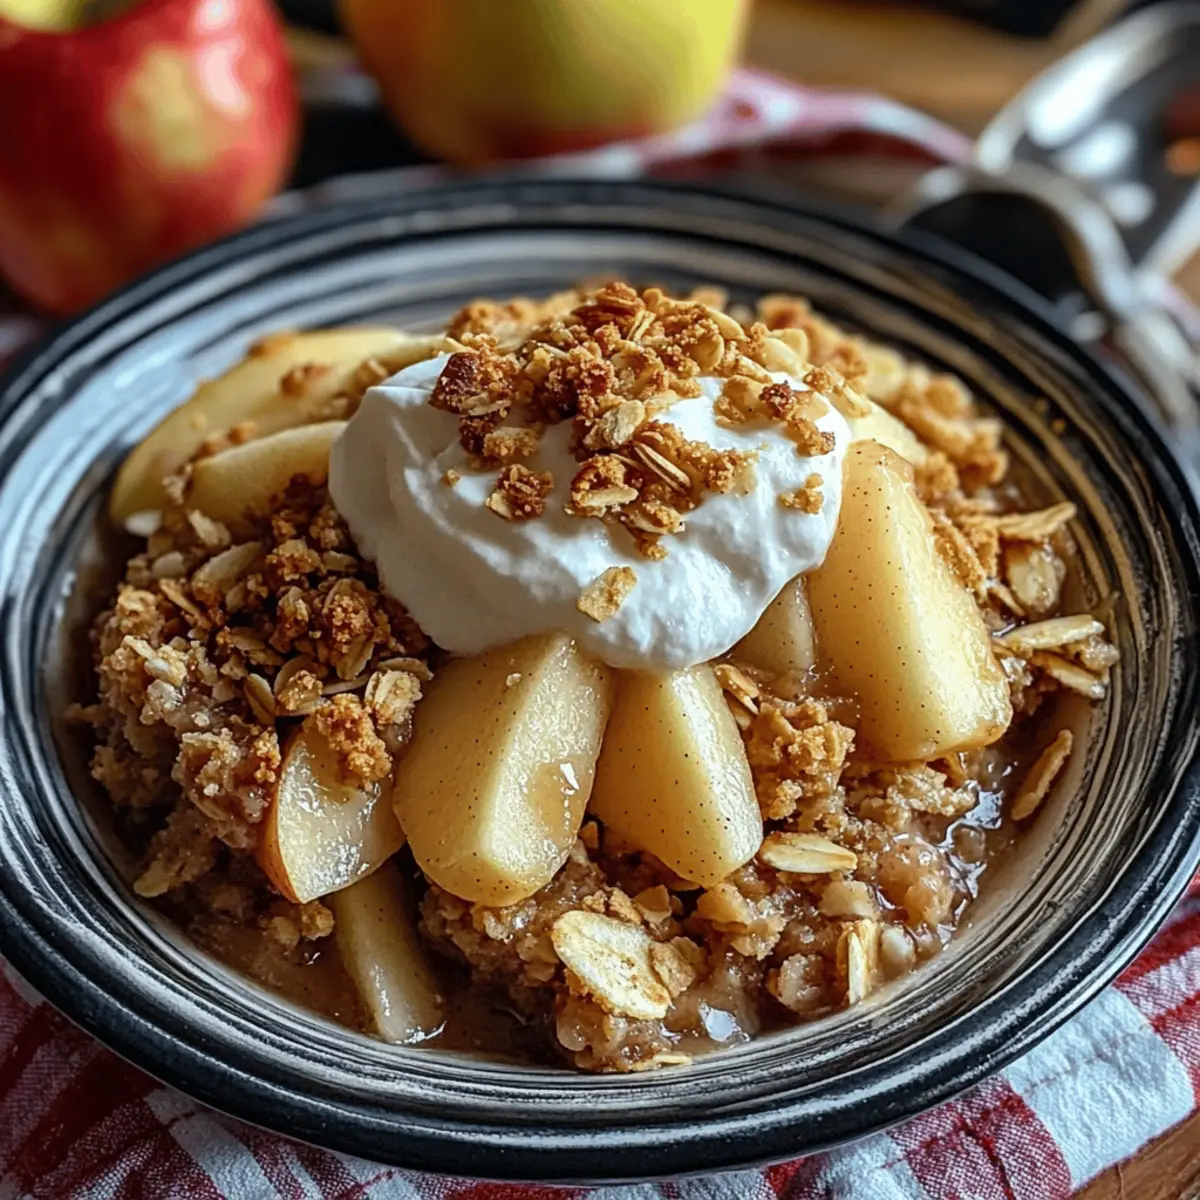
As I peeled the fresh apples, their crisp aroma filled my kitchen, instantly transporting me to cozy autumn afternoons. This easy homemade Apple Crisp recipe brings that warm, nostalgic feeling right to your table, offering the perfect blend of sweet and tart flavors with a delightful crunch on top. Prepared in under an hour, this dish not only satisfies your cravings but also makes an excellent crowd-pleaser for gatherings or a comforting dessert on any night. Whether served warm on its own or dressed up with a scoop of frozen yogurt, this Apple Crisp is a delicious way to celebrate the season. Can you hear that inviting sizzle coming from your oven? Let's get baking!
What Makes This Apple Crisp Special?
Simplicity: This recipe offers a quick and effortless way to enjoy a homemade dessert, perfect for busy weeknights or spontaneous gatherings.
Irresistible Aroma: As it bakes, your kitchen will fill with a warm cinnamon and apple fragrance, creating an inviting atmosphere everyone will love.
Customizable: Whether you prefer Granny Smith for tartness or Honeycrisp for sweetness, you can easily adapt the apples to suit your personal taste.
Healthier Twist: With ingredients like almond flour and honey, this version of Apple Crisp keeps indulgence in check while still being utterly satisfying.
Crowd-Pleasing: Perfect for family dinners or potlucks, this delicious dish is guaranteed to impress guests and keep them coming back for seconds.
Ultimate Comfort Food: It’s the hug in a bowl that pairs perfectly with a scoop of frozen yogurt or whipped cream—ideal for cozy nights in!
Apple Crisp Ingredients
• Get ready to whip up a delicious treat!
For the Apple Filling
- Medium apples – 4, peeled and sliced thin – Granny Smith or Honeycrisp add the perfect balance of tart and sweet.
- Lemon juice – 1 tablespoon – This brightens the apples and prevents browning.
- Cinnamon – 1½ teaspoon – Adds a warm, comforting flavor that pairs beautifully with apples.
- Maple syrup or honey – 2 tablespoon – Sweetens the mix while keeping it natural.
- Vanilla extract – 1 teaspoon – Enhances the overall sweetness with a fragrant touch.
- Cornstarch – 1 teaspoon – Helps thicken the filling, giving it that perfect texture.
For the Topping
- Old-fashioned rolled oats – ¾ cup – Provides the signature crunchy topping we love in an Apple Crisp.
- Almond flour – ¼ cup – A great gluten-free alternative that adds a nutty flavor; whole wheat flour works too.
- Chopped walnuts or pecans – ¼ cup (optional) – For added crunch and richness; feel free to skip if preferred.
- Brown sugar or coconut sugar – 2 tablespoon – Sweetens the topping while enhancing its caramelized flavor.
- Light butter or coconut oil – 2 tbsp, melted – Binds the topping together for that perfect crumble.
- Cinnamon – ½ teaspoon – A sprinkle for extra flavor in the topping.
- Pinch of salt – A pinch – Balances the sweetness for a more rounded taste.
Step‑by‑Step Instructions for Apple Crisp
Step 1: Prepare the Oven and Dish
Begin by preheating your oven to 350°F (175°C). While it warms up, take a moment to lightly grease an 8×8-inch baking dish or small casserole. This will ensure that your delicious Apple Crisp comes out easily after baking, setting the stage for the perfect dessert that combines sweet and tart flavors.
Step 2: Mix the Apple Filling
In a large bowl, toss the peeled and thinly sliced apples with 1 tablespoon of lemon juice, 2 tablespoons of maple syrup or honey, 1½ teaspoons of cinnamon, 1 teaspoon of vanilla extract, and 1 teaspoon of cornstarch. Combine these ingredients thoroughly until the apples are evenly coated, then spread the mixture evenly into the prepared baking dish, ready to be topped with that crunchy goodness.
Step 3: Create the Oat Topping
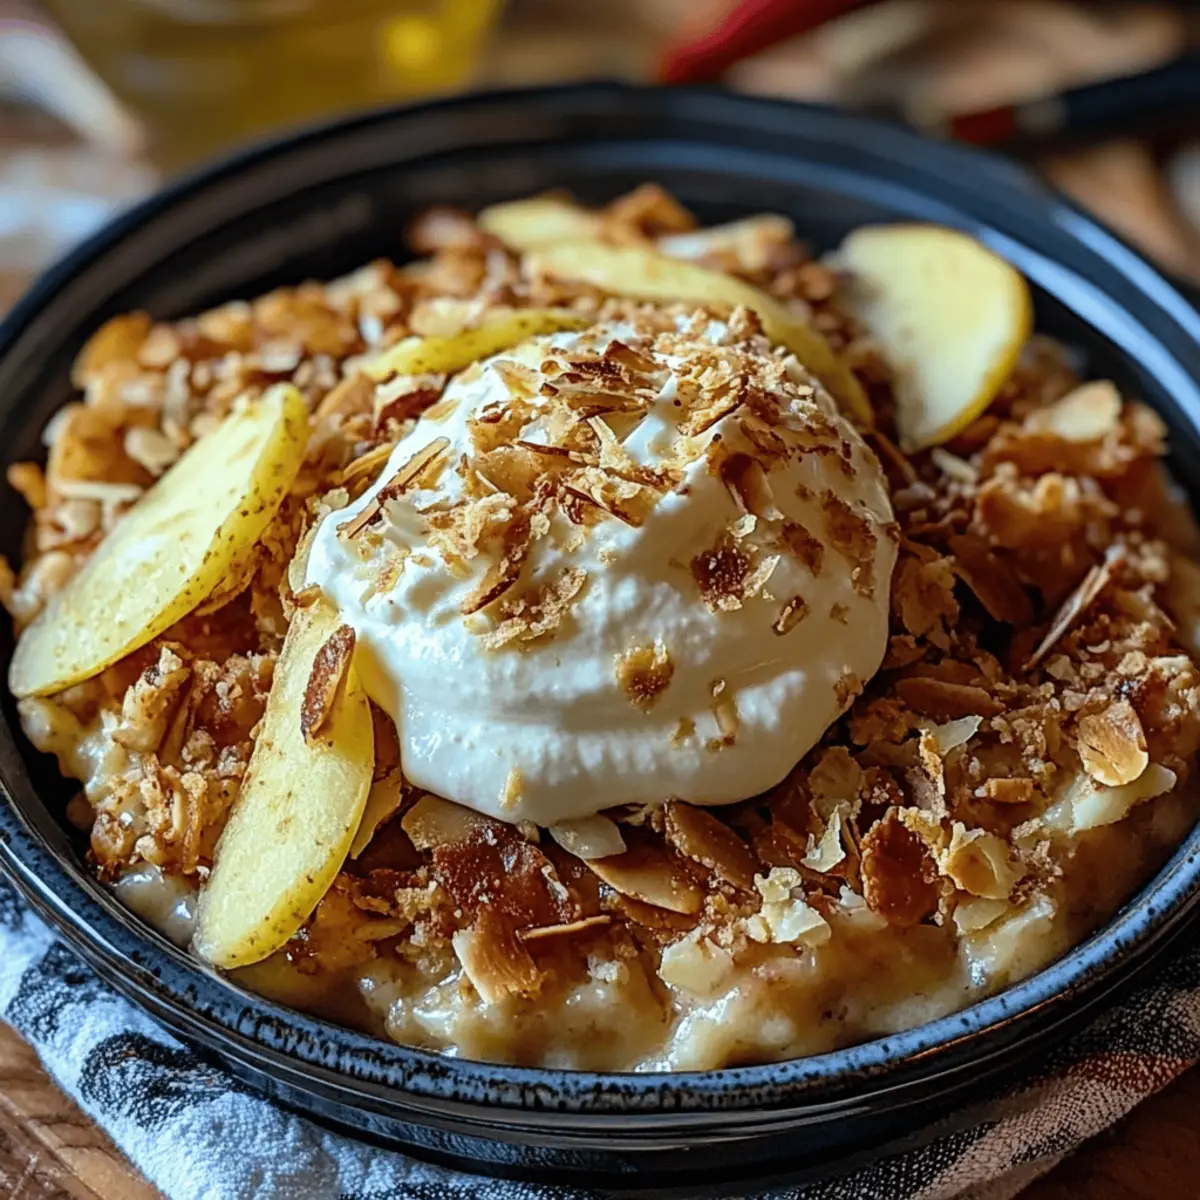
In a separate bowl, mix together ¾ cup of old-fashioned rolled oats, ¼ cup of almond flour, and ¼ cup of chopped walnuts or pecans if using. Add 2 tablespoons of brown sugar, ½ teaspoon of cinnamon, and a pinch of salt. Stir in 2 tablespoons of melted light butter or coconut oil until you achieve a crumbly texture. This topping is what makes your Apple Crisp irresistibly crunchy and delicious!
Step 4: Assemble and Bake
Evenly sprinkle the oat topping over the apple mixture in the baking dish. Place the dish in the preheated oven and bake uncovered for 35–40 minutes. Keep an eye out for the apples becoming tender and the topping turning a lovely golden brown—this is when your Apple Crisp will be at its gooey, flavorful best.
Step 5: Cool and Serve
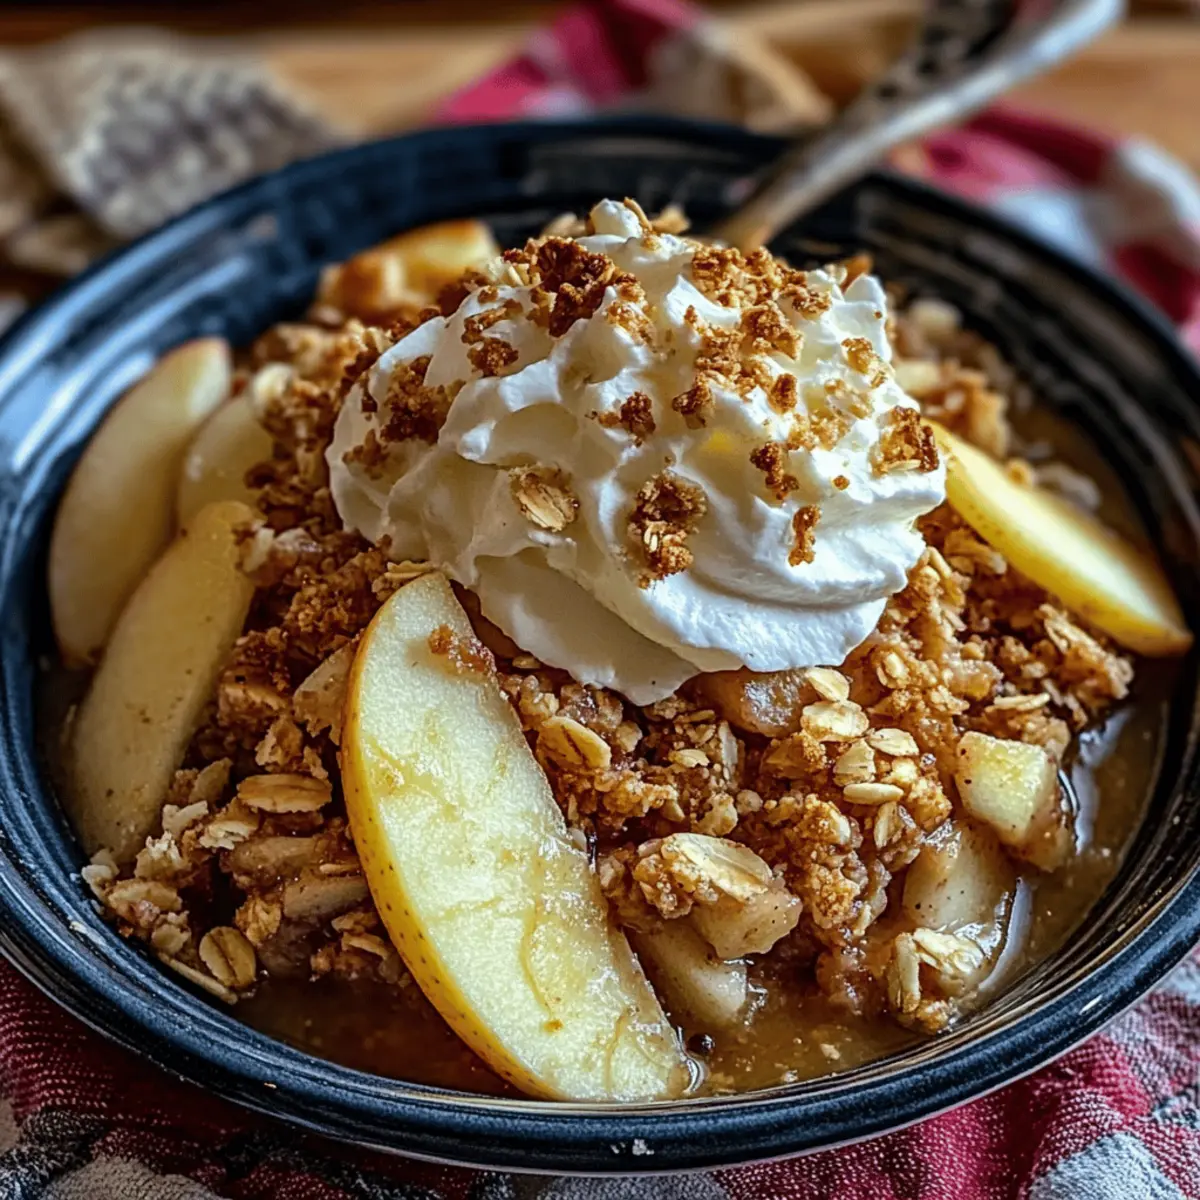
Once baked, remove your Apple Crisp from the oven and let it cool for about 5–10 minutes. This resting time enhances the delicious flavors and allows the filling to set. Serve it warm, either on its own or with a dollop of light whipped cream or a scoop of frozen yogurt for an extra treat. Enjoy!

Make Ahead Options
These Apple Crisp make-ahead options are perfect for busy home cooks looking to save time without sacrificing flavor! You can prepare the apple filling and topping up to 24 hours in advance. Simply toss the sliced apples with lemon juice and other filling ingredients, then layer them in the baking dish. Store the oat topping separately in an airtight container in the refrigerator. When you’re ready to bake, evenly sprinkle the topping over the apples and pop it in the oven as directed. This way, you'll enjoy the same delightful, fresh-baked flavor with minimal effort on busy weeknights!
What to Serve with Apple Crisp
As the warm, spiced aroma of your freshly baked dessert fills the room, consider these delightful pairings to elevate your dining experience.
- Creamy Vanilla Ice Cream: The rich creaminess balances the warm spiced apples, creating a perfect contrast that simply melts in your mouth.
- Whipped Cream: Light and fluffy, a dollop of whipped cream adds a touch of sweetness that complements the crisp's flavors without overpowering them.
- Greek Yogurt: For a healthier twist, a scoop of tangy Greek yogurt adds protein and a creamy texture that harmonizes with the sweet filling.
- Caramel Sauce: Drizzling warm caramel over the top enhances the sweet notes and adds a luxurious layer of flavor with every bite.
- Coffee or Tea: A steaming cup pairs beautifully, cutting through the sweetness while enhancing the cozy, comforting vibes of your dessert.
- Sweetened Almond Milk: Serve your Apple Crisp with a glass of this creamy drink for a nutty flavor that matches the almond flour in the topping.
- Spiced Chai Latte: The warm spices in the chai echo those in your crisp, creating a harmonious pairing perfect for chilly evenings.
- Chocolate Drizzle: A light drizzle of melted chocolate can sway lovers of indulgence into an even sweeter paradise, making dessert unforgettable.
- Fresh Berries: A side of lightly sweetened berries adds freshness and a pop of color, brightening up your plate and palate.
- Crunchy Granola: A sprinkling of granola on top offers an additional texture and flavor burst, taking each bite to a new level of deliciousness.
Apple Crisp Variations & Substitutions
Get ready to personalize your Apple Crisp adventure with these fun and tasty alternatives!
-
Gluten-Free: Use oat flour instead of almond flour for a totally gluten-free topping while keeping that delicious crunch.
-
Nut-Free: Substitute the nuts with additional oats or sunflower seeds for a safe and equally delightful crunch in every bite.
-
Spicy Kick: Add ¼ teaspoon of ground ginger or allspice to the apple filling for extra warmth and flavor complexity.
-
Berry Blend: Combine apples with a cup of fresh or frozen berries like blueberries or raspberries for a fruity twist that brightens the dish.
-
Vegan Delight: Substitute the butter with coconut oil and use maple syrup to replace any honey for a fully plant-based version.
-
Cinnamon Roll Inspiration: Incorporate a teaspoon of molasses in your topping for a deeper, richer flavor reminiscent of freshly baked cinnamon rolls.
-
Savory Touch: Toss in a handful of raisins or dried cranberries for added sweetness and a chewy texture that complements the apples beautifully.
-
Maple Surprise: Drizzle some maple syrup on top right before serving for an added layer of sweetness that elevates your dessert experience.
How to Store and Freeze Apple Crisp
Fridge: Keep leftover Apple Crisp in an airtight container in the fridge for up to 3 days. This helps maintain its delicious flavor and moisture.
Freezer: If you want to freeze it, wrap the cooled Apple Crisp tightly in plastic wrap and then in aluminum foil. It can last in the freezer for up to 3 months.
Reheating: To reheat, thaw in the fridge overnight and then warm in the oven at 350°F (175°C) for 15-20 minutes until heated through. Enjoy that freshly-baked taste again!
Serving Tip: For an extra treat, serve reheated Apple Crisp with a scoop of frozen yogurt or whipped cream right after warming!
Expert Tips for Apple Crisp
Use Fresh Apples: Choose fresh, crisp apples like Granny Smith or Honeycrisp to ensure a delightful balance of sweet and tart flavors in your Apple Crisp.
Mind the Oven Time: Keep an eye on the baking time; every oven is unique. Bake until apples are tender and the topping is golden brown to avoid a soggy crisp.
Don’t Skip the Lemon Juice: The lemon juice prevents browning and enhances the apples' natural sweetness. Skip it, and your filling may lack brightness.
Choose Your Sweetness: Adjust the sweetness based on your taste. Feel free to use more honey or maple syrup if you prefer a sweeter Apple Crisp.
Make Ahead: You can prepare the apple filling a few hours in advance and layer it with the topping when you're ready to bake. This way, you can enjoy a fresh dessert with minimal effort!
Add Spice: Experiment with spices like nutmeg or cardamom for a unique twist on the classic Apple Crisp, elevating your dessert experience.
Apple Crisp Recipe FAQs
What kind of apples work best for this recipe?
I recommend using Granny Smith for their tartness or Honeycrisp for a sweeter profile. Both varieties maintain their structure well during baking, yielding a delightful mix of flavors in your Apple Crisp.
How should I store leftover Apple Crisp?
Absolutely! To keep your Apple Crisp fresh, place it in an airtight container in the fridge for up to 3 days. If you prefer a longer storage option, freezing is also great—just wrap it tightly in plastic wrap and then aluminum foil to protect it from freezer burn.
Can I freeze Apple Crisp? If so, how?
Definitely! After it has cooled, wrap your Apple Crisp tightly in plastic wrap, ensuring there are no air pockets. Then, cover it with aluminum foil for extra protection. It can be stored in the freezer for up to 3 months. When you’re ready to enjoy it, thaw it in the fridge overnight, then reheat it in the oven at 350°F (175°C) for 15-20 minutes.
What should I do if my Apple Crisp is too soggy?
If your Apple Crisp turns out soggy, it might be due to excess moisture in the apples or undercooking. Next time, try using a mix of apples and ensure they’re well-coated with cornstarch before baking. You can also extend baking time by checking for a golden topping and tender apples to achieve that crunchy texture we all love.
Are there any dietary considerations for this recipe?
Great question! This Apple Crisp can easily be made gluten-free by using almond flour and gluten-free oats. If you have nut allergies, simply skip the walnuts or pecans and substitute with more oats. Always check that your sweeteners are aligned with any dietary restrictions as well!
Can I make this recipe in advance?
Yes! You can prepare the apple filling a few hours ahead of time, storing it in the fridge. Layer it with the topping when you're ready to bake. This makes it a breeze to serve up freshly baked Apple Crisp without much effort on your part.
Irresistibly Easy Apple Crisp for Cozy Nights In
Ingredients
Equipment
Method
- Step 1: Prepare the Oven and Dish - Preheat your oven to 350°F (175°C) and lightly grease an 8×8-inch baking dish.
- Step 2: Mix the Apple Filling - Toss the apples with lemon juice, maple syrup or honey, cinnamon, vanilla extract, and cornstarch thoroughly and spread into the baking dish.
- Step 3: Create the Oat Topping - Mix together rolled oats, almond flour, walnuts or pecans, brown sugar, cinnamon, and salt, then stir in melted butter or coconut oil until crumbly.
- Step 4: Assemble and Bake - Evenly sprinkle the topping over the apple mixture and bake for 35–40 minutes until apples are tender and topping is golden brown.
- Step 5: Cool and Serve - Remove from oven and let cool for 5–10 minutes before serving warm with whipped cream or frozen yogurt.


Leave a Reply