
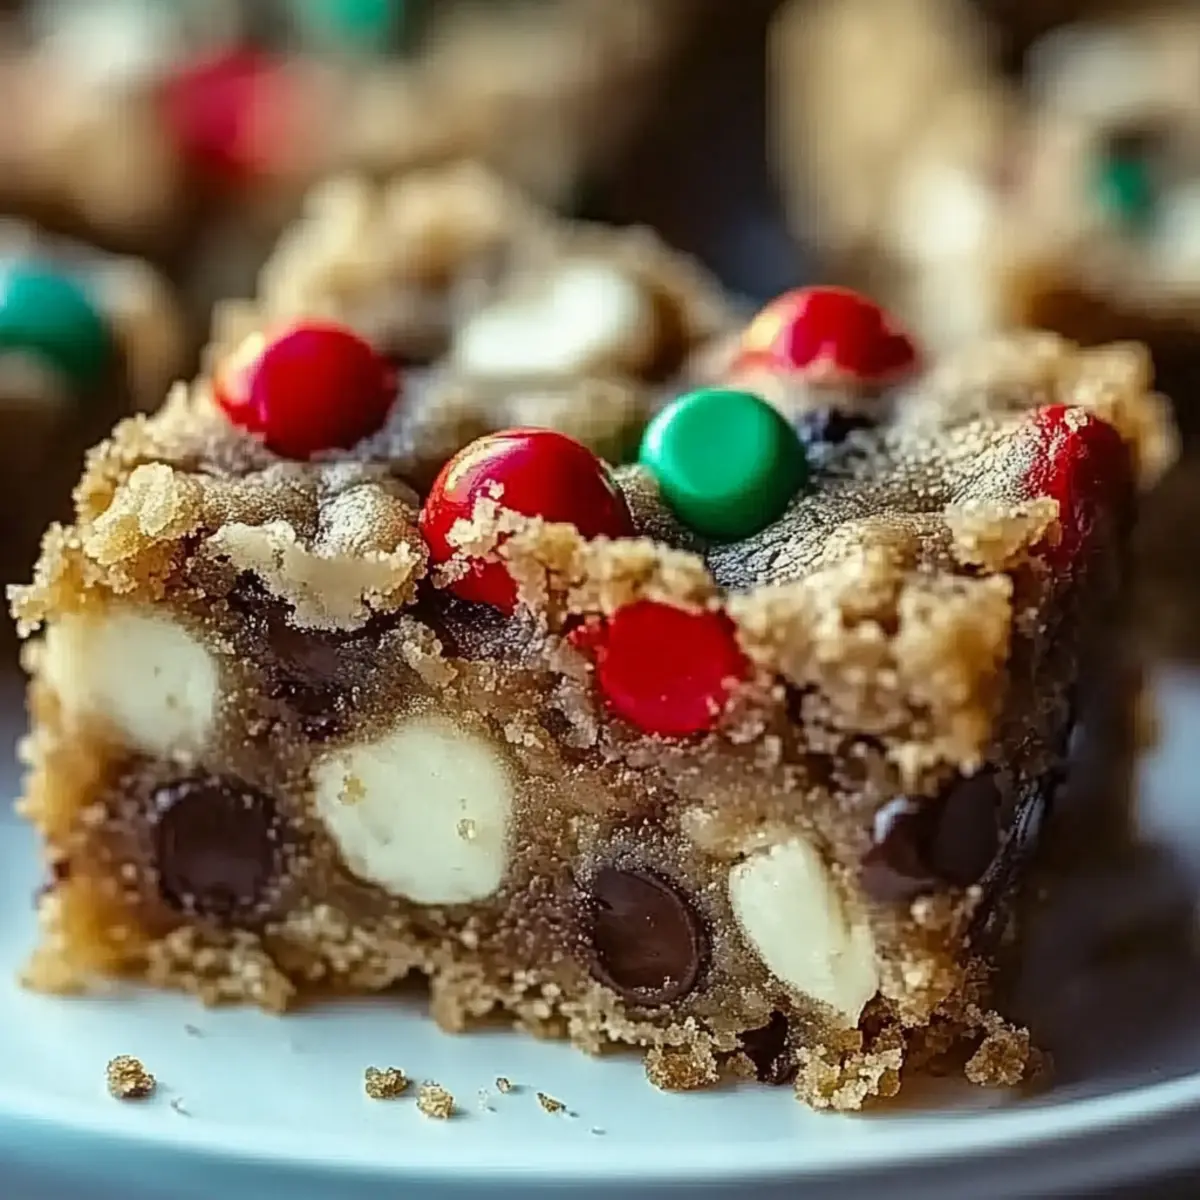
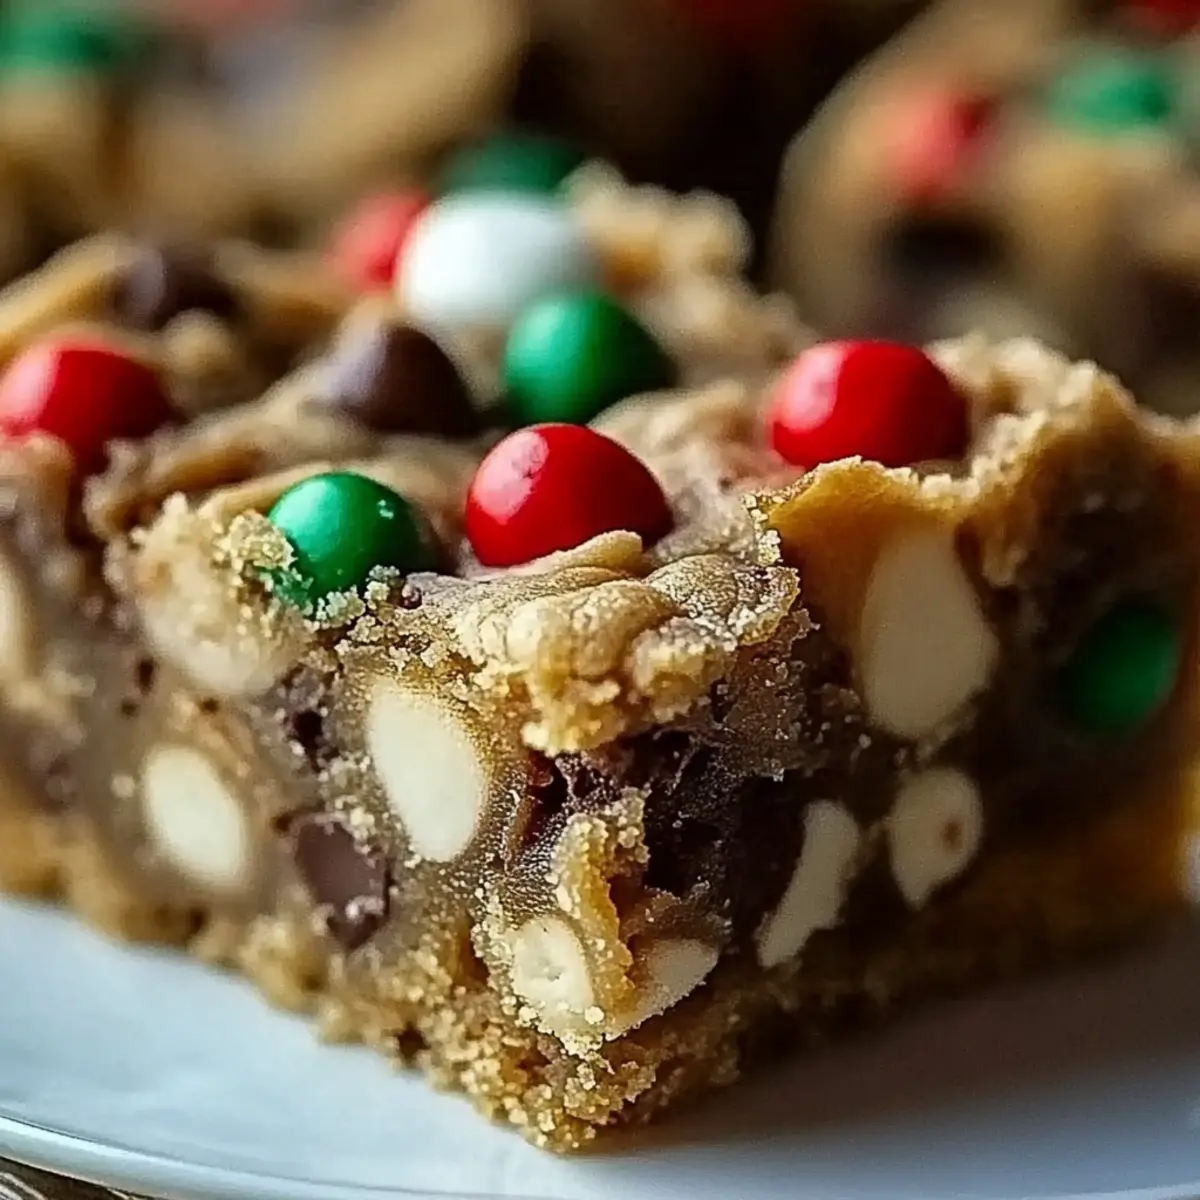
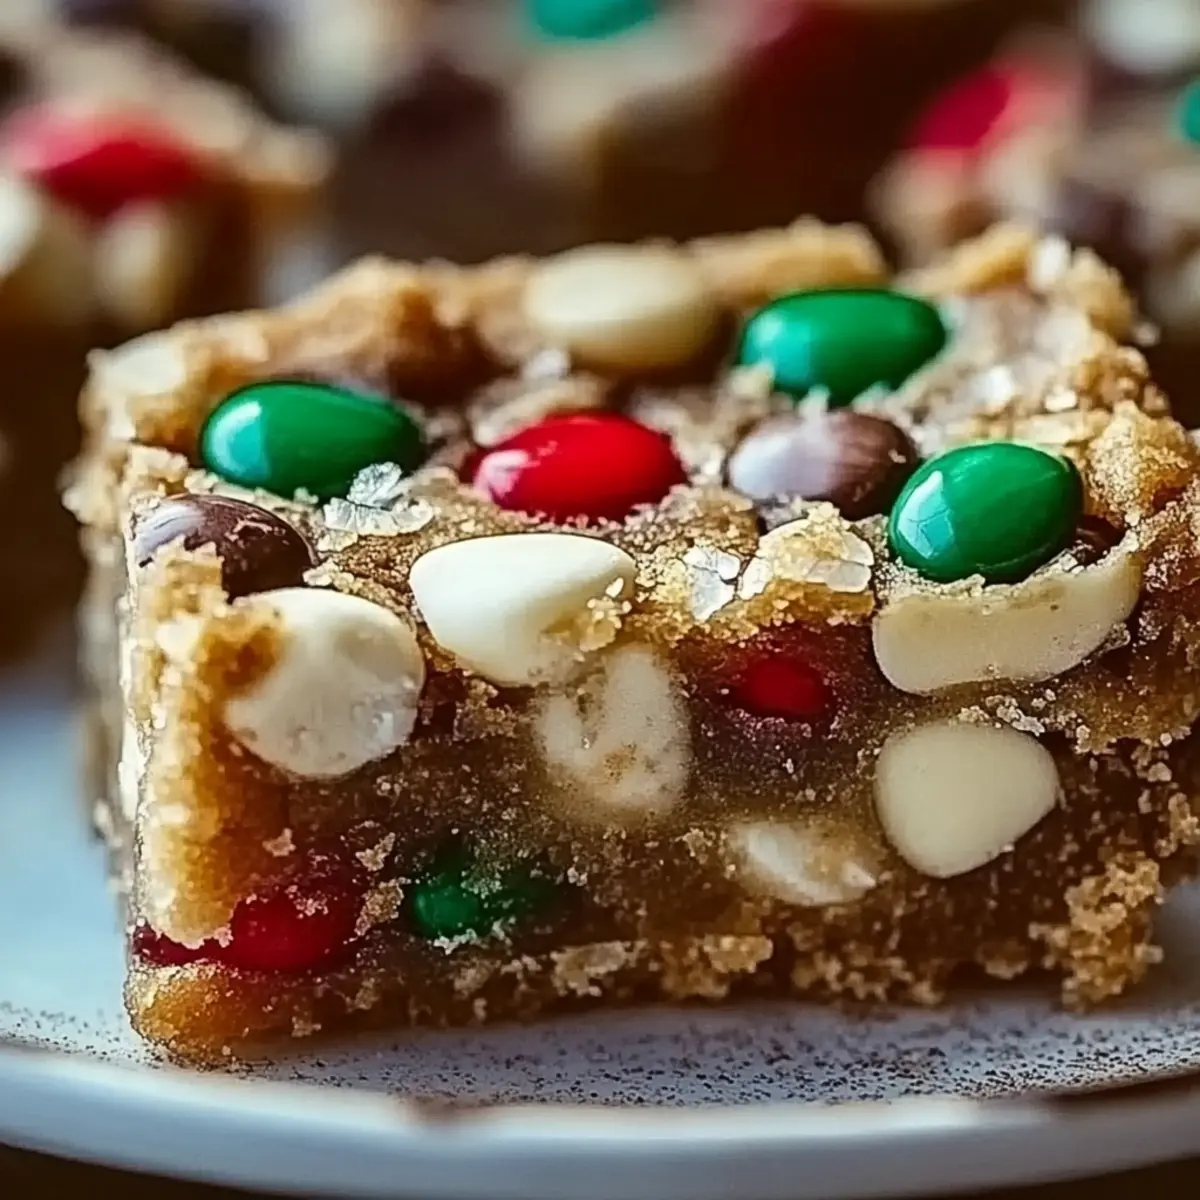
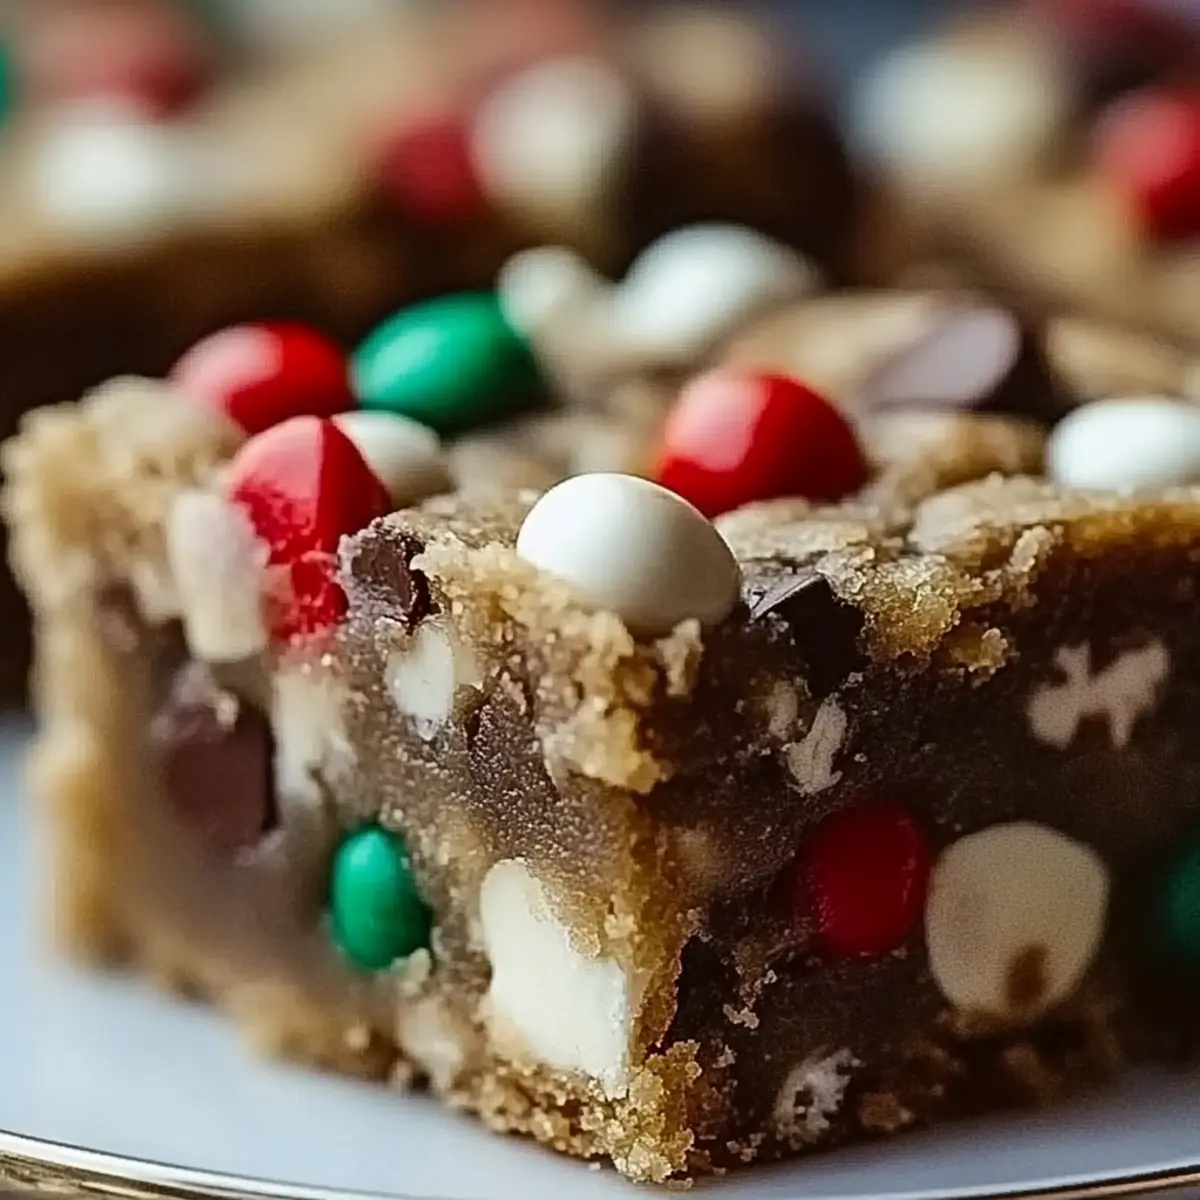
As I pull these Christmas Cookie Bars from the oven, the warm aroma of melting chocolate and sweet caramel dances through my kitchen, instantly transporting me to holiday gatherings filled with laughter and cheer. This delightful dessert is not only a breeze to whip up in just about 30 minutes, but it also doubles as the perfect crowd-pleaser for festive celebrations or cozy nights in. With rich semi-sweet and white chocolate chips harmonizing beautifully, you may find it hard to stop at just one. Plus, who can resist the option of drizzling caramel sauce on top for that extra touch of indulgence? Ready to bring these delicious bars into your home? Let’s dive into the sweet magic of Christmas Cookie Bars!
Why Are These Christmas Cookie Bars So Special?
Indulgent Flavor: The combination of rich semi-sweet and creamy white chocolate chips creates a dessert that's incredibly satisfying.
Easy to Make: With only 30 minutes of total time, these bars are perfect for those busy holiday seasons!
Versatile Options: Customize with nuts or a caramel drizzle to suit your taste.
Festive Appeal: These cookie bars are sure to impress guests at any gathering—everyone will be reaching for seconds!
Comforting Treat: Perfect for cozy nights in, the aroma alone will make your home feel festive.
You’re just a few steps away from enjoying this delightful treat—check out the full recipe above!
Christmas Cookie Bars Ingredients
Get ready to create your delightful Christmas Cookie Bars!
For the Base
• 2 cups all-purpose flour – This is the foundation of the bars, creating a soft and chewy texture.
• 1 cup unsalted butter, softened – Softened butter is key for achieving that light and fluffy mixture.
• 1 cup brown sugar, packed – Brown sugar adds a rich flavor and moisture to the bars.
• ½ cup granulated sugar – This balances the sweetness, giving a perfect caramel-like finish.
• 2 large eggs – Eggs are essential for binding the ingredients and giving structure.
• 1 teaspoon vanilla extract – A splash of vanilla elevates the flavor profile to festive heights.
• 1 teaspoon baking powder – This helps the bars rise, making them light and soft.
• ½ teaspoon salt – A pinch of salt enhances all the sweet flavors beautifully.
For the Mix-Ins
• 1 cup semi-sweet chocolate chips – These will melt into sweet pockets of goodness throughout the bars.
• 1 cup white chocolate chips – Adds a creamy contrast to the rich chocolate flavors.
• ½ cup chopped nuts (optional) – Nuts add a delightful crunch and complementary flavor, but feel free to skip them if you prefer.
• ½ cup caramel sauce (optional) – Drizzling caramel sauce before baking elevates the bar's sweetness dramatically, perfect for those with a sweet tooth!
With these ingredients, you’re all set to create the magic of Christmas Cookie Bars!
Step‑by‑Step Instructions for Christmas Cookie Bars
Step 1: Preheat and Prepare the Pan
Begin by preheating your oven to 350°F (175°C). While the oven warms up, line a 9x13 inch baking pan with parchment paper, leaving some overhang on the sides. This will make it easier to lift the Christmas Cookie Bars out once they are baked. Set the pan aside, and get ready to mix your delicious batter.
Step 2: Cream the Butters and Sugars
In a large mixing bowl, combine the softened unsalted butter, packed brown sugar, and granulated sugar using an electric mixer. Beat these ingredients together on medium speed for about 3-4 minutes, until the mixture is light and fluffy. This step is crucial for achieving the perfect texture in your Christmas Cookie Bars, so take your time to get it right.
Step 3: Incorporate Eggs and Vanilla
Next, add the two large eggs, one at a time, to the creamed mixture, beating well after each addition. Follow this by stirring in the teaspoon of vanilla extract until fully combined. You should notice a smooth and creamy consistency formed – this will create a delightful flavor foundation for your cookie bars!
Step 4: Mix Dry Ingredients
In a separate bowl, whisk together the all-purpose flour, baking powder, and salt. This helps to evenly distribute the baking powder and salt throughout the dry ingredients. Once mixed, gradually add this dry mixture to the wet ingredients, stirring gently until just combined. Be careful not to overmix; a few small lumps are perfectly fine.
Step 5: Fold in the Chocolate and Nuts
Gently fold in the semi-sweet and white chocolate chips, as well as the optional chopped nuts if you're using them. Use a spatula for this step to ensure the chocolate is evenly distributed without overworking the batter. Imagine the delightful surprise of melted chocolate in every bite of your Christmas Cookie Bars!
Step 6: Spread the Batter
Pour the combined batter into the prepared baking pan, spreading it evenly with a spatula. Make sure the surface is smooth, as this will create a lovely finish on your bars. The batter may be thick, so take your time to ensure it fills the pan evenly for consistent baking throughout.
Step 7: Drizzle with Caramel
If you wish to indulge further, drizzle the optional caramel sauce over the top of your batter. Use a spoon or squeeze bottle to create a beautiful pattern that garnishes your Christmas Cookie Bars with extra sweetness. This step will add a lovely touch of flavor that complements the chocolate beautifully.
Step 8: Bake to Perfection
Place the pan in the preheated oven and bake for 25-30 minutes. Keep an eye on your bars; they should be golden brown around the edges, and a toothpick inserted in the center should come out clean. You want them to be soft yet set, so check around the 25-minute mark for perfect results.
Step 9: Cool and Cut
Once baked, remove the cookies from the oven and let them cool in the pan on a wire rack for about 15-20 minutes. This cooling period allows the bars to firm up a bit more. Once cool, use the parchment overhang to lift the bars out of the pan and transfer to a cutting board.
Step 10: Slice and Serve
Finally, slice your delicious Christmas Cookie Bars into squares or rectangles to your desired size. Arrange them on a platter, and enjoy the delightful flavors with family and friends during your festive gatherings or cozy evenings at home. Each bite will surely bring smiles all around!
Make Ahead Options
These Christmas Cookie Bars are ideal for busy home cooks looking to save time during the holiday rush! You can prepare the batter up to 24 hours in advance by mixing all the wet and dry ingredients separately; just keep the two mixtures in airtight containers in the refrigerator. When you're ready to bake, simply combine them, fold in the chocolate chips and nuts, and proceed with the caramel drizzle and baking. This not only allows you to enjoy fresh bars with minimal effort but also helps maintain their delightful texture. Just remember to bake them the same day you mix for the best flavor and freshness!
How to Store and Freeze Christmas Cookie Bars
Room Temperature: Keep the Christmas Cookie Bars in an airtight container at room temperature for up to 3 days. This will maintain their soft texture while still being deliciously fresh.
Fridge: If you prefer a longer shelf life, store the bars in the fridge in an airtight container for up to 1 week. Be sure to layer them with parchment paper to prevent sticking.
Freezer: For extended storage, freeze the uncut bars wrapped tightly in plastic wrap and then aluminum foil for up to 3 months. Thaw overnight in the fridge before serving.
Reheating: When you're ready to enjoy, reheat the bars in the microwave for about 10-15 seconds for a warm, melty treat that's reminiscent of fresh-baked goodness!
Expert Tips for Perfect Christmas Cookie Bars
Use Softened Butter: Ensure your unsalted butter is properly softened for a light and fluffy mixture, avoiding hard clumps in your bars.
Don’t Overmix: When combining wet and dry ingredients, mix until just combined to keep your cookie bars soft and chewy.
Check for Doneness: Begin checking your bars at 25 minutes; they should be golden brown around the edges and a toothpick should come out clean.
Let Cool: Allow the bars to cool in the pan to help them set properly, making cutting easier and neater.
Customize as Desired: Feel free to experiment with mix-ins like nuts or different types of chocolate chips to make the Christmas Cookie Bars uniquely yours!
Christmas Cookie Bars Variations
Feel free to get creative with these delicious Christmas Cookie Bars and customize them to your heart’s content!
- Gluten-Free: Substitute all-purpose flour with a gluten-free blend for a delicious alternative that everyone can enjoy.
- Nut-Free: Skip the chopped nuts for a kid-friendly version or use seeds like sunflower for a similar crunch.
- Spicy Kick: Add 1 teaspoon of cinnamon or a dash of cayenne pepper to the batter for a warm, spicy twist.
- Fruit Infusion: Mix in dried cranberries or cherries for a pop of tartness that complements the sweetness beautifully.
- White Chocolate Only: Omit the semi-sweet chocolate chips and double up on white chocolate chips for a sweeter flavor profile.
- Vegan-Friendly: Swap out butter with coconut oil, use flax eggs instead of regular eggs, and choose dairy-free chocolate chips.
- Extra Crunch: Top the batter with crushed pretzels before baking for a salty-sweet surprise in every bite.
- Caramel Brownie Bars: Go the extra mile by replacing half the flour with cocoa powder for a rich, brownie-like base with gooey caramel.
Embrace the festive spirit and make these bars truly your own!
What to Serve with Christmas Cookie Bars
Creating a delightful spread complements the magic of these festive treats beautifully, filling your home with warmth and joy.
- Vanilla Ice Cream: A scoop of creamy vanilla ice cream will enhance the rich flavors while adding a refreshing contrast. It creates a delightful melting chocolate experience!
- Peppermint Hot Cocoa: Serve a warm cup of peppermint hot cocoa alongside the bars; the festive flavor will whisk you away to a cozy winter wonderland.
- Fruit Salad: A light and fresh fruit salad made with seasonal fruits brightens up the dessert table, balancing the sweetness of the bars perfectly.
- Spiced Tea: A warm spiced tea brings comfort and warmth, making it a perfect pairing that resonates with holiday cheer.
- Nutty Trail Mix: Offering a crunchy nutty trail mix adds a delightful texture to your dessert experience. The mix of sweet and salty will keep guests coming back for more!
- Whipped Cream: A dollop of freshly whipped cream provides a light, airy touch that pairs wonderfully with every bite of these indulgent cookie bars.
- Caramel Latte: For an indulgent drink, pair these bars with a caramel latte; its rich flavor completes the treat and enhances the caramel drizzle in the bars.
- Christmas Punch: A festive holiday punch will add a celebratory flair to your dessert table, making it the perfect accompaniment for a joyful gathering.
- Gingerbread Men: For extra holiday cheer, serve alongside gingerbread men cookies — the spices create a lovely contrast with the sweetness of the bars!
Christmas Cookie Bars Recipe FAQs
What type of chocolate chips should I choose?
Absolutely! I recommend using a combination of semi-sweet and white chocolate chips. The semi-sweet adds a rich depth of flavor, while the white chocolate contributes a creamy sweetness that beautifully complements the overall taste. Feel free to experiment with dark chocolate as well for a contrasting flavor!
How should I store my Christmas Cookie Bars?
You can store your Christmas Cookie Bars in an airtight container at room temperature for up to 3 days. This keeps them soft and fresh! If you want to extend their shelf life, keeping them in the fridge in an airtight container will ensure they last up to a week. Just remember to layer them with parchment paper to avoid sticking.
Can I freeze the Christmas Cookie Bars?
Certainly! To freeze your Christmas Cookie Bars, wrap them tightly in plastic wrap and then cover with aluminum foil. This will protect them from freezer burn and keep them fresh for up to 3 months. When ready to serve, thaw them in the fridge overnight. For an extra treat, reheat them in the microwave for about 10-15 seconds before enjoying!
What should I do if my bars crumble when cutting?
If you find that your bars are crumbling, it’s likely due to overbaking. Always check for doneness around the 25-minute mark! If they feel too soft, they can still firm up while cooling, so let them rest completely before cutting. If you have crumbles, you can always turn them into a delicious ice cream topping instead!
Are these bars safe for pets?
While the ingredients in Christmas Cookie Bars are safe for human consumption, they are not suitable for pets, particularly chocolate. Chocolate can be toxic to dogs and cats, so it’s important to keep these treats away from your furry friends. Always opt for pet-friendly snacks to share with them during the celebrations!
Can I use gluten-free flour in this recipe?
Very! If you or someone you’re serving has gluten sensitivities, you can substitute all-purpose flour for a 1:1 gluten-free flour blend. I often make this adjustment when baking for friends who are gluten-free, and it yields delicious results! Just ensure that the rest of your ingredients are also gluten-free.
Indulgent Christmas Cookie Bars That Melt in Your Mouth
Ingredients
Equipment
Method
- Preheat your oven to 350°F (175°C) and line a 9x13 inch baking pan with parchment paper.
- In a large bowl, cream together softened butter, brown sugar, and granulated sugar until light and fluffy.
- Add eggs one at a time, beating well after each addition, then stir in vanilla extract.
- In another bowl, whisk together flour, baking powder, and salt, then gradually add to the wet mixture.
- Fold in chocolate chips and nuts gently with a spatula.
- Pour batter into the baking pan, spreading evenly.
- Drizzle caramel sauce on top if desired.
- Bake in the preheated oven for 25-30 minutes, until golden brown and a toothpick comes out clean.
- Allow to cool for 15-20 minutes before lifting out and cutting into bars.
- Serve and enjoy!
Leave a Reply