
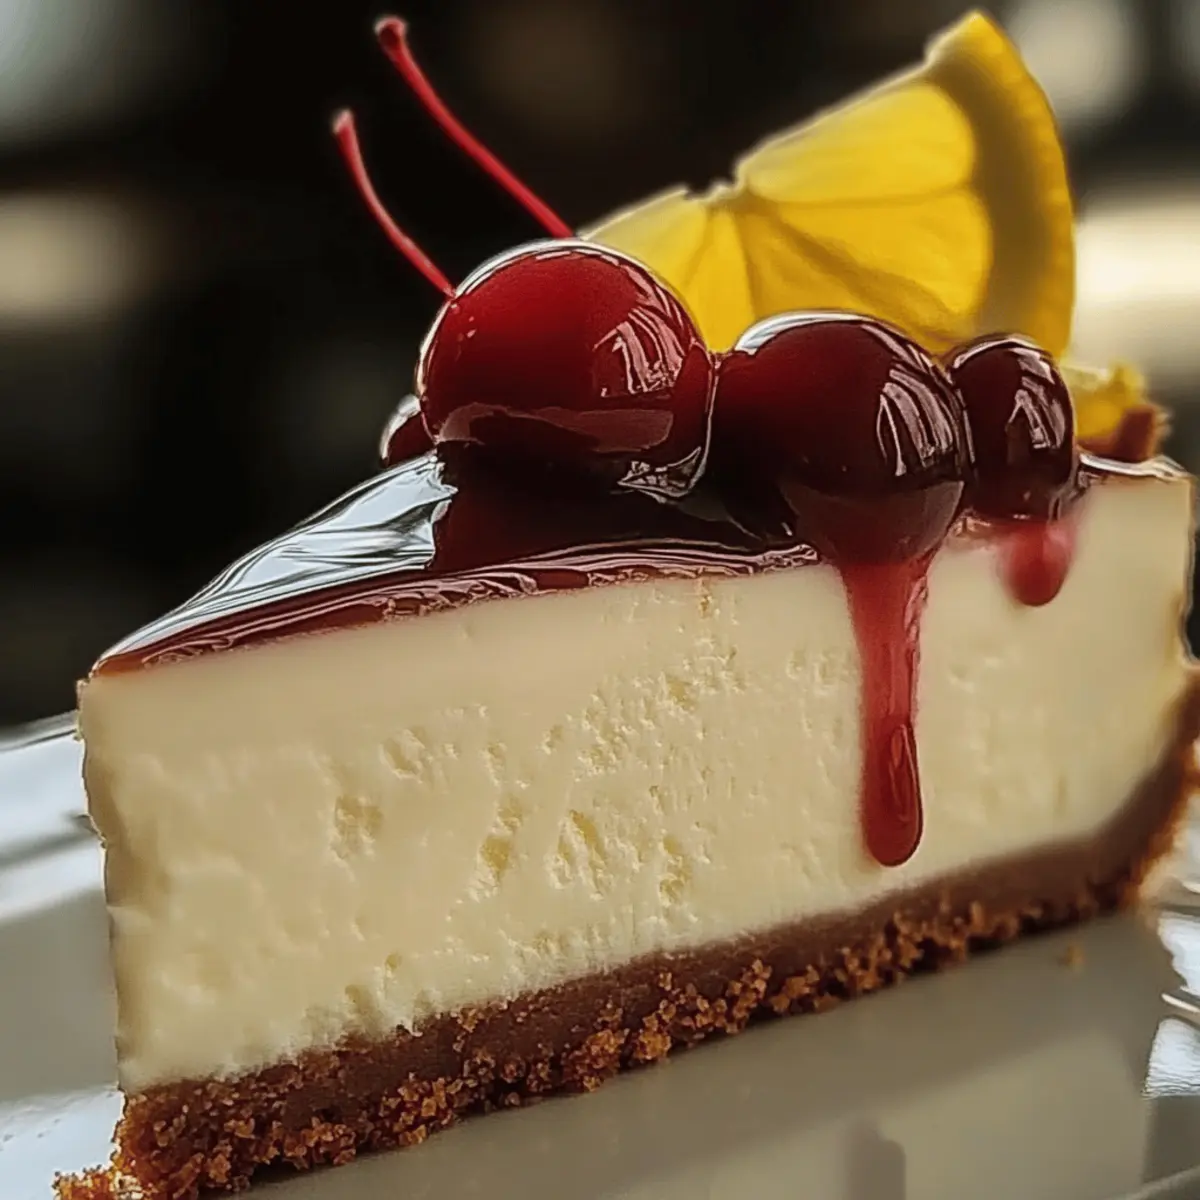
As I pulled the freshly baked cheesecake from the oven, a wave of zesty lemon and sweet cherry aroma wrapped around me like a warm hug. This Cherry Lemon Cheesecake is the antidote to those uninspired dessert routines, turning any gathering into a fun, flavor-packed celebration. Not only is it a delightful crowd-pleaser, but it’s also a healthier twist on a classic, thanks to the creamy Greek yogurt and reduced-fat cream cheese. In just a little over four hours, you can create a show-stopping dessert that leaves everyone asking for seconds. Ready to impress your friends and family with this dreamy, tangy treat? Let’s dive into the recipe!
Why is This Cheesecake So Irresistible?
Delightful Fusion: The tartness of lemon perfectly complements the sweetness of cherry, creating a refreshing balance that excites your taste buds.
Health-Conscious Indulgence: Made with reduced-fat cream cheese and Greek yogurt, this cheesecake offers rich flavors without the guilt, making it an ideal choice for health-conscious bakers.
Effortless Gourmet: With straightforward steps, even novice chefs can master this dessert, ensuring that your friends and family are wowed at first bite.
Perfect for Any Occasion: Whether it's a holiday, birthday, or casual gathering, this show-stopping dessert is bound to make you the star of the table.
Quick Prep: Spend just 20 minutes prepping, then let the oven do the magic while you enjoy some time with family or friends!
Cherry Lemon Cheesecake Ingredients
For the Crust
- Graham cracker crumbs – Use a food processor for a fine texture, ensuring a sturdy base for the cheesecake.
- Light butter – Melted butter binds the crumbs; feel free to substitute with coconut oil for a dairy-free option.
- Granulated sugar – Adds a touch of sweetness to the crust; brown sugar can also be used for a deeper flavor.
For the Filling
- Reduced-fat cream cheese – Offers creaminess without the extra fat, making this a healthier Cherry Lemon Cheesecake.
- Nonfat Greek yogurt – Incorporates protein while keeping the filling light and tangy; regular yogurt can be used if Greek isn’t available.
- Granulated sugar – Sweetens the filling; adjust to taste if you prefer less sweetness.
- Large eggs – Helps set the filling; room-temperature eggs mix more smoothly.
- Lemon juice – Freshly squeezed is best for zesty flavor; bottled juice is a quick alternative.
- Lemon zest – Adds an aromatic intensity; use a microplane for finely grated zest.
- Vanilla extract – Enhances the overall flavor; pure vanilla is recommended for the best taste.
For the Topping
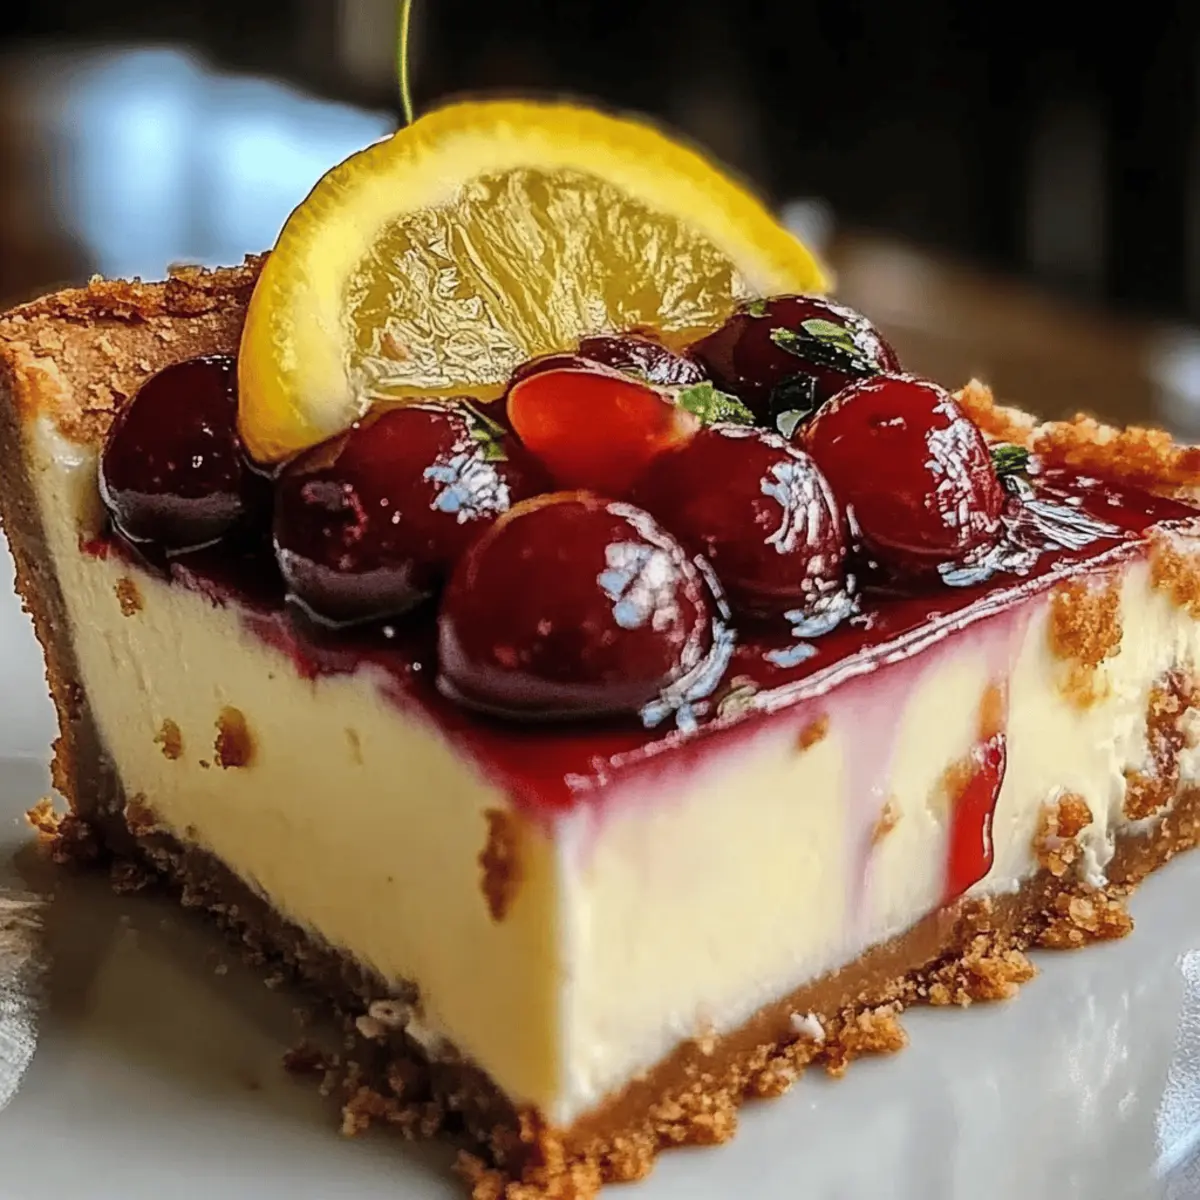
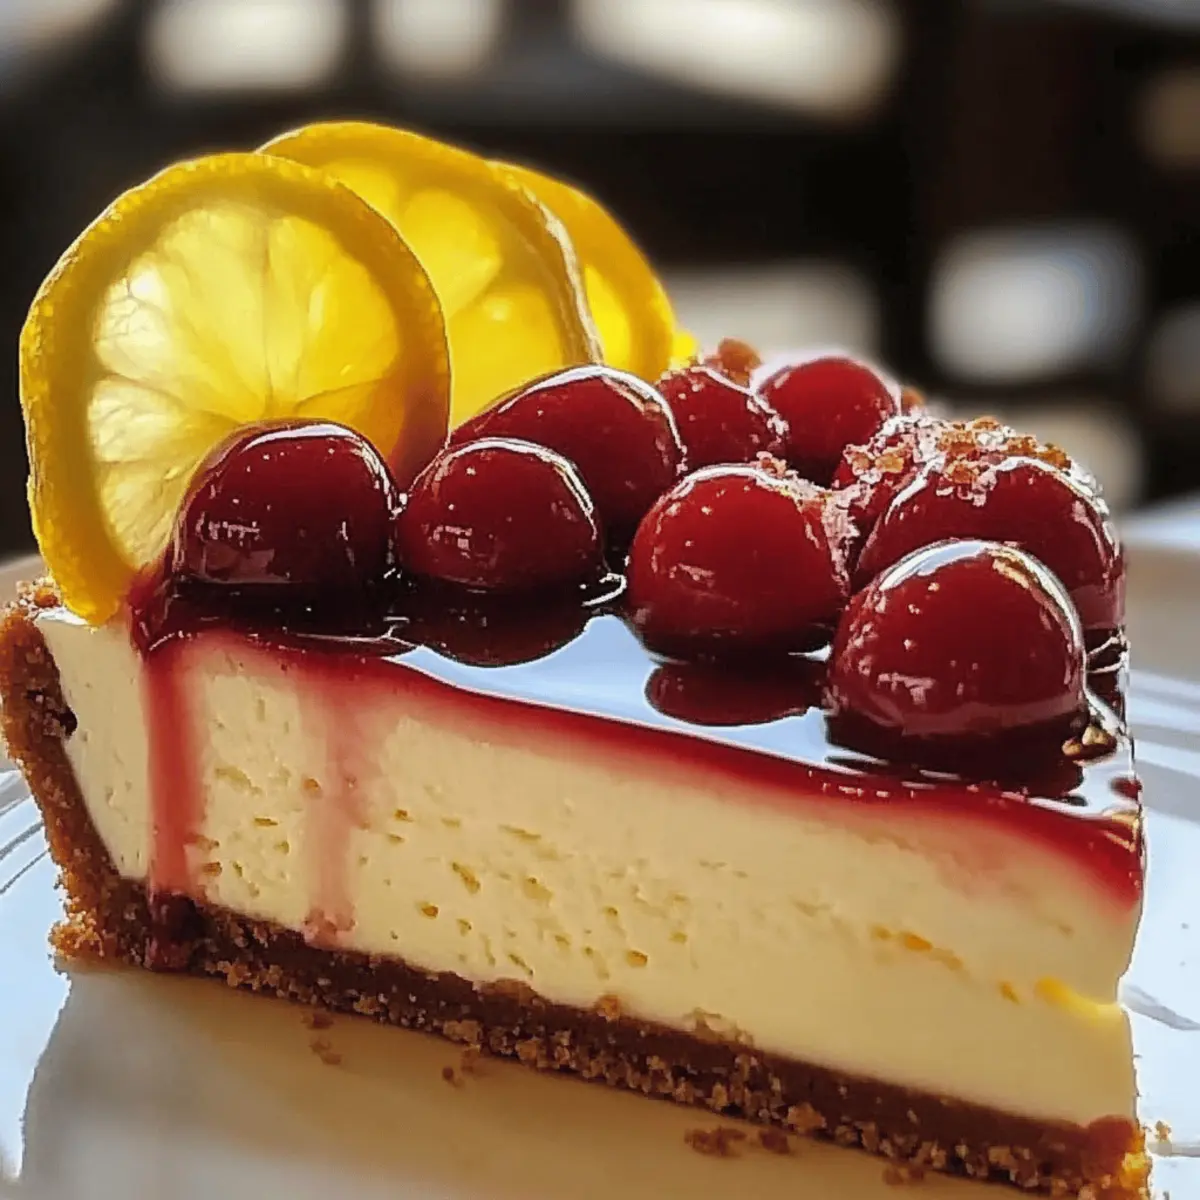
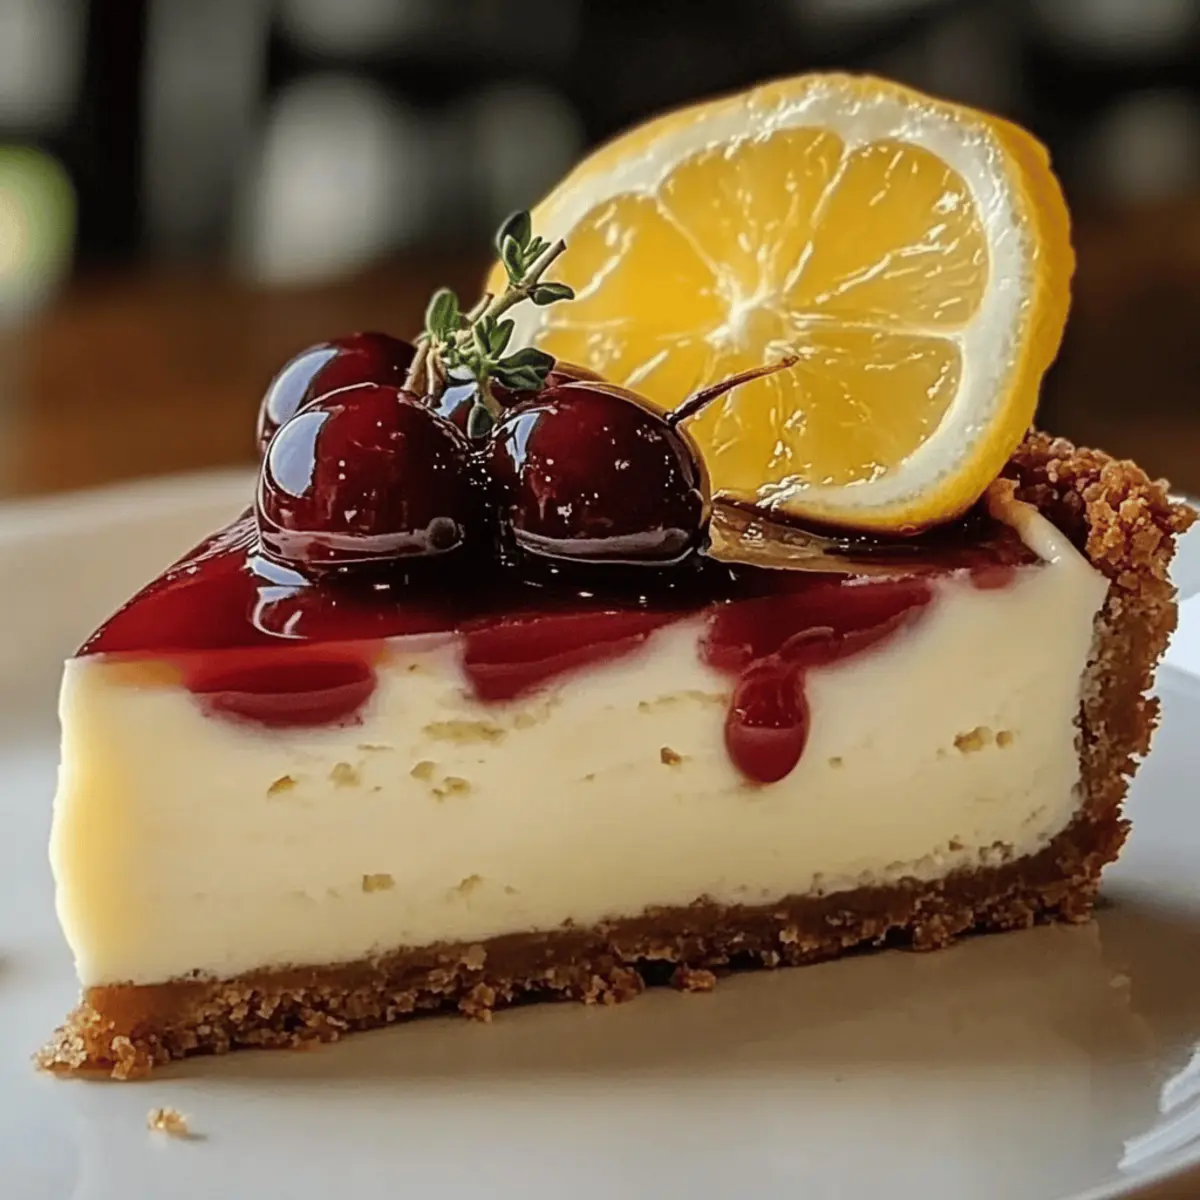
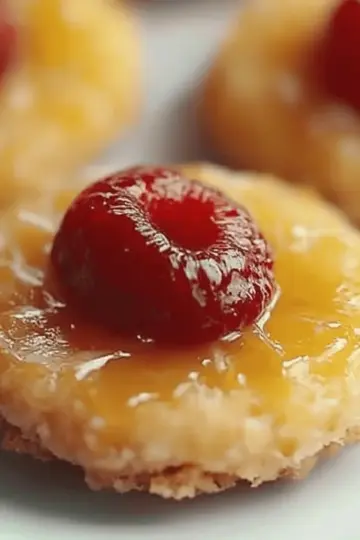
- Cherry pie filling – Use light or homemade cherry pie filling for a fruity burst that contrasts beautifully with the cheesecake.
- Additional lemon zest – Optional garnish that brightens up the presentation and flavor.
Ready to dive into making your own Cherry Lemon Cheesecake? Let’s get cooking!
Step‑by‑Step Instructions for Cherry Lemon Cheesecake
Step 1: Preheat the Oven
Begin by preheating your oven to 325°F (163°C) to ensure the perfect baking environment for your Cherry Lemon Cheesecake. This temperature allows for a gently baked cheesecake that doesn’t crack. Once it reaches temperature, prepare your crust while the oven warms up, so everything’s ready to go.
Step 2: Make the Crust
In a medium bowl, combine 1 ½ cups of graham cracker crumbs, 3 tablespoons of melted light butter, and 2 tablespoons of granulated sugar. Mix until the crumbs are evenly coated and resemble wet sand. Firmly press this mixture into the bottom of a 9-inch springform pan. Bake for 8–10 minutes until lightly golden, then set aside to cool while you prepare the filling.
Step 3: Prepare the Filling
In a large mixing bowl, beat 16 ounces of softened reduced-fat cream cheese with a hand mixer until smooth and creamy. Gradually add in 1 cup of nonfat Greek yogurt, ½ cup of granulated sugar, 2 large eggs, 2 tablespoons of lemon juice, 1 tablespoon of lemon zest, and 1 teaspoon of vanilla extract. Mix until all ingredients are well combined and the mixture is thick and velvety.
Step 4: Assemble the Cheesecake
Once your crust has cooled, pour the creamy filling over the top. Use a spatula to spread it evenly to the edges. Carefully transfer the springform pan into the oven and bake for 40–45 minutes, or until the center is set but slightly jiggly. When done, turn off the oven, crack the door, and let the cheesecake cool slowly inside for 1 hour, which helps prevent cracks.
Step 5: Chill the Cheesecake
After cooling, refrigerate your Cherry Lemon Cheesecake for at least 4 hours or preferably overnight. This chilling time allows the flavors to meld and the cheesecake to set firmly. It's worth the wait, as this step will give you a beautifully sliceable dessert that holds its shape.
Step 6: Top and Serve
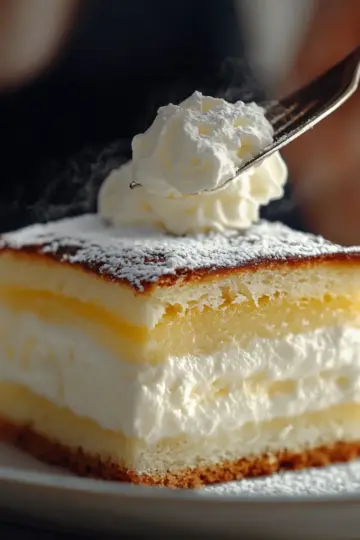
Once chilled, spoon 1 ½ cups of cherry pie filling evenly over the top of your cheesecake. For an added touch, sprinkle additional lemon zest on top for garnish if desired. Slice into generous pieces, and get ready to share this delightful Cherry Lemon Cheesecake with friends and family!
Expert Tips for Cherry Lemon Cheesecake
Chill Time: Ensure to chill the cheesecake for at least 4 hours, or overnight if possible. This allows the flavors to develop and makes slicing easier.
Room Temperature Ingredients: Use room temperature cream cheese and eggs for a smoother filling. Cold ingredients can lead to a lumpy cheesecake.
Watch the Bake: Keep an eye on the cheesecake during the last few minutes of baking. It's done when slightly jiggly in the center, which indicates a creamy texture.
Avoid Cracks: Cool the cheesecake slowly in the oven with the door ajar to prevent cracks. Rapid temperature changes can cause your beautiful cheesecake to split.
Garnish Wisely: For a stunning presentation, top with fresh cherries alongside the cherry pie filling, and don't skip the extra lemon zest for brightness!
What to Serve with Cherry Lemon Cheesecake
As you prepare to delight your guests with this zesty treat, consider these delicious pairings to create an unforgettable meal experience.
- Fresh Fruit Salad: A medley of seasonal fruits enhances the bright flavors of the cheesecake and adds a refreshing crunch.
- Mint-Infused Iced Tea: This soothing drink's herbal notes cleanse the palate while harmonizing beautifully with the cheesecake’s tartness.
- Vanilla Ice Cream: A scoop of creamy vanilla ice cream brings richness that elegantly contrasts the cheesecake’s tangy goodness.
- Lemon Sorbet: A light and zesty sorbet offers a vibrant finish to your meal, echoing the lemon flavors in the dessert.
- Almond Biscotti: For a delightful crunch, serve these crunchy cookies alongside, perfect for dipping into coffee or tea between bites.
- Chocolate-Covered Strawberries: The sweetness of chocolate complements the tart cherries, providing a luxurious bite that’s perfect for any occasion.
Your Cherry Lemon Cheesecake is sure to steal the show, but these pairings will ensure your gathering feels balanced and satisfying!
Cherry Lemon Cheesecake Variations
Want to create your own twist on this delightful treat? Here are some fun ways to customize your Cherry Lemon Cheesecake to tantalize your taste buds!
- Gluten-Free: Swap graham cracker crumbs with gluten-free cookie crumbs or almond flour for a delightful crust without the gluten.
- Sweetener Swap: Use honey or maple syrup instead of granulated sugar for a natural sweetness that enhances the cheesecake’s flavors.
- Fruit Fusion: Replace cherry pie filling with other fruit toppings, such as blueberry or mixed berry, for a vibrant and fruity twist.
- Extra Zesty: Add more lemon juice and zest to the filling for a bolder lemon flavor that truly shines through.
- Chocolate Drizzle: Drizzle melted dark chocolate over the cherry topping for a rich contrast that the chocolate lovers in your life will adore.
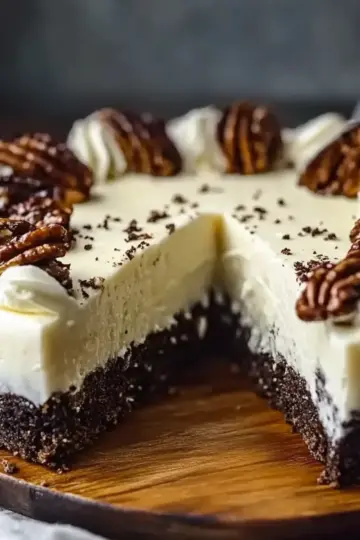
- Nutty Crust: Incorporate ground nuts, like pecans or almonds, into the crust mixture for added crunch and flavor complexity.
- No-Bake Option: Use the same filling recipe, but make it no-bake by adding gelatin or whipped cream to achieve a lighter texture that’s just as delicious.
- Spicy Kick: Sprinkle in a pinch of cayenne or cinnamon to the filling for a surprising warmth that elevates the whole dessert experience.
Each of these variations is a chance to make this cheesecake your very own! Have fun experimenting and enjoy every delicious bite!
Make Ahead Options
These Cherry Lemon Cheesecake is perfect for those busy weeknights! You can prepare the crust up to 24 hours in advance by mixing the graham cracker crumbs, melted butter, and sugar, then pressing it into the pan. Store it wrapped in plastic wrap in the refrigerator to maintain its texture. The filling can also be made up to 3 days ahead—just mix the cream cheese, Greek yogurt, sugar, and remaining ingredients, then transfer it to an airtight container. When you're ready to enjoy your cheesecake, simply bake the prepared crust, pour in the filling, and follow the original baking instructions. It will taste just as delicious and save you valuable time!
How to Store and Freeze Cherry Lemon Cheesecake
Fridge: Store your Cherry Lemon Cheesecake in an airtight container in the fridge for up to 5 days. This keeps it fresh and creamy while allowing flavors to deepen.
Freezer: For longer storage, wrap individual slices tightly in plastic wrap, then place them in a freezer-safe container. It can be frozen for up to 2 months without losing its delightful taste.
Thawing: To enjoy frozen cheesecake, transfer it to the fridge 4–6 hours before serving. This gentle thawing method maintains the cheesecake's creamy texture and taste.
Reheating: Avoid reheating the cheesecake, as it’s best enjoyed chilled. Simply remove your desired slice from the fridge and let it sit for a few minutes before serving for optimal flavor.
Cherry Lemon Cheesecake Recipe FAQs
How do I choose ripe lemons for the cheesecake?
Look for lemons that are firm, smooth, and have a rich yellow color. Avoid any that have dark spots or are overly soft, as these may not provide the best flavor. A good lemon should feel heavy for its size, indicating plenty of juice inside!
What is the best way to store leftover cheesecake?
Store your Cherry Lemon Cheesecake in an airtight container in the refrigerator for up to 5 days. Make sure it's completely cooled before sealing it up. This will help maintain its rich, creamy texture and let the flavors deepen even more over time.
Can I freeze my Cherry Lemon Cheesecake?
Absolutely! For freezing, wrap individual slices tightly in plastic wrap and then place them in a freezer-safe container. This way, you can enjoy your cheesecake later without sacrificing its delightful taste. It can be frozen for up to 2 months.
What should I do if my cheesecake cracks while baking?
Don’t worry! If your cheesecake cracks, it’s still delicious. To prevent this, you can cool the cheesecake slowly in the oven with the door slightly ajar after baking. This helps minimize temperature changes that can cause cracking. If it does happen, a topping (like cherry pie filling) will beautifully cover it up!
Is this cheesecake safe for people with dairy allergies?
Since this recipe contains cream cheese and Greek yogurt, it’s not suitable for those with dairy allergies. However, you could experiment by substituting with dairy-free alternatives, like cashew cream or coconut yogurt, for a similar consistency and flavor. Just ensure your crust ingredients are also dairy-free!
Can I use different fruit toppings for my cheesecake?
The more the merrier! While cherry pie filling is delightful, feel free to use other fruits like blueberries, strawberries, or even a mixed berry topping. Just make sure to adjust the sweetness as needed based on the tartness or sweetness of the fruit you choose. Enjoy personalizing your Cherry Lemon Cheesecake!
Indulgent Cherry Lemon Cheesecake That Wows Every Bite
Ingredients
Equipment
Method
- Preheat your oven to 325°F (163°C).
- In a medium bowl, combine graham cracker crumbs, melted butter, and granulated sugar. Press into a 9-inch springform pan and bake for 8-10 minutes.
- In a large mixing bowl, beat softened cream cheese until smooth. Gradually add Greek yogurt, sugar, eggs, lemon juice, lemon zest, and vanilla extract. Mix until well combined.
- Pour the filling over the cooled crust and spread evenly. Bake for 40-45 minutes until the center is set but slightly jiggly.
- Turn off the oven, crack the door, and let the cheesecake cool inside for 1 hour.
- Refrigerate the cheesecake for at least 4 hours or overnight.
- Top with cherry pie filling and garnish with additional lemon zest if desired. Slice and serve.

Leave a Reply