
As I flipped through my old recipe book, the pages whispered tales of fairs and festivals, where sweet treats brought strangers together. Enter BeaverTails, that iconic Canadian delight that has a knack for transforming any ordinary day into a celebration. With just a handful of simple ingredients, you can whip up these deliciously crispy, doughy delights right in your own kitchen. Not only is this recipe quick to prepare, but it’s also a fantastic way to impress friends and family with a crowd-pleasing treat! Imagine the joy of custom toppings, whether it's a drizzle of Nutella, fresh strawberries, or a sprinkle of cinnamon sugar—each bite is an adventure. Are you ready to dive into this deliciously nostalgic experience and create your own BeaverTails? Let’s get started!
Why are BeaverTails a must-try?
Decadent, these BeaverTails are the ultimate indulgence, offering a unique twist that will have everyone coming back for seconds. Easy to make, this recipe requires just common pantry ingredients, making it accessible for any home cook. Customizable toppings let you unleash your creativity—think Nutella, fresh fruit, or whipped cream! Perfect for gatherings, these treats are guaranteed to steal the spotlight at any party or family get-together. So why not indulge in a sweet memory and create your own BeaverTails today?
BeaverTails Ingredients
Transform your cooking today with these BeaverTails ingredients!
For the Dough
- All-purpose flour – This forms the base of the dough for a perfect texture.
- Granulated sugar – A touch of sweetness to balance the flavors.
- Baking powder – Gives the dough a lovely lift while frying.
- Salt – Enhances overall flavor; don’t skip it!
- Cinnamon (optional) – Adds a warm spice; feel free to omit if preferred.
For the Yeast Mixture
- Warm water – Activates the yeast; make sure it’s not too hot!
- Active dry yeast – Essential for that delightful airy texture.
- Vegetable oil – Ensures a rich flavor and helps in frying; you’ll need more for that too!
For Toppings
- Cinnamon sugar – A classic topping, simply mix sugar with cinnamon for a tasty sprinkle.
- Nutella or chocolate spread – The ultimate indulgence for a chocolaty twist.
- Maple syrup – Adds a sweet, Canadian touch; drizzle generously!
- Sliced bananas – Fresh and creamy, they bring a delightful contrast.
- Chopped nuts – For a satisfying crunch, use your favorite variety.
- Whipped cream – Light and fluffy, perfect for decadent layering.
- Fresh berries – Bright and bursting with flavor, great for a refreshing finish.
With these ingredients, you’re all set to create your own mouth-watering BeaverTails!
Step‑by‑Step Instructions for BeaverTails
Step 1: Activate the Yeast
In a small bowl, mix ¾ cup of warm water with 1 tablespoon of active dry yeast. Allow this mixture to sit for about 5 minutes or until it becomes frothy and bubbly. This step is crucial for achieving that lovely airy texture in your BeaverTails, so look for that foam as an indicator of yeast activation!
Step 2: Combine the Dry Ingredients
In a large mixing bowl, whisk together 2 cups of all-purpose flour, 2 tablespoons of granulated sugar, 1 tablespoon of baking powder, ½ teaspoon of salt, and ½ teaspoon of cinnamon if desired. Ensure the dry mixture is well combined, as this will serve as the foundation for your dough, giving your BeaverTails the perfect flavor balance.
Step 3: Form the Dough
Pour the activated yeast mixture and 1 tablespoon of vegetable oil into the bowl with the dry ingredients. Stir everything together until a cohesive dough starts to form. At this point, the mixture may be a bit sticky, but that’s perfectly fine as it will come together beautifully with kneading.
Step 4: Knead the Dough
Transfer the dough onto a well-floured surface and knead it for about 5 minutes until it becomes smooth and elastic. Look for a dough that is soft yet slightly tacky. Once kneaded, place it in a greased bowl, cover it with a cloth, and let it rise in a warm place for about 30 minutes until it doubles in size.
Step 5: Roll Out the Dough
After the dough has risen, turn it out onto a floured surface again. Using a rolling pin, roll the dough out to about ¼ inch thick. You want it to be even for perfect frying. The dough should feel soft and pliable, perfect for cutting into the iconic BeaverTail shape.
Step 6: Cut the Shapes
Use a knife or a pizza cutter to slice the dough into oval shapes, mimicking beaver tails. Each piece should be about 5-6 inches long. As you cut, make sure to keep the edges neat; this will help them fry up beautifully in the next steps while maintaining that delightful shape.
Step 7: Heat the Oil
In a deep skillet or pot, heat about 2 inches of vegetable oil to 350°F (175°C). Use a kitchen thermometer to ensure the oil reaches the right temperature—this is key for achieving that golden brown finish. The oil is ready when small bubbles form around a wooden spoon dipped into it.
Step 8: Fry the BeaverTails
Carefully place a few shaped dough pieces into the hot oil, frying only a couple at a time to avoid overcrowding. Fry them for about 1-2 minutes per side, or until they turn golden brown and puffed. Use a slotted spoon to gently turn them, facilitating even cooking.
Step 9: Drain Excess Oil
Once golden brown, carefully remove the BeaverTails from the oil with a slotted spoon. Place them on a plate lined with paper towels, allowing them to drain and remove any excess oil. They should be crispy on the outside but still soft inside, signaling they are just right!
Step 10: Add Toppings
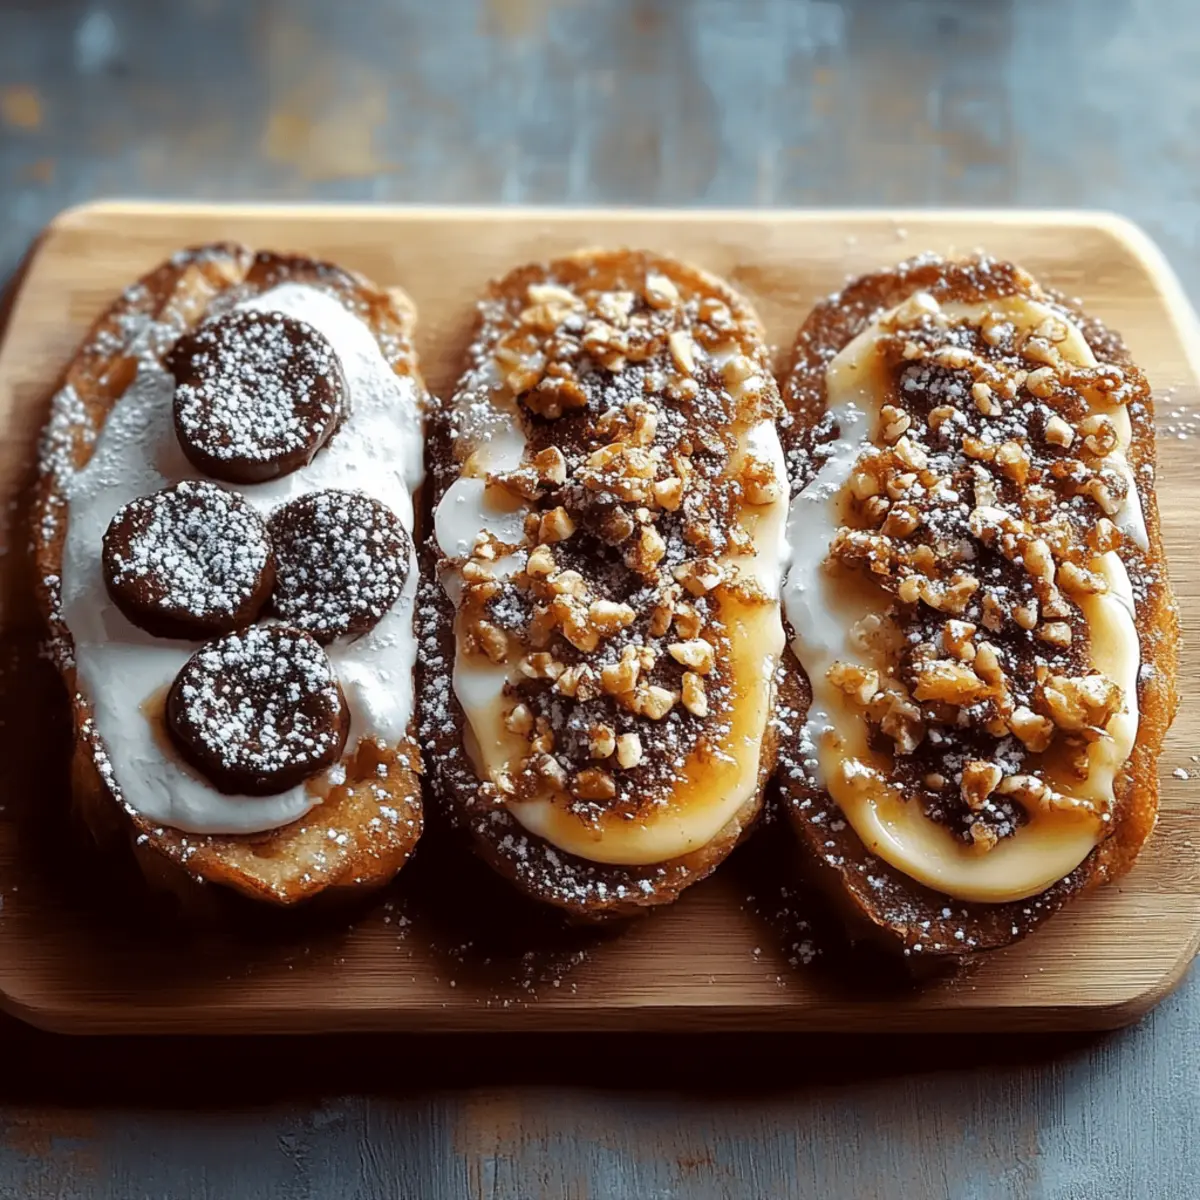
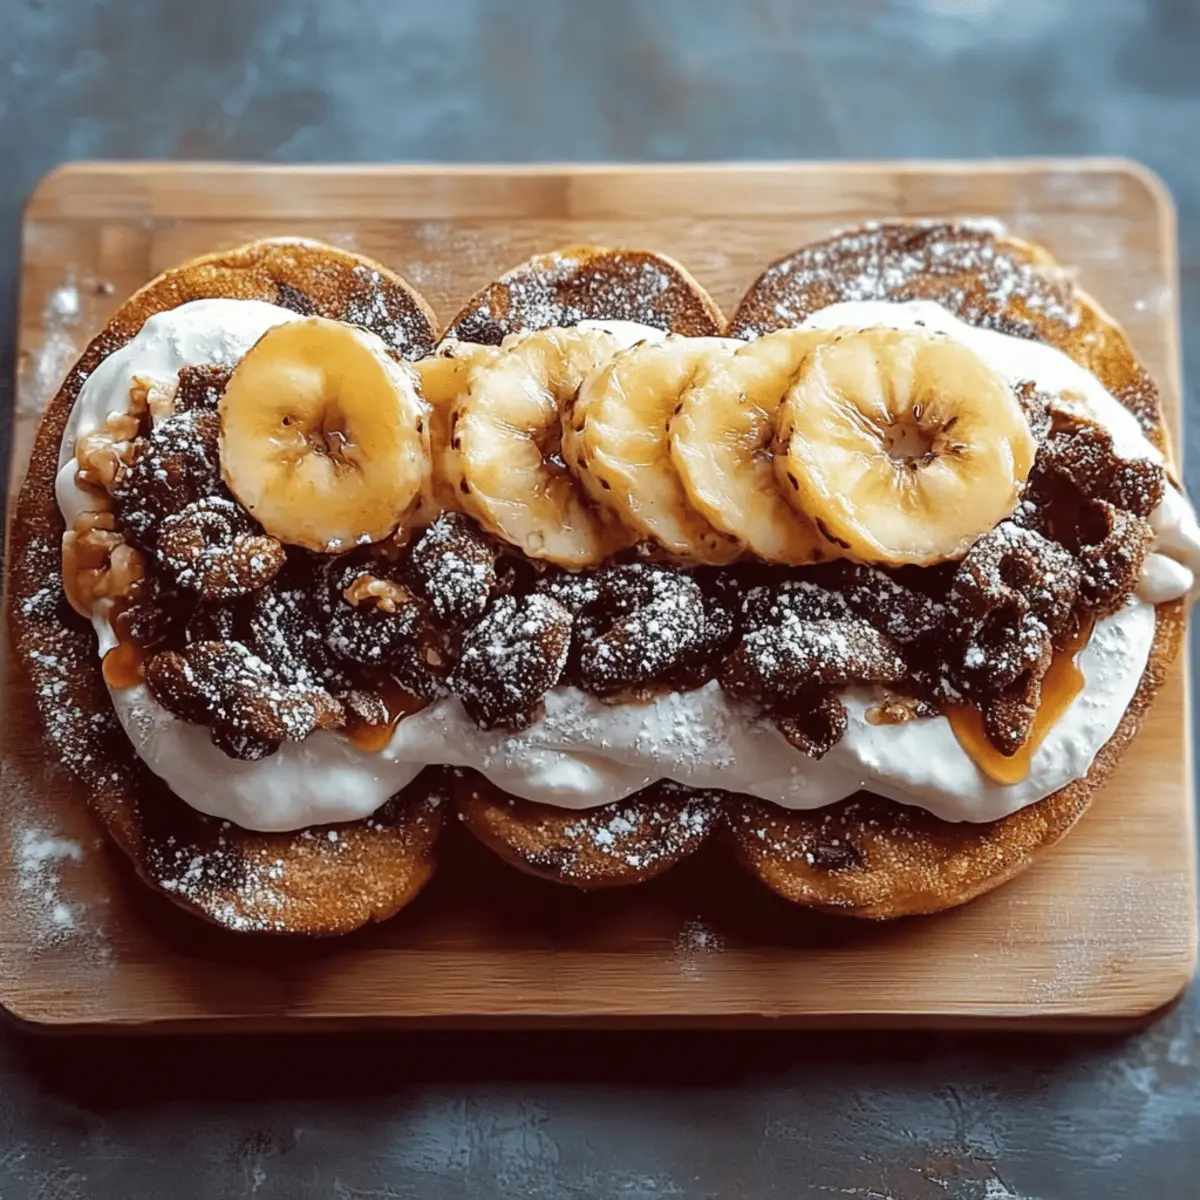
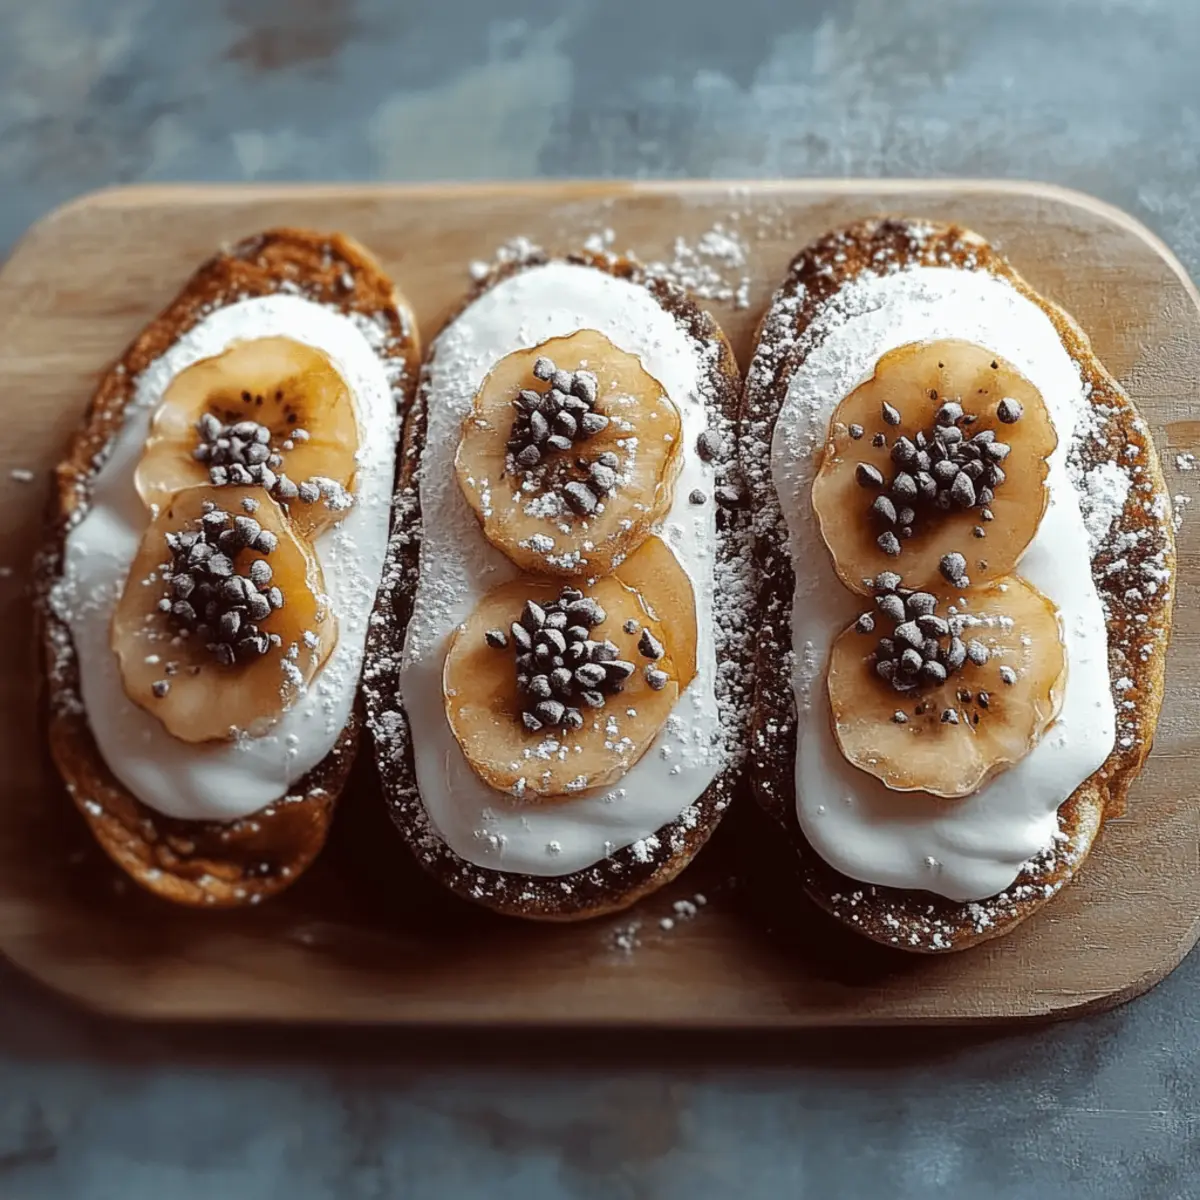
While still warm, sprinkle the BeaverTails with cinnamon sugar or generously spread Nutella on top. Feel free to customize with any toppings you enjoy, like sliced bananas, chopped nuts, whipped cream, or fresh berries. Each addition provides a delicious twist to your homemade BeaverTails.
Step 11: Serve and Enjoy
Serve your fresh, homemade BeaverTails immediately for the best experience. Each bite is a warm, delightful treat that promises to bring smiles all around. Gather friends and family to enjoy this Canadian classic together—your kitchen is about to become the happiest place!

How to Store and Freeze BeaverTails
Room Temperature: Store leftover BeaverTails in an airtight container at room temperature for up to 2 days. Reheat them in a toaster oven for a few minutes to regain that crispy texture.
Fridge: If you want to keep BeaverTails fresh for a bit longer, refrigerate them in an airtight container for up to 5 days. To reheat, place them in the oven for a few minutes.
Freezer: For longer storage, freeze BeaverTails individually wrapped in plastic wrap and then placed in a zip-top freezer bag. They can be frozen for up to 2 months. Reheat in the oven when ready to enjoy.
Reheating: The best way to reheat frozen BeaverTails is to bake them in a preheated oven at 350°F (175°C) for about 10 minutes for that crispy finish, making them just as delightful as when freshly made!
BeaverTails Variations & Substitutions
Feel free to spice up your BeaverTails experience with these delightful twists that will tantalize your taste buds!
-
Gluten-Free: Use a gluten-free all-purpose flour blend for a celiac-friendly option without losing that fluffy texture.
-
Dairy-Free: Swap out Nutella for a dairy-free chocolate spread or nut butter to keep it indulgent yet vegan-friendly.
-
Spicy Kick: Add a dash of cayenne pepper or chili powder to your cinnamon sugar for a surprising twist that gives a gentle heat.
-
Fruit Fusion: Experiment with seasonal fruits; fresh peaches or grilled pineapple make for a refreshing topping that bursts with flavor.
-
Nutty Flavor: Incorporate almond extract into the dough for a fragrant touch, elevating the sweetness of your BeaverTails.
-
Savory Option: Try adding crumbled feta and fresh herbs to the dough for a savory take on this classic treat, perfect for snacking.
-
Chocolate Lovers: Mix in mini chocolate chips into the dough for an extra chocolatey delight that pairs perfectly with toppings!
-
Coconut Crunch: Roll the cooked BeaverTails in shredded coconut instead of cinnamon sugar for a tropical flair that adds a delightful texture.
With these simple variations, your BeaverTails can be tailored to every mood and occasion. Enjoy the journey of flavors!
Expert Tips for BeaverTails
-
Perfect Dough Texture: Ensure the dough is soft but slightly tacky before frying. Over-kneading can make it tough, while under-kneading may lead to dense BeaverTails.
-
Oil Temperature Matters: Always fry at 350°F (175°C). Too low, and they’ll absorb oil; too high, and they’ll burn. Use a thermometer for accuracy!
-
Cut Even Shapes: Make sure all your dough pieces are roughly the same size and thickness. This ensures even frying and a beautifully consistent appearance.
-
Customize Wisely: While Nutella is a favorite, don’t hesitate to experiment with local flavors. Try maple syrup, fresh fruit, or seasonal toppings for a delightful twist.
-
Serve Fresh: BeaverTails are best enjoyed right after frying when they're hot and crispy. Prepare them just before serving to maintain optimal texture and flavor!
Make Ahead Options
These BeaverTails are perfect for busy home cooks looking to save time without sacrificing flavor! You can prepare the dough up to 24 hours in advance. Simply follow the first five steps, allowing the dough to rise, then cover it tightly with plastic wrap and refrigerate. When you’re ready to enjoy your BeaverTails, take the dough out and let it return to room temperature for about 30 minutes before rolling and cutting into shapes. This ensures they remain fluffy and delicious when fried. By meal prepping the dough ahead, you’ll cut down on cooking time, allowing you to whip up these delightful treats whenever the craving strikes!
What to Serve with BeaverTails?
Pairing your BeaverTails with delightful sides and drinks can elevate your homemade treat into a full-fledged feast.
-
Creamy Vanilla Ice Cream: A scoop of creamy vanilla ice cream complements the warm, fluffy texture, creating a heavenly contrast. The cold and hot combination is simply irresistible!
-
Fresh Fruit Salad: Bright and refreshing, a mixed fruit salad adds a burst of color and flavor. Choose strawberries, blueberries, and kiwi to enhance that berry sweetness!
-
Chocolate Milkshake: Indulge your inner child with a rich chocolate milkshake. This creamy drink pairs perfectly with the chocolatey goodness of Nutella on your BeaverTails.
-
Sparkling Lemonade: The tartness of sparkling lemonade balances the sweetness of your BeaverTails beautifully. It's a tangy companion that refreshes the palate!
-
Cinnamon Sugar Dusted Popcorn: This fun snack mirrors the warm flavors of the BeaverTails with its sweet and salty profile. Plus, it adds a delightful crunch to your dessert table.
-
Maple Pecan Pie: Embrace the sweet Canadian spirit with a slice of maple pecan pie. The pie’s rich flavors complement the toppings on your BeaverTails and create a comforting ending to your meal.
-
Coffee or Hot Chocolate: A warm drink such as coffee or rich hot chocolate can beautifully enhance the cozy experience of enjoying BeaverTails. Sip slowly to savor the flavors!
Feel free to mix and match, ensuring a deliciously memorable experience each time!
BeaverTails Recipe FAQs
What kind of flour should I use for BeaverTails?
Absolutely! For the best results, I recommend using all-purpose flour. It provides the perfect balance of structure and tenderness to the dough. If you’re feeling adventurous, you might try substituting a portion with whole wheat flour for a nuttier flavor—but keep in mind that it may alter the texture slightly.
How should I store leftover BeaverTails?
You can store leftover BeaverTails in an airtight container at room temperature for up to 2 days. For improved freshness, refrigerate them in the same manner for up to 5 days. If you're keen on keeping them longer, wrap them individually in plastic wrap, then store in a zip-top freezer bag for up to 2 months. When ready to enjoy, just pop them in the oven for a quick reheat!
Can I freeze BeaverTails, and how do I do it?
Yes, you can freeze BeaverTails! First, allow them to cool completely after frying. Then wrap each one individually in plastic wrap, making sure it's well-sealed to prevent freezer burn. Place them in a zip-top freezer bag and store them in the freezer for up to 2 months. When you’re ready to indulge, reheat them in a preheated oven at 350°F (175°C) for about 10 minutes until they’re crispy and delightful once again.
What should I do if my dough isn’t rising?
If your dough isn’t rising as it should, several factors could be at play. First, make sure your yeast is fresh—it's best if used before the expiration date. If your kitchen is too cold, the yeast may struggle; try placing the bowl in a warmer spot or near a gently warm oven. Lastly, ensure the water you used to activate the yeast wasn't too hot, as it can kill the yeast. If all else fails, knead the dough a bit longer and give it another chance to rise.
Are there any dietary considerations I should be aware of with BeaverTails?
Definitely! Since the recipe contains gluten from the all-purpose flour and can include toppings like Nutella which may contain nuts, be aware of allergies. For a gluten-free version, you can substitute the flour with a gluten-free all-purpose blend—just check that it includes xanthan gum for texture. Always read labels on toppings for allergens, especially if serving to guests.
Decadent BeaverTails with Tasty Toppings You’ll Love
Ingredients
Equipment
Method
- In a small bowl, mix ¾ cup of warm water with 1 tablespoon of active dry yeast. Let sit for 5 minutes or until frothy.
- In a large mixing bowl, whisk together 2 cups of all-purpose flour, 2 tablespoons of sugar, 1 tablespoon of baking powder, ½ teaspoon salt, and ½ teaspoon cinnamon.
- Pour in the yeast mixture and 1 tablespoon of vegetable oil. Stir until a cohesive dough forms.
- Knead the dough on a floured surface for about 5 minutes until smooth and elastic. Place in a greased bowl, cover, and let rise for 30 minutes.
- Roll out the dough to about ¼ inch thickness. Cut into oval shapes about 5-6 inches long.
- Heat about 2 inches of vegetable oil to 350°F (175°C).
- Fry the dough pieces for about 1-2 minutes per side, until golden brown.
- Drain on paper towels and keep warm.
- Top with cinnamon sugar, Nutella, or any toppings of your choice.
- Serve immediately and enjoy your BeaverTails!


Leave a Reply