
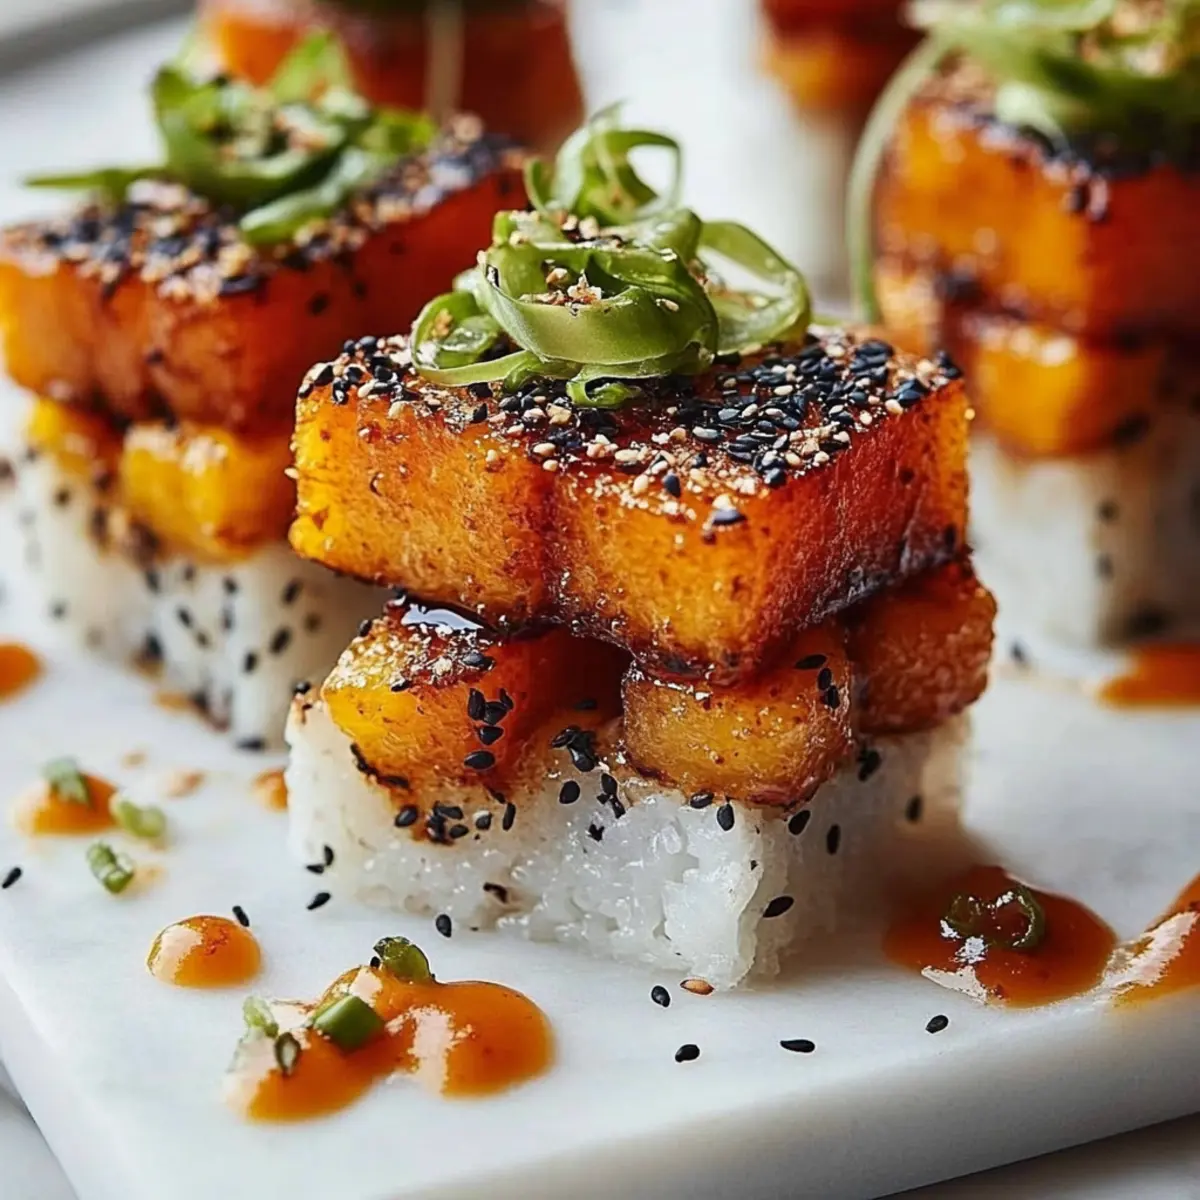
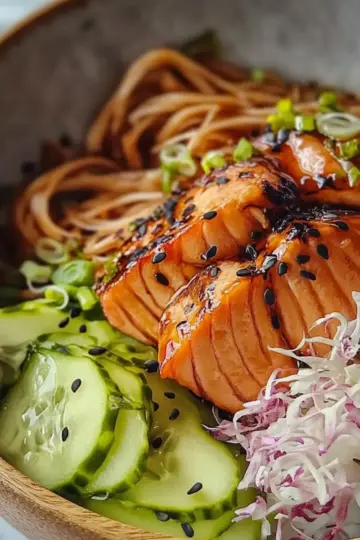
The first time I made Salmon Sushi Bake Cups, I felt like I had discovered a hidden treasure tucked away in my kitchen! These delightful little bites are not only a creative twist on traditional sushi but also a breeze to prepare, making them perfect for busy weeknights or a fun gathering with friends. With just 15 minutes of prep time, you can whip up a flavorful blend of sushi rice and spicy salmon, all nestled in crispy seaweed cups. Not only are these bake cups a guaranteed crowd-pleaser, but they also offer a healthier alternative to takeout, giving you more control over the ingredients. Ready to dive into a delicious adventure that will impress your loved ones? Let’s get started!
Why will you love these bake cups?
Convenience packed into a fun bite: With just 27 minutes from start to finish, these Salmon Sushi Bake Cups are perfect for busy weeknights.
Deliciously Unique flavor profile: The delightful mix of spicy salmon and creamy avocado contrasts beautifully against the crispy seaweed base.
Crowd-pleasing appeal: Whether for a dinner party or family gathering, everyone will be coming back for more of these little gems.
Healthy twist on takeout: Save on calories without sacrificing flavor with this homemade alternative, ensuring you know exactly what's in each bite.
Customizable to your taste: Feel free to add extra toppings or adjust the spice level to suit your family's preferences!
Salmon Sushi Bake Cups Ingredients
Unleash the flavors of homemade sushi!
For the Rice Base
• Cooked sushi rice – a vital element that provides the perfect texture and holds everything together.
• Rice vinegar – adds a tangy depth, balancing the flavors brilliantly.
• Sugar – enhances the overall sweetness for that authentic sushi taste.
• Salt – elevates all the flavors in your bake cups.
For the Salmon Mixture
• Flaked cooked salmon – the star of the show, bringing rich flavors and healthy omega-3s.
• Mayonnaise – gives creaminess and smooth texture to the mix.
• Sriracha – adds a delightful kick; adjust according to your spice preference!
• Soy sauce – infuses a savory umami boost that complements the salmon perfectly.
• Sesame oil – brings a nutty note that rounds out the flavor profile.
For Assembly
• Roasted seaweed sheets – these create the scrumptious edible bowls for our bake cups.
• Diced avocado – adds creaminess and freshness on top of the warm cups.
• Sliced green onions – provides a burst of color and subtle zing.
• Additional sriracha – drizzle on top for that extra fiery flair!
• Sesame seeds – a crunchy topping that adds a little extra fun and texture.
Now you're ready to embark on making these unforgettable Salmon Sushi Bake Cups that everyone will love!
Step‑by‑Step Instructions for Salmon Sushi Bake Cups
Step 1: Prepare the Sushi Rice
Warm your cooked sushi rice slightly in the microwave for about 30 seconds, then combine it with rice vinegar, sugar, and salt in a mixing bowl. Stir gently until all ingredients are evenly distributed and the rice is well-coated. Set the mixture aside to cool slightly while you prepare the salmon filling.
Step 2: Mix the Salmon Filling
In a separate medium bowl, thoroughly combine the flaked cooked salmon with mayonnaise, sriracha, soy sauce, and sesame oil. Use a fork to break apart any clumps of salmon, ensuring a good mix of flavors. The result should be a creamy and spicy mixture that complements the sushi rice beautifully.
Step 3: Prepare the Seaweed Cups
Take six sheets of roasted seaweed and cut them into squares, roughly 4 inches by 4 inches each. Gently press each square into the cups of a muffin tin, shaping them into little bowls that will hold your sushi bake. Make sure the edges rise above the muffin tin for a nice presentation and to contain the filling.
Step 4: Assemble the Rice Layer
Spoon approximately 2 tablespoons of the seasoned sushi rice into each seaweed cup, pressing down gently to create an even base layer. This will stabilize the cups and add a delicious texture. Ensure each cup is filled evenly so they all bake uniformly when you prepare your Salmon Sushi Bake Cups.
Step 5: Add the Salmon Mixture
Top each rice-filled seaweed cup with a generous spoonful of the spicy salmon mixture, making sure to cover the rice completely. Use the back of the spoon to press it down slightly for even distribution. This step combines the flavors perfectly, ensuring every bite is bursting with the delicious salmon filling.
Step 6: Bake the Cups
Preheat your oven to 375°F (190°C). Place the muffin tin in the oven and bake the Salmon Sushi Bake Cups for 10–12 minutes. Keep an eye on them; they should be heated through and slightly golden on the edges of the seaweed. The aroma filling your kitchen will make it hard to wait!
Step 7: Cool and Garnish
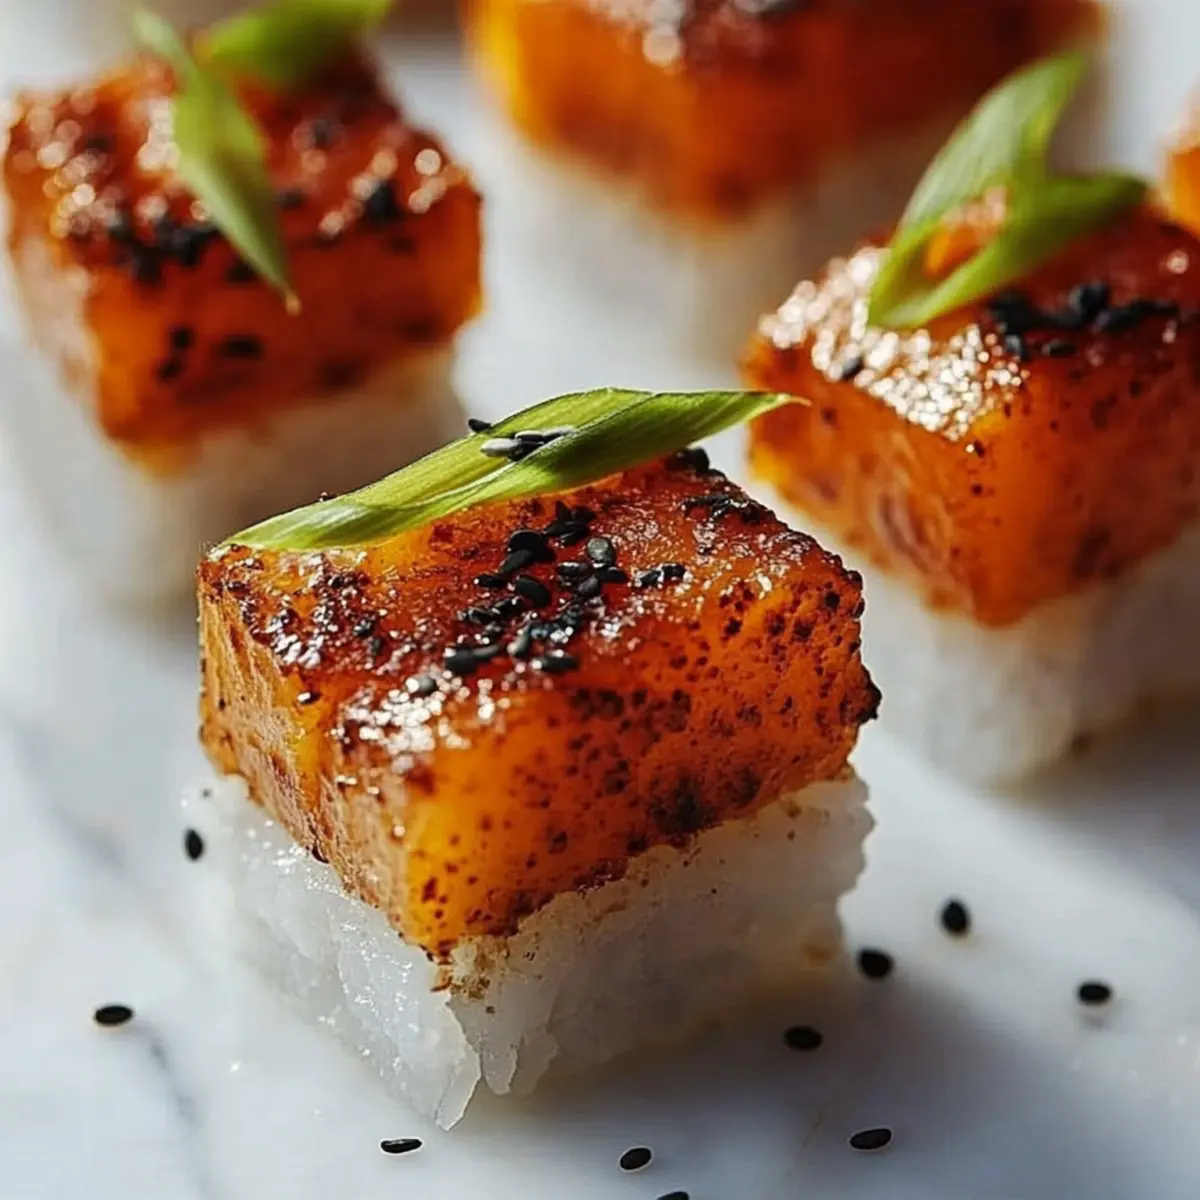
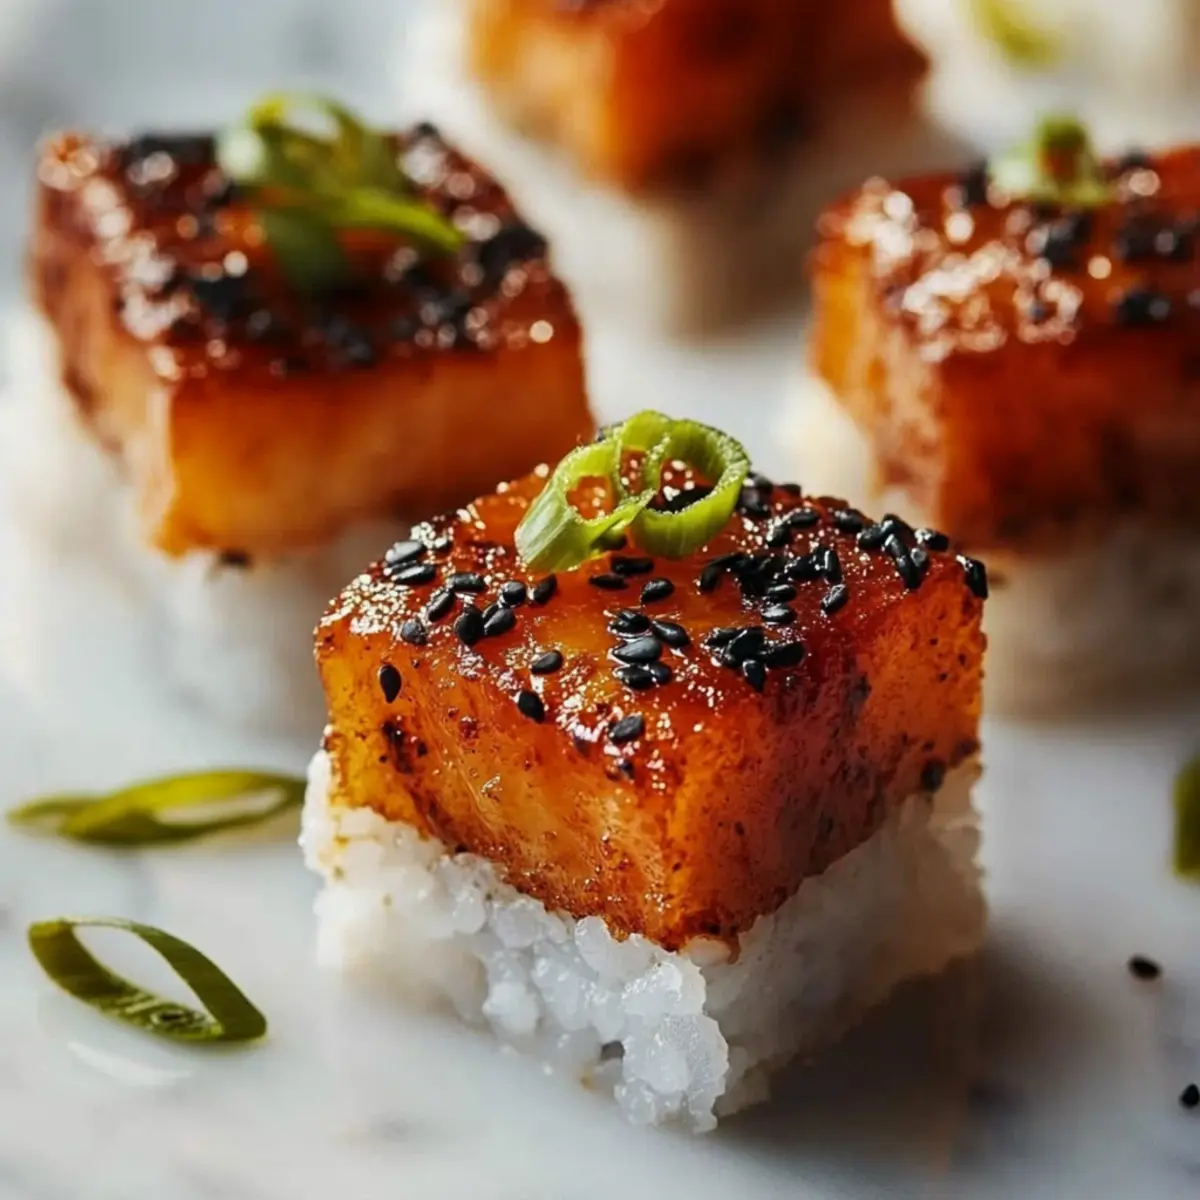
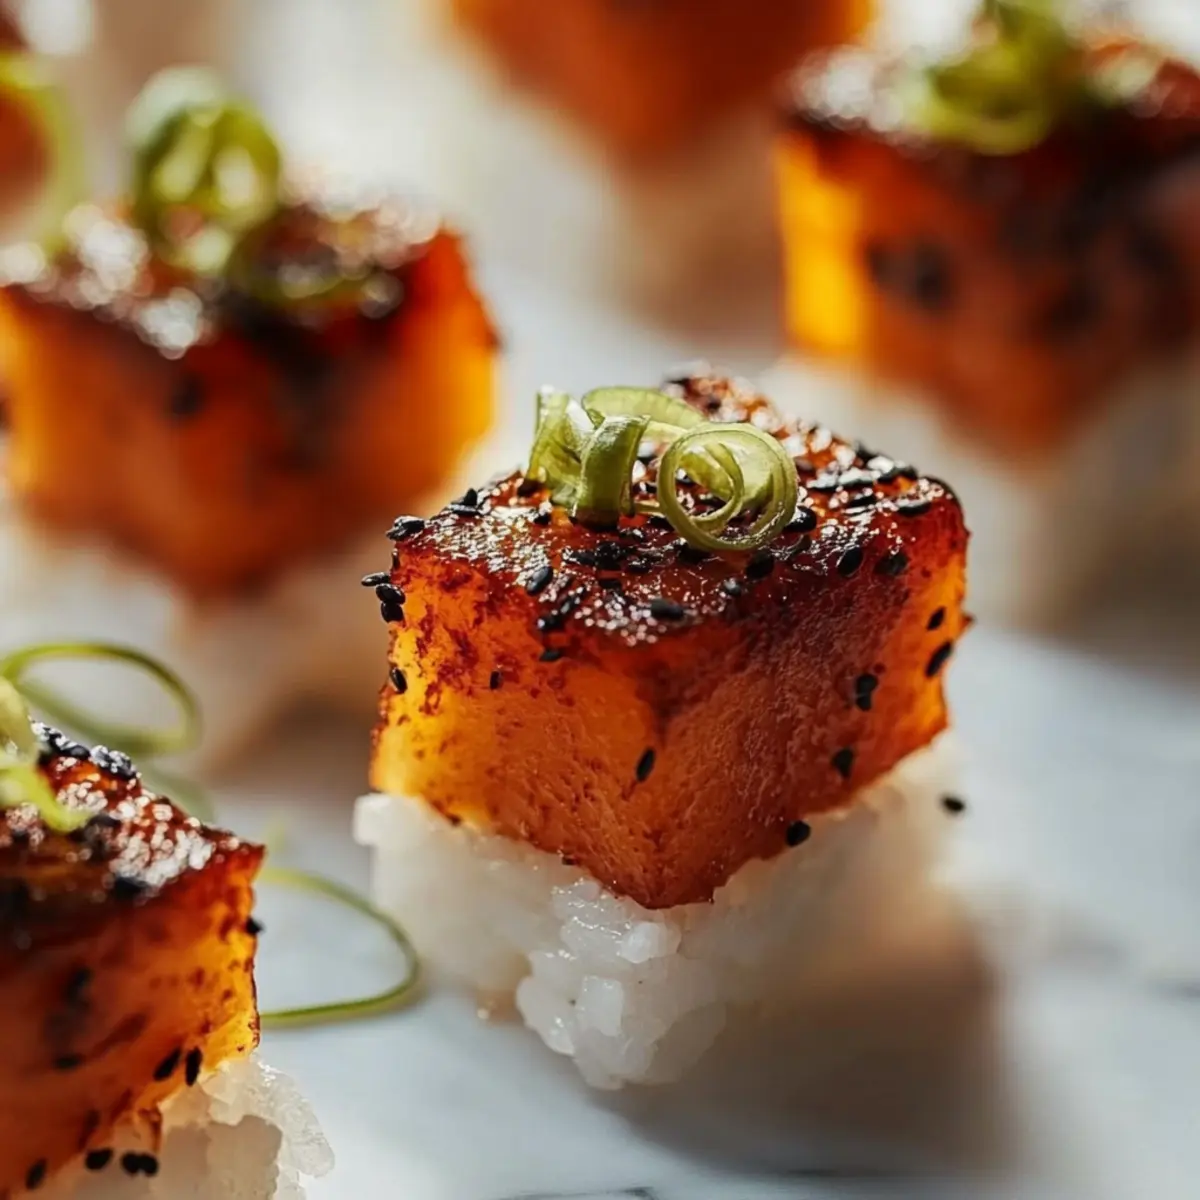
Remove the muffin tin from the oven and allow the sushi bake cups to cool for about 5 minutes—this helps set the flavors and makes them easier to handle. Just before serving, adorn each cup with diced avocado, a sprinkle of sliced green onions, a drizzle of sriracha, and a dusting of sesame seeds for an inviting presentation.
Expert Tips for Salmon Sushi Bake Cups
-
Perfectly Fluffy Rice: Always use freshly cooked sushi rice; it should be warm when mixing with vinegar for best texture.
-
Avoid Overfilling: Don’t overstuff the seaweed cups; leave a little space to allow the mixture to set and get crispy edges.
-
Adjust the Heat: Customize the spice level by adjusting the amount of sriracha in the salmon mixture to suit your taste.
-
Crisp the Edges: Bake just until the edges of the seaweed are lightly crispy; overbaking can make them too hard.
-
Garnish Creatively: Experiment with additional toppings like sesame seeds or pickled ginger to enhance your Salmon Sushi Bake Cups!
Variations & Substitutions for Salmon Sushi Bake Cups
Feel free to play around with these ideas and make the recipe your own in a delicious way!
-
Dairy-Free: Swap mayonnaise for a creamy avocado blend or dairy-free mayonnaise for a lighter touch.
-
Spicy Twist: Mix in some chopped jalapeños or a dash of chili flakes for an exciting heat kick that’ll tantalize your taste buds!
-
Protein Boost: Replace cooked salmon with shredded grilled chicken or tofu for a delightful alternative that’s just as flavorful.
-
Veggie Delight: Add finely diced veggies like bell peppers or cucumbers to the salmon mixture, enhancing crunch and freshness in each bite.
-
Seasonal Flavors: Incorporate seasonal ingredients like mango or fresh herbs such as cilantro for a touch of fruity or fragrant flair.
-
Quinoa Base: Substitute sushi rice with cooked quinoa as a nutritious alternative, slightly nutty, yet equally delicious!
-
Mini Bites: Use a mini muffin tin for bite-sized versions of these cupcakes, making them the perfect appetizer for parties.
-
Garlic Kick: For a little umami flavor boost, toss in minced garlic or garlic powder into the rice mixture for a savory surprise.
How to Store and Freeze Salmon Sushi Bake Cups
Fridge: Store any leftover Salmon Sushi Bake Cups in an airtight container for up to 3 days. Reheat in the microwave for best results, covering with a damp paper towel.
Freezer: For longer storage, freeze the cups individually wrapped in plastic wrap for up to 3 months. Thaw overnight in the fridge before reheating.
Reheating: To reheat, place the thawed cups in the oven at 375°F for about 10 minutes or until warmed through. This helps maintain the crispy seaweed texture.
Freshness Tip: For optimal flavor, enjoy them freshly baked, but the fridge or freezer options ensure you can savor these delicious bites later!
What to Serve with Salmon Sushi Bake Cups
Transform your delightful evenings into a full dining experience with the perfect pairings!
- Crispy Edamame: These lightly salted soybeans offer a satisfying crunch and nutty flavor, perfectly complementing the savory sushi cups.
- Miso Soup: A warm bowl of miso soup, with its umami richness, balances the spiciness of the Salmon Sushi Bake Cups, creating a comforting contrast.
- Fresh Seaweed Salad: This dish brings a refreshing and tangy touch, enhancing the overall sushi experience with its crunchy texture.
- Sushi-Style Cucumber Salad: A light and tangy salad made with vinegar and sesame oil strikes a harmonious balance against the rich salmon flavor.
For drinks:
- Chilled Sake: The smooth, floral notes of chilled sake enhance the dish's flavors, making it a perfect pairing for an authentic experience.
- Crisp White Wine: A chilled glass of Sauvignon Blanc brings refreshing acidity, harmonizing beautifully with the rich and spicy elements of the bake cups.
And for a sweet finish:
- Green Tea Mochi: These chewy, sweet treats provide a delightful contrast and a light ending to your sushi-inspired meal.
- Matcha Tiramisu: For a fun twist, this creamy dessert infuses traditional tiramisu with green tea flavors, echoing the koi pond colors of the meal.
Create a meal that delights all the senses with these harmonious pairings!
Make Ahead Options
These Salmon Sushi Bake Cups are perfect for meal prep enthusiasts! You can prepare the sushi rice and salmon filling up to 24 hours in advance, storing each component separately in airtight containers in the refrigerator. For optimal quality, refrigerate the rice mixture and the salmon filling to prevent browning and sogginess. When you're ready to enjoy, simply assemble the filled seaweed cups and bake them in a preheated oven at 375°F (190°C) for 10–12 minutes until warmed through. This way, you can savor the delightful flavors of these Salmon Sushi Bake Cups without the stress, making your busy weeknights a breeze!
Salmon Sushi Bake Cups Recipe FAQs
What type of salmon should I use for the filling?
Absolutely! Opt for flaked cooked salmon, such as canned or leftover poached salmon. Just ensure it’s well-drained for the best texture. If fresh, cook it first before adding to the mixture.
How should I store leftover Salmon Sushi Bake Cups?
Store any leftover Salmon Sushi Bake Cups in an airtight container in the fridge for up to 3 days. I recommend reheating in the microwave with a damp paper towel to keep them moist.
Can I freeze Salmon Sushi Bake Cups?
Yes! For freezing, wrap each cup tightly in plastic wrap and store them in a freezer-safe container for up to 3 months. To thaw, place them in the fridge overnight before reheating in the oven.
What if my seaweed cups aren’t crispy enough after baking?
If your seaweed cups are soft, try to bake them a minute or two longer while keeping an eye on the edges. If they remain soft, you might have added too much filling; next time, ensure they're not overstuffed!
Are these Salmon Sushi Bake Cups suitable for individuals with gluten allergies?
Definitely! Use gluten-free soy sauce or tamari in your salmon mixture instead of regular soy sauce. This way, everyone can enjoy the fantastic flavors of your Salmon Sushi Bake Cups without worrying.
What’s the best way to serve these cups for a gathering?
Serve them warm, garnished with diced avocado, green onions, and a drizzle of extra sriracha. You can even create a fun sushi bake cup platter with dipping sauces on the side for variety!
Irresistibly Easy Salmon Sushi Bake Cups You’ll Love
Ingredients
Equipment
Method
- Warm your cooked sushi rice slightly in the microwave for about 30 seconds. Combine it with rice vinegar, sugar, and salt in a mixing bowl. Stir gently until evenly distributed.
- In a separate bowl, combine flaked cooked salmon with mayonnaise, sriracha, soy sauce, and sesame oil. Mix thoroughly until creamy.
- Cut six sheets of roasted seaweed into squares. Press each square into the cups of a muffin tin to form bowls.
- Spoon approximately 2 tablespoons of sushi rice into each seaweed cup, pressing down gently for an even base.
- Top each rice-filled seaweed cup with a spoonful of the spicy salmon mixture, pressing it down slightly.
- Preheat the oven to 375°F (190°C). Bake the cups for 10-12 minutes until heated through and slightly golden.
- Allow the sushi bake cups to cool for 5 minutes, then garnish with diced avocado, sliced green onions, additional sriracha, and sesame seeds.


Leave a Reply