
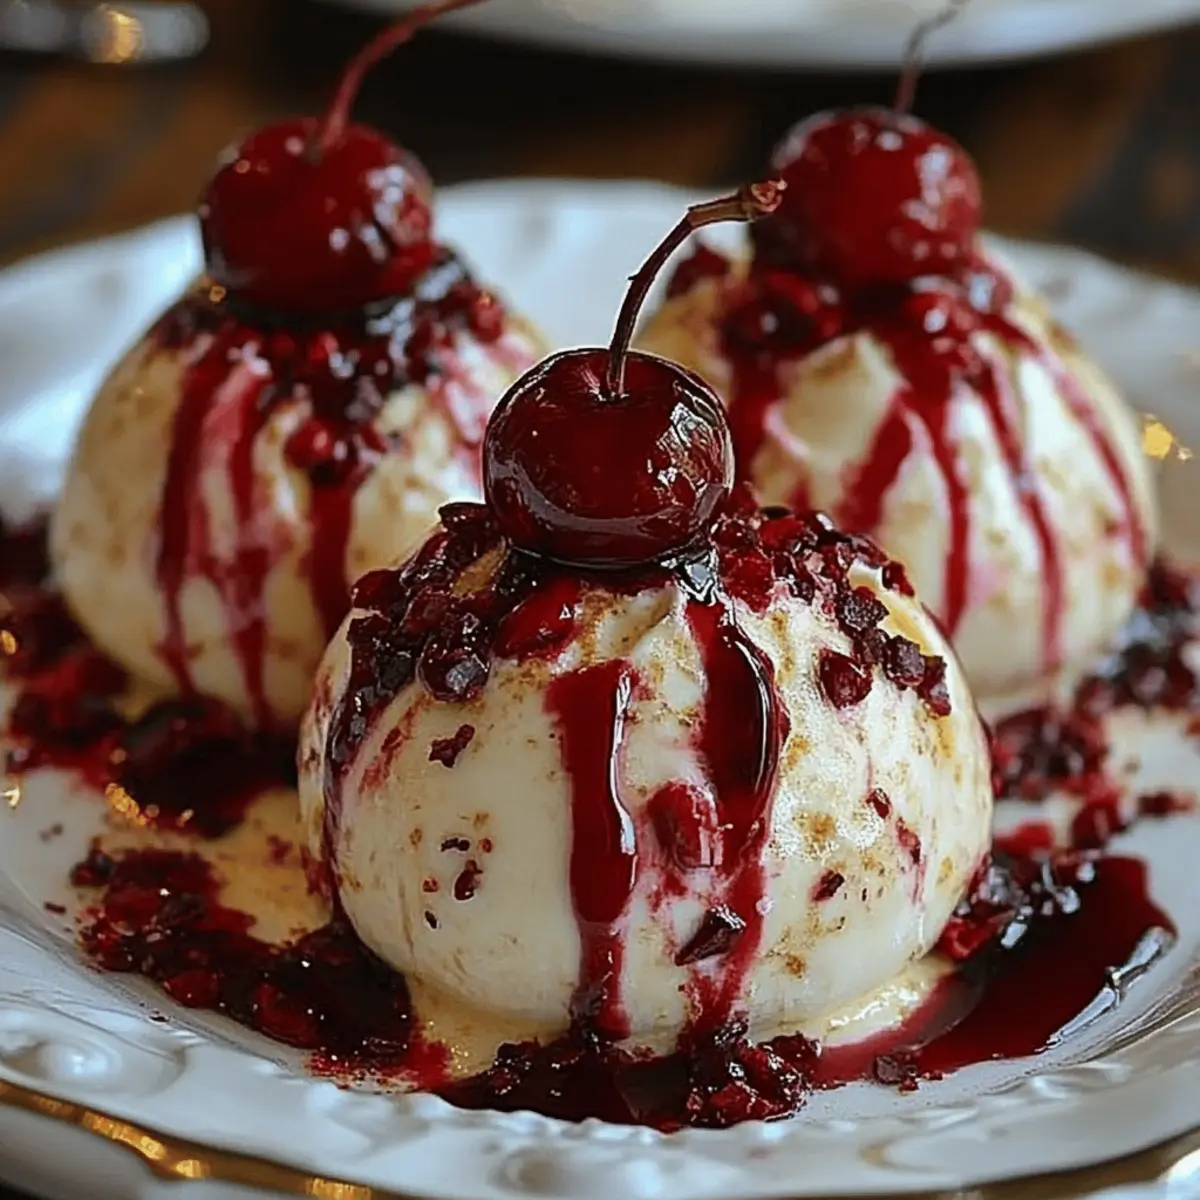
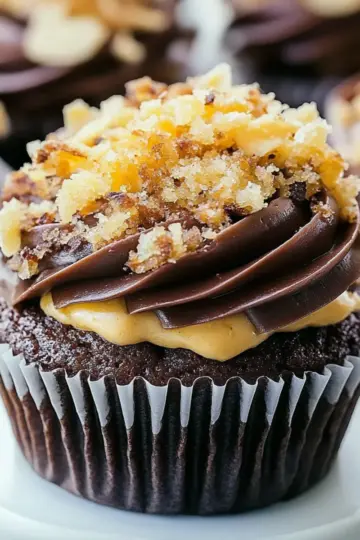
The sweet aroma of freshly baked cherry treats wafted through the kitchen, prompting my family to gather around like bees to honey. That’s the magic of these Cherry Pie Bombs! They’re not just a delightful treat; they transform the humble biscuit dough into something extraordinary, making it a perfect quick dessert. You won’t believe how easy it is to whip up this crowd-pleaser that’s both reduced-fat and packed with no-sugar-added cherry filling. In mere minutes, you can have a warm, gooey bite for movie night or a sweet surprise for guests. And let’s be real—who doesn’t love a dessert that’s both nostalgic and effortlessly fun to make? Are you ready to create something deliciously irresistible?
Why are Cherry Pie Bombs a Must-Try?
Deliciously Simple: These easy-to-make treats come together in just a few minutes, making them perfect for any occasion.
Irresistible Flavor: The combination of buttery biscuit dough and sweet cherry filling creates a taste sensation that’s hard to beat.
Versatile Treats: Enjoy them warm on their own or elevate with a drizzle of glaze for a stunning dessert.
Healthy Indulgence: With reduced-fat dough and no-sugar-added filling, you can indulge without the guilt.
Crowd-Pleasing: Whether for movie night or a family gathering, these Cherry Pie Bombs are sure to impress everyone!
Cherry Pie Bomb Ingredients
• Get ready to create something scrumptious!
For the Bombs
- Reduced-fat refrigerated biscuit dough – A lighter option that still delivers delightful texture and taste.
- No-sugar-added cherry pie filling – Perfect for a guilt-free burst of flavor without compromising on sweetness.
For the Topping
- Light butter or cooking spray – Use this for a golden, crispy exterior that beckons you in for a bite.
- Granulated sugar (or sugar substitute) – Adds a touch of sweetness; a sugar substitute can be used for a healthier alternative.
- Cinnamon (optional) – A warm spice that adds depth to the Cherry Pie Bombs, elevating the flavor profile!
Step‑by‑Step Instructions for Cherry Pie Bombs
Step 1: Preheat the Oven or Air Fryer
Begin by preheating your oven to 375°F (190°C) or setting your air fryer to 350°F (175°C). This step is crucial for ensuring that your Cherry Pie Bombs cook evenly and achieve that gorgeous golden-brown finish. While your appliance heats up, you can prep the dough for an efficient workflow.
Step 2: Prepare the Biscuit Dough
Carefully separate the 8-count tube of reduced-fat refrigerated biscuit dough. On a clean, flat surface, gently flatten each biscuit into a circle about 3 inches wide. Look for a consistent thickness; this will help your Cherry Pie Bombs cook uniformly. Make sure to work with one piece at a time to keep your focus sharp and your dough intact.
Step 3: Fill with Cherry Pie Delight
Take a teaspoon of no-sugar-added cherry pie filling and place it right in the center of each dough circle. Be cautious not to overfill, as this could cause the filling to leak out during baking. A tidy filling will help ensure that your treats maintain their delightful shape and all that sweet cherry goodness stays inside.
Step 4: Seal the Dough
Fold the edges of the biscuit dough around the cherry filling, gently pinching and sealing the edges to create a neat pocket. After sealing, roll each filled dough ball gently into a smooth ball shape. Place these seam-side down onto a baking sheet lined with parchment paper or directly into the air fryer basket for optimal cooking.
Step 5: Add a Glossy Finish
To achieve a beautiful golden crust, lightly brush the tops of the Cherry Pie Bombs with melted light butter or spray them with cooking spray. This adds not only a lovely sheen but also enhances the flavor. In a small bowl, mix the granulated sugar with cinnamon for an optional sweet and spicy topping, then sprinkle this blend generously over each bomb for extra flavor.
Step 6: Bake to Perfection
Bake your Cherry Pie Bombs in the preheated oven for 10-12 minutes, or air fry them for 8-10 minutes. Keep an eye on them as they approach the end of cooking time; you’re looking for a golden-brown exterior that signals they’re ready to come out. The delicious aroma will fill your kitchen!
Step 7: Cool and Serve
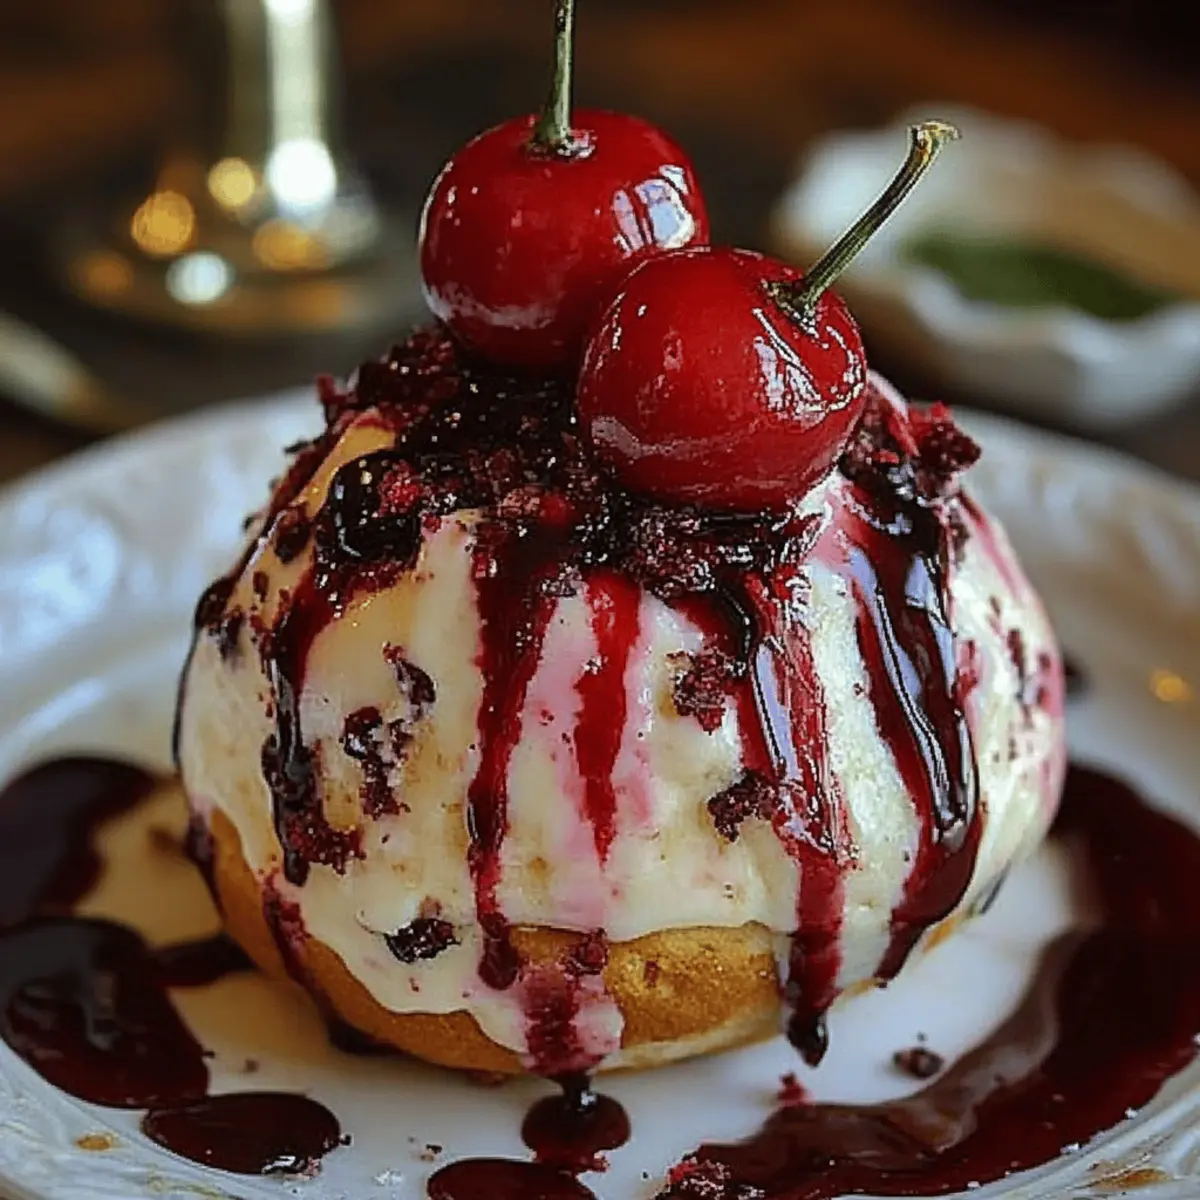
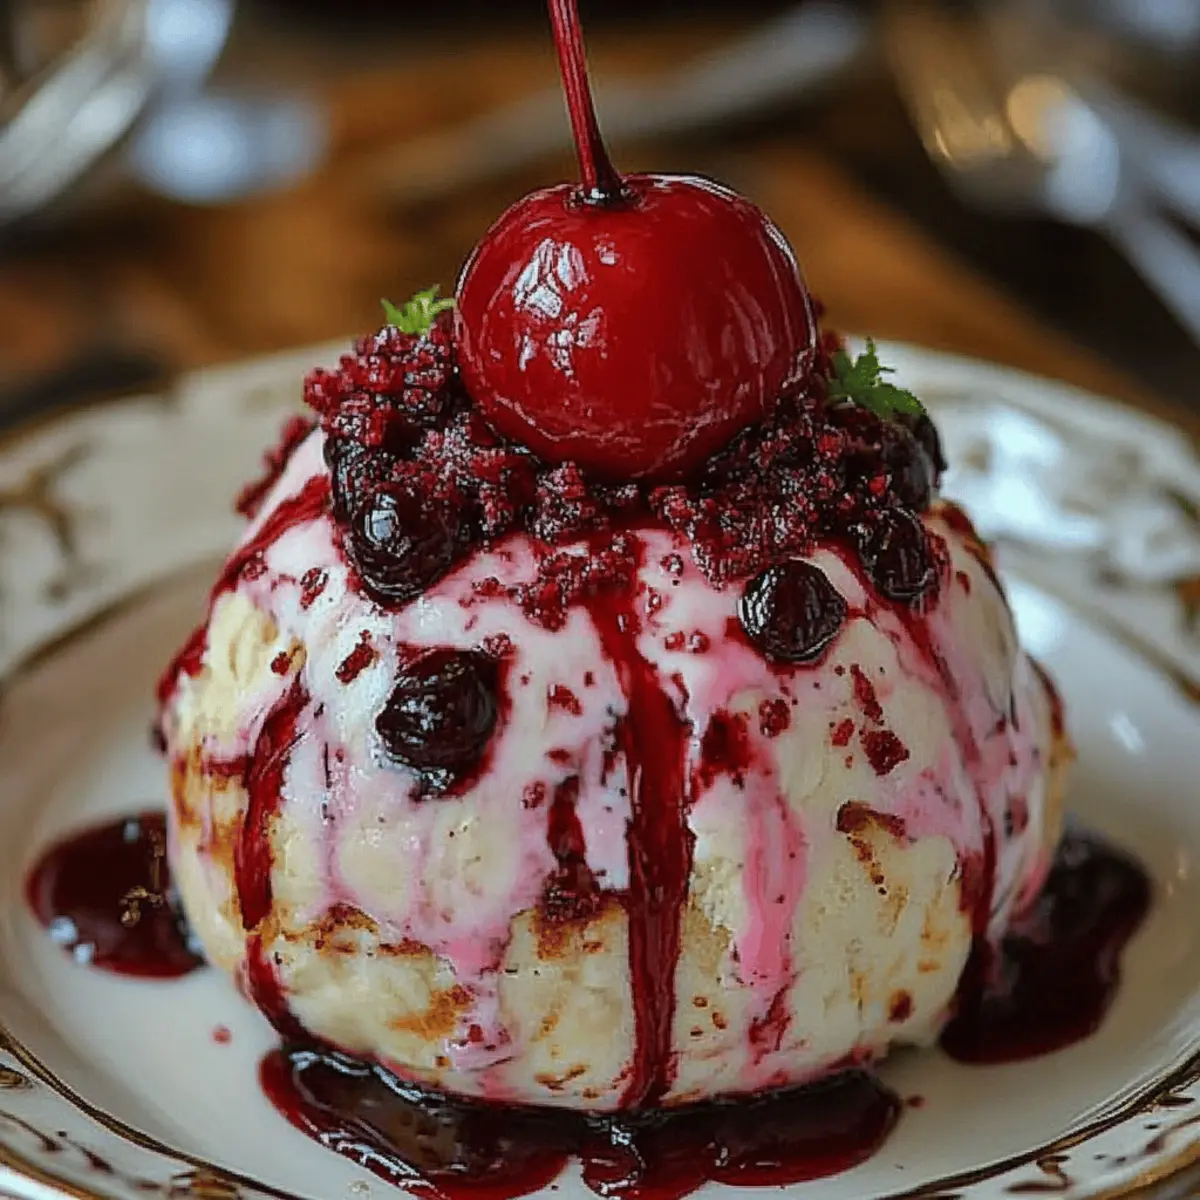
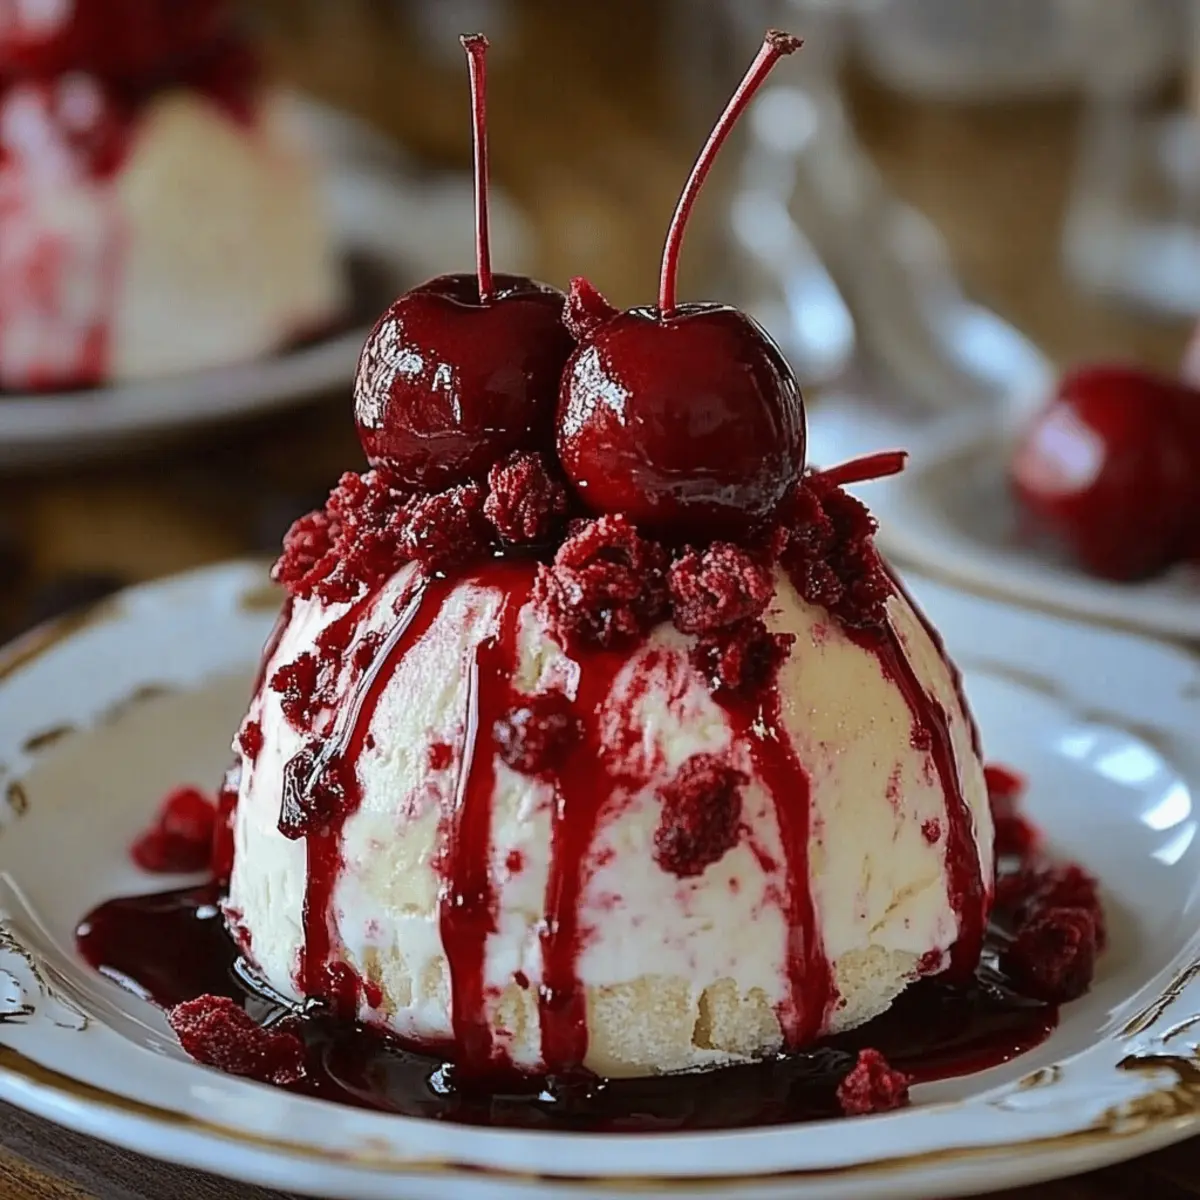
Once baked to perfection, allow your Cherry Pie Bombs to cool for about 5 minutes on the baking sheet. This step helps them set and makes them easier to handle. Serve them warm, either as they are or with a light drizzle of vanilla glaze or a dollop of whipped topping for an extra sweet touch that your family will surely love.
Expert Tips for Cherry Pie Bombs
• Don’t Overfill: Avoid the temptation to add too much cherry filling; overfilling can cause leaks and messes while baking.
• Seal Well: Make sure to pinch the dough tightly around the filling to prevent any gooey surprises—nobody likes a messy bomb!
• Warming Option: For an extra indulgent treat, serve these Cherry Pie Bombs warm straight out of the oven or air fryer for maximum enjoyment.
• Air Fryer Magic: If using an air fryer, remember to check them a couple of minutes early as they can cook faster than in a conventional oven.
• Dash of Spice: Experiment with added spices like nutmeg or allspice for a unique flavor twist; cinnamon is a fantastic start!
Make Ahead Options
These Cherry Pie Bombs are perfect for busy home cooks who want to save time without sacrificing flavor! You can prepare the filling (the no-sugar-added cherry pie filling) up to 3 days in advance and store it in an airtight container in the refrigerator. Additionally, you can shape the bombs and refrigerate them for up to 24 hours before baking. To maintain their quality, ensure they're well-sealed to prevent drying out. When you're ready to bake, simply brush with butter, sprinkle the sugar mixture on top, and bake as directed. This way, you'll have warm, gooey Cherry Pie Bombs with minimal effort, making every busy night a little sweeter!
Cherry Pie Bombs: Customization Ideas
Feel free to let your creativity shine and customize these Cherry Pie Bombs to your heart's content!
- Gluten-Free: Switch to gluten-free biscuit dough to make these a delightful treat for those avoiding gluten.
- Fruit Variations: Try swapping the cherry filling for other fruit fillings like blueberry, apple, or even peach for a seasonal twist.
- Dairy-Free: Use dairy-free butter or coconut oil to brush the tops, ensuring everyone can enjoy your delicious creations.
- Nutty Crunch: Add finely chopped nuts, like almonds or walnuts, inside for a delightful crunch that complements the soft filling perfectly.
- Sweet Additions: Mix in chocolate chips with the cherry filling for a luscious chocolate-cherry combination that satisfies every sweet tooth.
- Spice Lovers: Enhance the flavor with a dash of nutmeg or ginger along with the cinnamon for a warm and cozy spice profile.
- Savory Touch: Experiment with savory fillings like cream cheese and herbs for a fun appetizer spin on the classic dessert.
- Heat Up: Add a pinch of cayenne pepper to the sugar topping for a surprising sweet-heat that will leave your taste buds dancing!
What to Serve with Cherry Pie Bombs?
Indulge in a sweet experience that brings warmth and joy to any gathering.
-
Vanilla Ice Cream: The creamy, cold treat perfectly balances the warm cherry filling, providing a delightful flavor contrast.
-
Whipped Cream: A dollop of light whipped cream adds cloud-like fluffiness, making every bite even more decadent and enjoyable.
-
Chocolate Sauce: Drizzling rich chocolate sauce creates a luscious pairing, decadent yet delightful, that chocolate lovers will adore.
-
Fresh Berries: A mix of raspberries and blueberries adds a burst of freshness, enhancing the cherry flavor while balancing the sweetness.
-
Sparkling Water: A chilled sparkling water with a hint of lime refreshes the palate, complementing the rich cherry taste with its effervescence.
-
Coffee: A warm cup of coffee enhances the sweetness of Cherry Pie Bombs, creating a comforting moment perfect for leisurely afternoons.
-
Cinnamon Sugar Dusting: An extra sprinkle of cinnamon sugar intensifies the nostalgic flavors, turning your treats into an even cozier dessert experience.
-
Lemonade: A glass of chilled lemonade offers a zesty, refreshing companion that cuts through the sweetness, perfect for warm days.
How to Store and Freeze Cherry Pie Bombs
Fridge: Store leftover Cherry Pie Bombs in an airtight container for up to 3 days. Gently reheat in the microwave for about 10-15 seconds for that fresh-baked feel.
Freezer: For longer storage, freeze unbaked Cherry Pie Bombs before brushing with butter. Place them on a baking sheet to freeze individually, then transfer to a freezer bag for up to 2 months.
Reheating: To enjoy previously baked bombs, reheat in the oven at 350°F (175°C) for about 5-7 minutes, or until warmed through, for a delightful snack anytime.
Thawing: If frozen, allow the bombs to thaw in the fridge overnight before baking or reheating. This ensures they cook evenly and retain their delicious flavor!
Cherry Pie Bombs Recipe FAQs
What type of biscuit dough works best for Cherry Pie Bombs?
I recommend using reduced-fat refrigerated biscuit dough for a lighter option that still delivers on taste and texture. Brands like Pillsbury work great, but feel free to choose what you prefer—just ensure it's a biscuit dough that can hold the filling without breaking!
How long can I store leftover Cherry Pie Bombs?
Store any leftovers in an airtight container in the fridge, and they will last for up to 3 days. When you’re ready to enjoy them again, simply pop them in the microwave for about 10-15 seconds to warm them up, and they’ll feel fresh-baked!
Can I freeze unbaked Cherry Pie Bombs?
Absolutely! For longer storage, assemble your Cherry Pie Bombs but don’t brush them with butter yet. Place them on a baking sheet and freeze for about 1-2 hours until firm, then transfer to a freezer bag and store for up to 2 months. This way, you’ll have a quick dessert ready for any occasion!
What if my Cherry Pie Bombs leak while baking?
Don’t worry; it happens! The key is to seal the edges tightly around the filling. If you do notice leaks, reduce the filling in each bomb next time to prevent it. Make sure the dough is well-pinched together—this will help maintain the integrity of your delicious treat!
Are Cherry Pie Bombs pet-friendly?
While the ingredients used in Cherry Pie Bombs aren’t toxic to pets, it's best to avoid sharing them with your furry friends due to the sugar and butter content. Stick to pet-friendly treats to keep your pets healthy and happy!
Can I substitute the cherry filling for another fruit?
Yes! Feel free to get creative! You can use no-sugar-added apple pie filling, blueberry pie filling, or even a mix of fruits if you're feeling adventurous. Just remember to keep the filling's consistency similar to maintain the balance in your Cherry Pie Bombs!
Irresistibly Easy Cherry Pie Bombs to Satisfy Your Cravings
Ingredients
Equipment
Method
- Preheat your oven to 375°F (190°C) or set your air fryer to 350°F (175°C).
- Separate the 8-count tube of biscuit dough. Flatten each biscuit into a 3-inch circle.
- Place a teaspoon of cherry pie filling in the center of each dough circle.
- Fold the edges of the dough around the filling and seal tightly.
- Brush the tops with melted butter or spray with cooking spray, then sprinkle with sugar and cinnamon.
- Bake for 10-12 minutes or air fry for 8-10 minutes until golden brown.
- Cool for about 5 minutes before serving.


Leave a Reply