
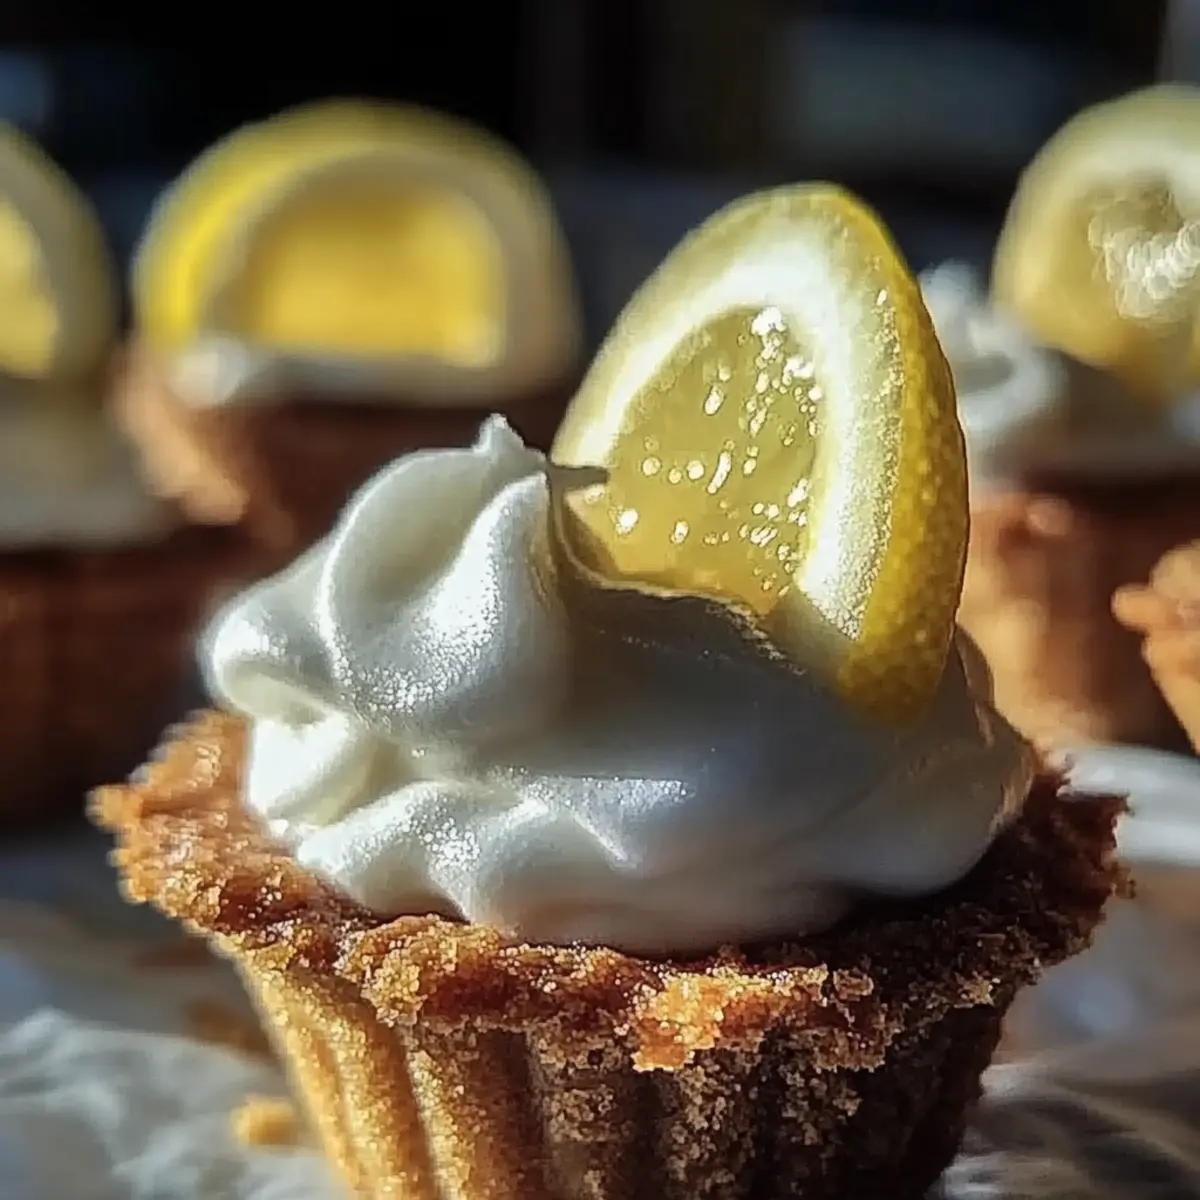
There’s something magical about combining a classic dessert with a playful twist, isn’t there? That’s exactly what you experience with these delightful Lemon Cream Pie Cookie Cups. Not only are they a showstopper for any gathering, but they also come together quickly—making them perfect for both seasoned bakers and kitchen newcomers alike. With a buttery, melt-in-your-mouth cookie base cradling a light and zesty lemon cream filling, these treats are a refreshing departure from ordinary cookies. Whether you’re celebrating a special occasion or indulging in a sweet treat after dinner, these cookie cups promise to impress while keeping you out of the fast-food lane. So, are you ready to whip up a batch of these irresistible Lemon Cream Pie Cookie Cups? Let's dive in!
Why are these cookie cups irresistible?
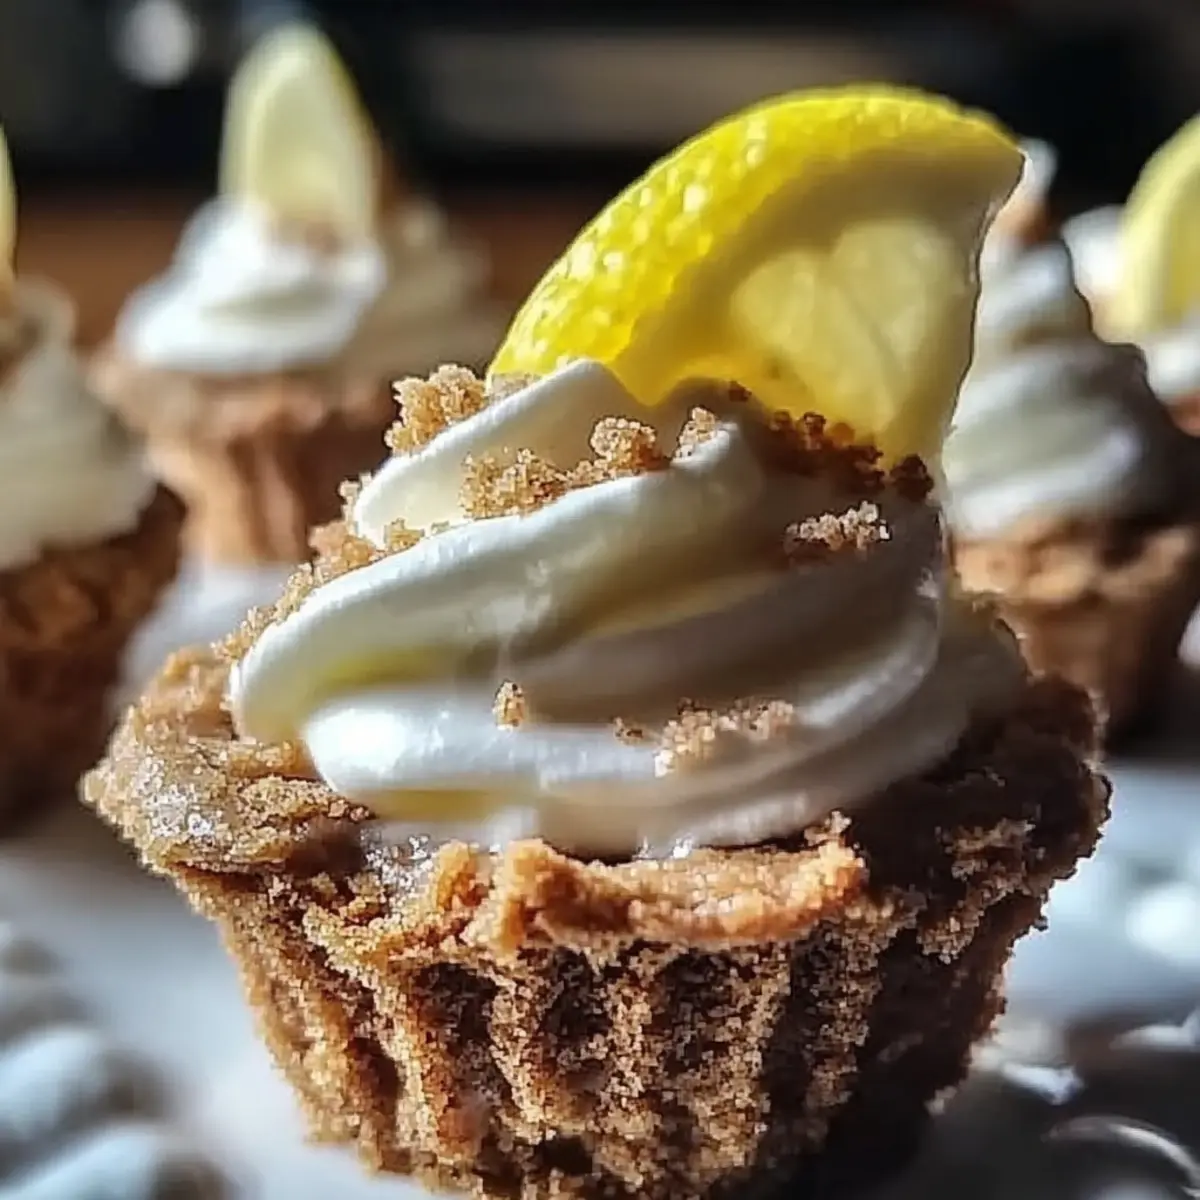
Unforgettable flavor: These Lemon Cream Pie Cookie Cups combine tart lemon goodness with a sweet, buttery cookie that's simply delicious.
Fresh and zesty: The lemon filling, complete with zest, adds a vibrant touch, making each bite refreshingly bright.
Quick and easy: With only 45 minutes from start to finish, you'll have these delightful treats ready in no time!
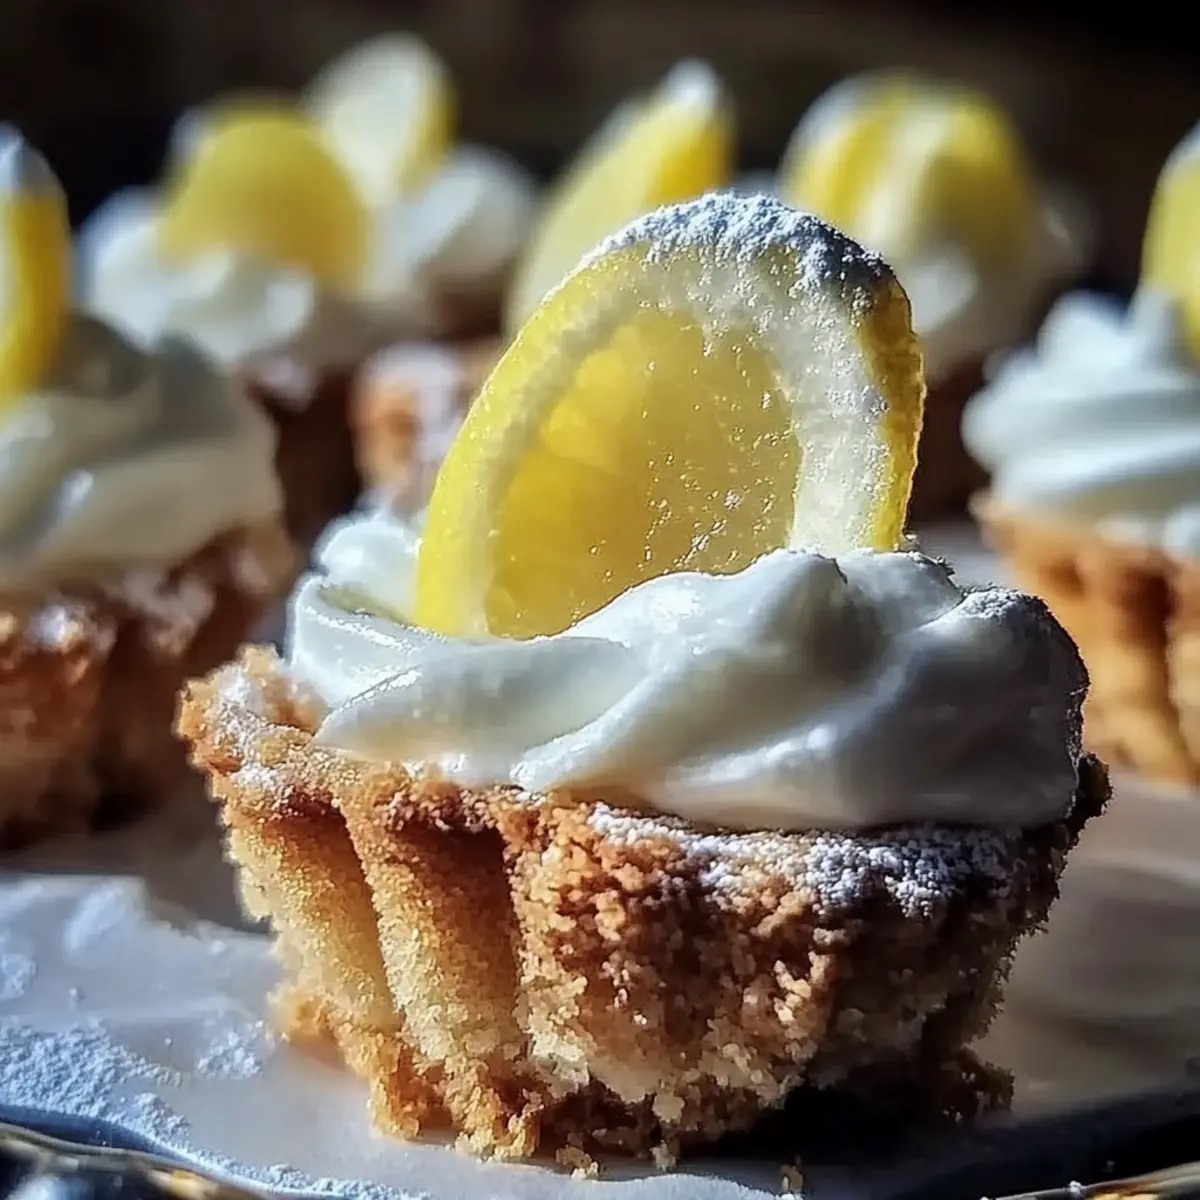
Perfect for gatherings: These cookie cups are an eye-catching dessert that will wow your friends and family at any occasion.
Versatile pairing: Enjoy them chilled alongside iced tea or sparkling wine for a sophisticated twist on dessert!
Get ready to savor every creamy, citrusy bite!
Lemon Cream Pie Cookie Cups Ingredients
• Here’s everything you need to create these delightful cookie cups!
For the Cookie Base
- 1 cup all-purpose flour – ensures the perfect texture for the cookie cups.
- ½ cup unsalted butter, softened – brings richness; make sure it’s at room temperature for easy mixing.
- ¼ cup granulated sugar – sweetens the cookie base just right.
- ¼ teaspoon salt – balances the sweetness for a well-rounded flavor.
- ½ teaspoon vanilla extract – adds warmth and depth to the cookie dough.
For the Lemon Cream Filling
- 1 cup heavy cream – whips up beautifully to create a light, airy filling.
- ½ cup powdered sugar – ensures a sweet and smooth cream texture.
- ¼ cup lemon juice – the star ingredient; brightens the filling with zesty flavor.
- 1 teaspoon vanilla extract – enhances the flavor of the lemon.
Feel free to get creative and enjoy your delicious Lemon Cream Pie Cookie Cups!
Step‑by‑Step Instructions for Lemon Cream Pie Cookie Cups
Step 1: Gather Ingredients
Begin by gathering all your ingredients for the Lemon Cream Pie Cookie Cups. Ensure your unsalted butter is softened to room temperature for easy mixing. Take a moment to zest your lemon, as this will add vibrant flavor to your filling later. Prepare your workspace and preheat your oven to 350°F (175°C) while you mix.
Step 2: Cream the Butter and Sugar
In a mixing bowl, cream together the softened butter and granulated sugar using a hand mixer or a whisk. Beat until the mixture becomes light and fluffy, about 2-3 minutes. This process is crucial for creating a tender cookie base. Once fluffy, add in the vanilla extract to infuse a warm, inviting flavor.
Step 3: Mix in Dry Ingredients
Gradually sprinkle in the all-purpose flour and salt to the creamed butter and sugar mixture. Stir with a spatula or spoon until the ingredients come together to form a soft and slightly sticky dough. This dough should hold its shape but still feel malleable, perfect for creating your cookie cups.
Step 4: Shape Cookie Cups
Grease a muffin tin generously with non-stick spray or butter. Take small portions of the cookie dough and press them into the muffin tin, shaping them into small cups. Ensure the base and edges are evenly shaped to hold the lemon cream filling beautifully. Aim for a slight indentation in the center to create space for the filling.
Step 5: Bake the Cookie Cups
Place the muffin tin in the preheated oven and bake for 12-15 minutes. Keep an eye on them, removing them when they turn golden brown. The edges should look firm, while the center might still appear slightly soft. Be careful not to overbake; you want them chewy and delicious when they cool.
Step 6: Cool the Cookie Cups
Once baked, take the muffin tin out of the oven and allow the cookie cups to cool in the tin for about 10 minutes. This resting time helps them firm up further. Carefully transfer the cookie cups to a wire rack to cool completely. They should maintain their shape while cooling.
Step 7: Prepare the Lemon Cream Filling
In a clean mixing bowl, whip the heavy cream using a hand mixer on medium speed until soft peaks begin to form. This should take about 3-4 minutes. Keep an eye on the texture; it should be fluffy and billowy but not overbeaten, which would turn it into butter.
Step 8: Add Flavors to the Cream
Gradually add in the powdered sugar, lemon juice, lemon zest, and vanilla extract while continuing to whip the cream. Blend until all ingredients are incorporated and the mixture forms stiff peaks. The filling should be light, creamy, and bursting with lemon flavor, beautifully complementing your cookie cups.
Step 9: Fill the Cookie Cups
Once the cookie cups are completely cool, gently spoon the lemon cream filling into each cup. Be careful not to overfill, allowing a little space at the top for garnish later. Aim for an even distribution of filling across all cups, ensuring each one is a delightful treat to savor.
Step 10: Chill and Garnish
If desired, garnish your filled Lemon Cream Pie Cookie Cups with additional lemon zest or a dollop of whipped cream. Place the cookie cups in the refrigerator to chill for at least 30 minutes. This chilling time helps the filling set and enhances the overall flavor. Enjoy the anticipation of these delightful treats!

Tips for the Best Lemon Cream Pie Cookie Cups
-
Perfectly Soft Butter: Ensure your butter is at room temperature for easy blending. Cold butter will make the dough tough and difficult to mold.
-
Don’t Overmix: When combining the flour and butter mixture, mix just until a soft dough forms. Overmixing can result in dense cookie cups.
-
Watch the Baking Time: Keep a close eye on the baking process. Golden brown edges with a slightly soft center are ideal for a tender texture in your Lemon Cream Pie Cookie Cups.
-
Cool Completely: Allow your cookie cups to cool completely in the muffin tin. This helps them hold their shape and prevents sogginess when filled with the lemon cream.
-
Whip to Soft Peaks: When whipping the heavy cream, stop when soft peaks form. Overbeating can lead to a grainy texture, adversely affecting your lemon cream filling.
-
Chill Before Serving: Refrigerate the filled cookie cups for at least 30 minutes. This chilling step not only helps the filling set but also enhances the refreshing flavor of the lemon cream!
Storage Tips for Lemon Cream Pie Cookie Cups
-
Room Temperature: Best enjoyed chilled, but you can leave filled cookie cups at room temperature for up to 2 hours if serving.
-
Fridge: Store in an airtight container in the refrigerator for up to 3 days; for optimal taste and texture, consume within 1-2 days.
-
Freezer: You can freeze the empty cookie cups for up to 2 months. Fill them with lemon cream fresh before serving to maintain their delightful consistency.
-
Reheating: Reheating is not recommended; these Lemon Cream Pie Cookie Cups are best enjoyed cold for the ultimate refreshing taste.
Lemon Cream Pie Cookie Cups Variations
Customize your delightful treats with these exciting twists and substitutions for a delicious adventure!
-
Gluten-Free: Substitute all-purpose flour with a gluten-free blend for a fabulous, gluten-free version that everyone can enjoy.
-
Vegan: Swap out the butter for coconut oil and use coconut cream instead of heavy cream for a creamy vegan treat. They’ll be just as rich and delightful!
-
Lemon Zest Boost: Add an extra teaspoon of lemon zest to the filling for a more intense citrus flavor that's oh-so-refreshing. It will elevate the zesty experience to new heights!
-
Cheesecake Twist: Mix in 4 ounces of softened cream cheese with your lemon filling for a tangy cheesecake-inspired version that adds a creamy depth of flavor. Your guests will be asking for more!
-
Honey Sweetener: Replace granulated sugar in the filling with honey for a natural sweetness that's rich and flavorful. Honey adds a lovely floral note to the cookies.
-
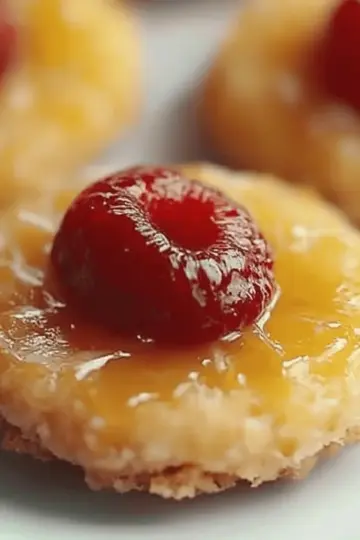
Fruit Fusion: Top your filled cookie cups with fresh berries like blueberries or raspberries for an extra fruity burst that perfectly complements lemon. The contrasting colors will make them look even more inviting!
-
Spicy Kick: Add a pinch of cayenne pepper to the cookie dough for a surprising heat that pairs beautifully with the tart lemon flavor. It’s a fun way to surprise your taste buds!
-
Chocolate Drizzle: Drizzle melted dark chocolate over the lemon cream filling before chilling for a decadent twist that beautifully contrasts with the brightness of lemon. Chocolate lovers will be thrilled!
Make Ahead Options
These Lemon Cream Pie Cookie Cups are perfect for busy home cooks who want to save time without sacrificing flavor! You can prepare the cookie cups up to 24 hours in advance. Just bake them, allow them to cool completely, and store them in an airtight container at room temperature. The lemon cream filling can be made up to 3 days ahead; simply whip the cream and combine it with the other filling ingredients, then refrigerate. When ready to serve, fill the cookie cups with the chilled lemon cream filling, and consider adding a sprinkle of lemon zest or a dollop of whipped cream for garnish. This way, you’ll have delicious, ready-to-enjoy treats with minimal effort on the day of your gathering!
What to Serve with Lemon Cream Pie Cookie Cups
Elevate your dessert experience by pairing these delightful treats with complementary sides that enhance their bright flavor.
- Creamy Mashed Potatoes: Their richness balances the lemon's tartness, creating a delightful contrast on your palate.
- Fresh Green Salad: The crispy textures and refreshing greens offer a perfect palate cleanser between sweet bites.
- Iced Tea: This classic beverage adds a hint of sweetness and complements the zesty lemon in a delightful way.
- Sparkling Wine: The bubbles and slight acidity enhance the tartness, making it an elegant pairing for celebrations.
- Lemon Sorbet: For a citrusy encore, serve this refreshing dessert alongside the cookie cups for a summer vibe.
- Fruit Salad: Burst with flavors from fresh berries and melon, this side provides a juicy freshness that beautifully complements each bite.
- Whipped Cream Topping: A dollop added just before serving brings an extra layer of indulgence, softening the zesty notes with creaminess.
- Chocolate Drizzle: A light drizzle adds a hint of decadence, creating a sweet contrast that will surprise your taste buds.
Lemon Cream Pie Cookie Cups Recipe FAQs
How do I choose ripe lemons for the filling?
Absolutely! Select lemons that are firm and heavy for their size, indicating juiciness. Look for a bright yellow color without dark spots or wrinkles. If the lemon gives a little under gentle pressure and has a rich aroma, it’s perfect for your lemon cream filling!
What is the best way to store these cookie cups?
To store your Lemon Cream Pie Cookie Cups, place them in an airtight container and keep them in the refrigerator. They’ll stay fresh for up to 3 days, but I recommend enjoying them within 1-2 days for the best flavor and texture. Keeping them chilled helps maintain that creamy filling!
Can I freeze the cookie cups?
Yes, you can! To freeze your Lemon Cream Pie Cookie Cups, prepare and bake the cookie bases without filling, then allow them to cool completely. Place them in a freezer-safe container, separating layers with parchment paper, and freeze for up to 2 months. When you're ready to serve, fill them with the lemon cream freshly whipped for the best taste.
What if my cookie cups are too soft after baking?
No worries! If your cookie cups come out too soft, they might need a little more time in the oven. Next time, try baking them until they are golden brown and firm at the edges, and ensure they cool completely in the tin to hold their shape. If they simply feel underbaked, you can return them to the oven for an additional 1-2 minutes.
Are these cookie cups suitable for people with dietary restrictions?
While they contain dairy and gluten, you can easily modify the recipe to meet dietary needs! For a gluten-free version, use a blend of gluten-free flour. If you're looking for a vegan option, substitute the heavy cream with coconut cream or whipped aquafaba, and use vegan butter and sugar alternatives. Always check for allergies if serving to guests, especially with common allergens like nuts or gluten.
How long can I keep the filled cookie cups at room temperature?
The filled Lemon Cream Pie Cookie Cups can be safely left at room temperature for up to 2 hours if you're serving them. Beyond that, it's best to pop them back in the refrigerator to ensure they stay fresh and delicious, as the filling can lose its texture if left out for too long.
These queries will help you navigate the delightful world of Lemon Cream Pie Cookie Cups with ease!
Irresistibly Indulgent Lemon Cream Pie Cookie Cups Recipe
Ingredients
Equipment
Method
- Gather all your ingredients for the Lemon Cream Pie Cookie Cups, ensuring the unsalted butter is softened to room temperature.
- Cream together the softened butter and granulated sugar in a mixing bowl until light and fluffy, about 2-3 minutes.
- Gradually mix in the all-purpose flour and salt until the mixture forms a soft and slightly sticky dough.
- Grease a muffin tin and press small portions of the cookie dough into each cup to create small cups.
- Bake the cookie cups in a preheated oven at 350°F (175°C) for 12-15 minutes until golden brown.
- Allow the cookie cups to cool in the tin for about 10 minutes before transferring to a wire rack.
- Whip the heavy cream in a clean mixing bowl until soft peaks form, about 3-4 minutes.
- Gradually add powdered sugar, lemon juice, lemon zest, and vanilla extract, whipping until stiff peaks form.
- Spoon the lemon cream filling into each cooled cookie cup, ensuring an even distribution.
- Chill the filled cookie cups in the refrigerator for at least 30 minutes before serving.

Leave a Reply