
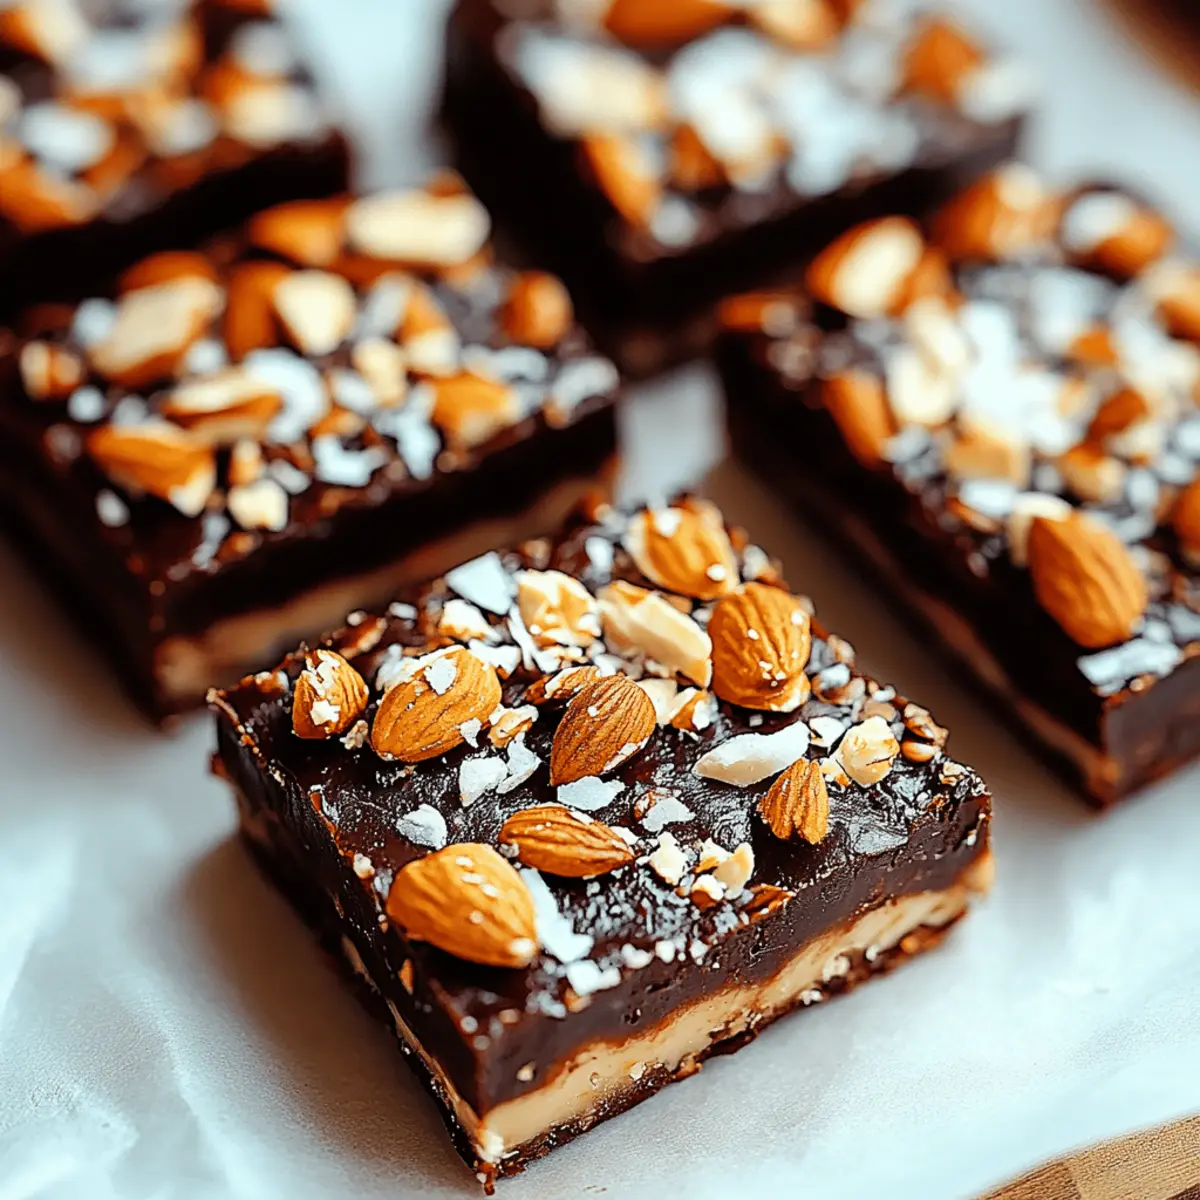
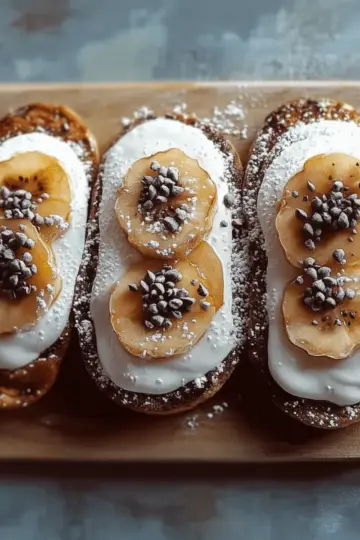
Every now and then, I stumble upon a recipe that feels like a cozy hug for the soul—and these Dark Chocolate Sea Salt Nut Bars are just that. With their delightful crunch and a perfect touch of sweetness, they’ve become my go-to snack when I’m craving something satisfying yet wholesome. Packed with 2 ½ cups of your favorite nuts, they not only offer a nourishing boost but also come together in just over an hour, making them perfect for busy weeknights or a sudden craving for a homemade treat. Plus, they’re a fantastic alternative to those overpriced store-bought bars! Whether you’re on a health kick or simply need an impressive snack to share with friends, these bars meet the mark. Are you ready to fall in love with a new classic? Let’s dive into the recipe!
Why Are These Nut Bars So Special?
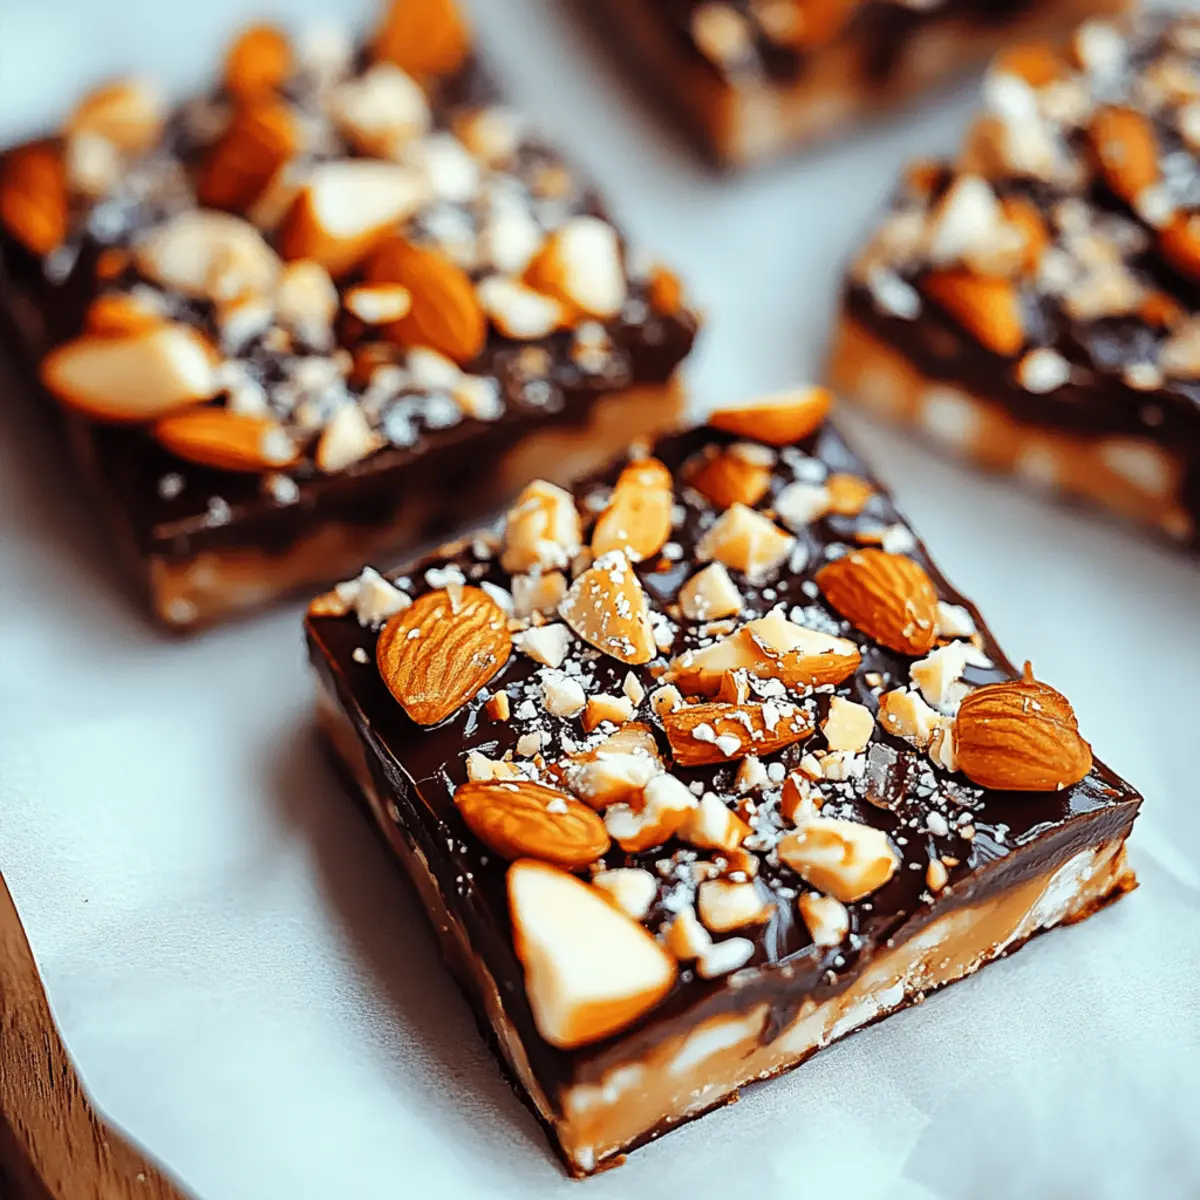
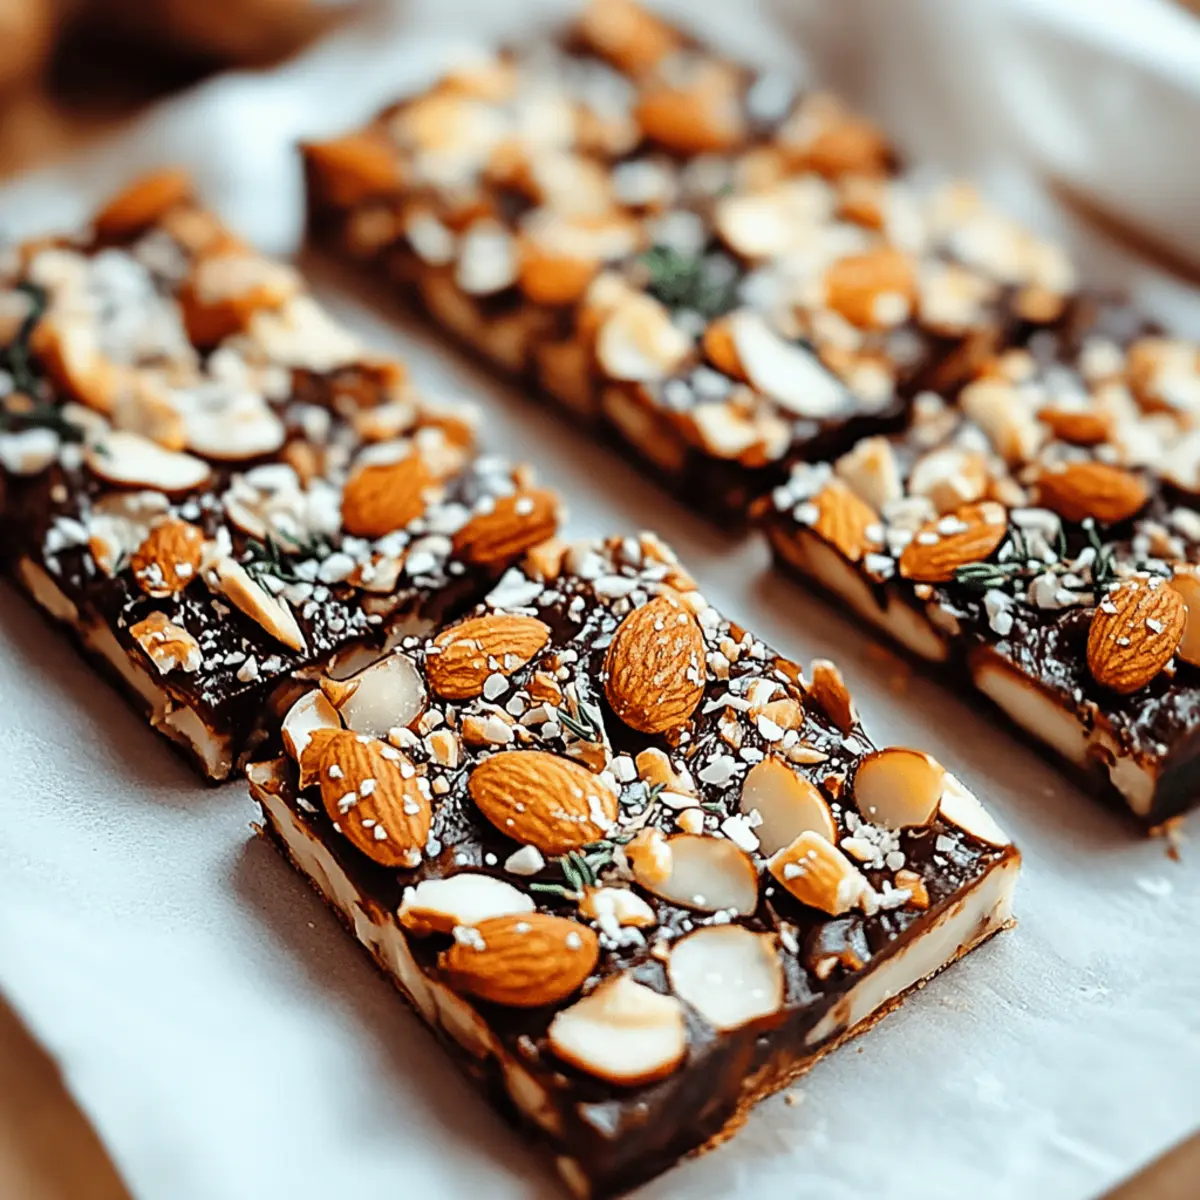
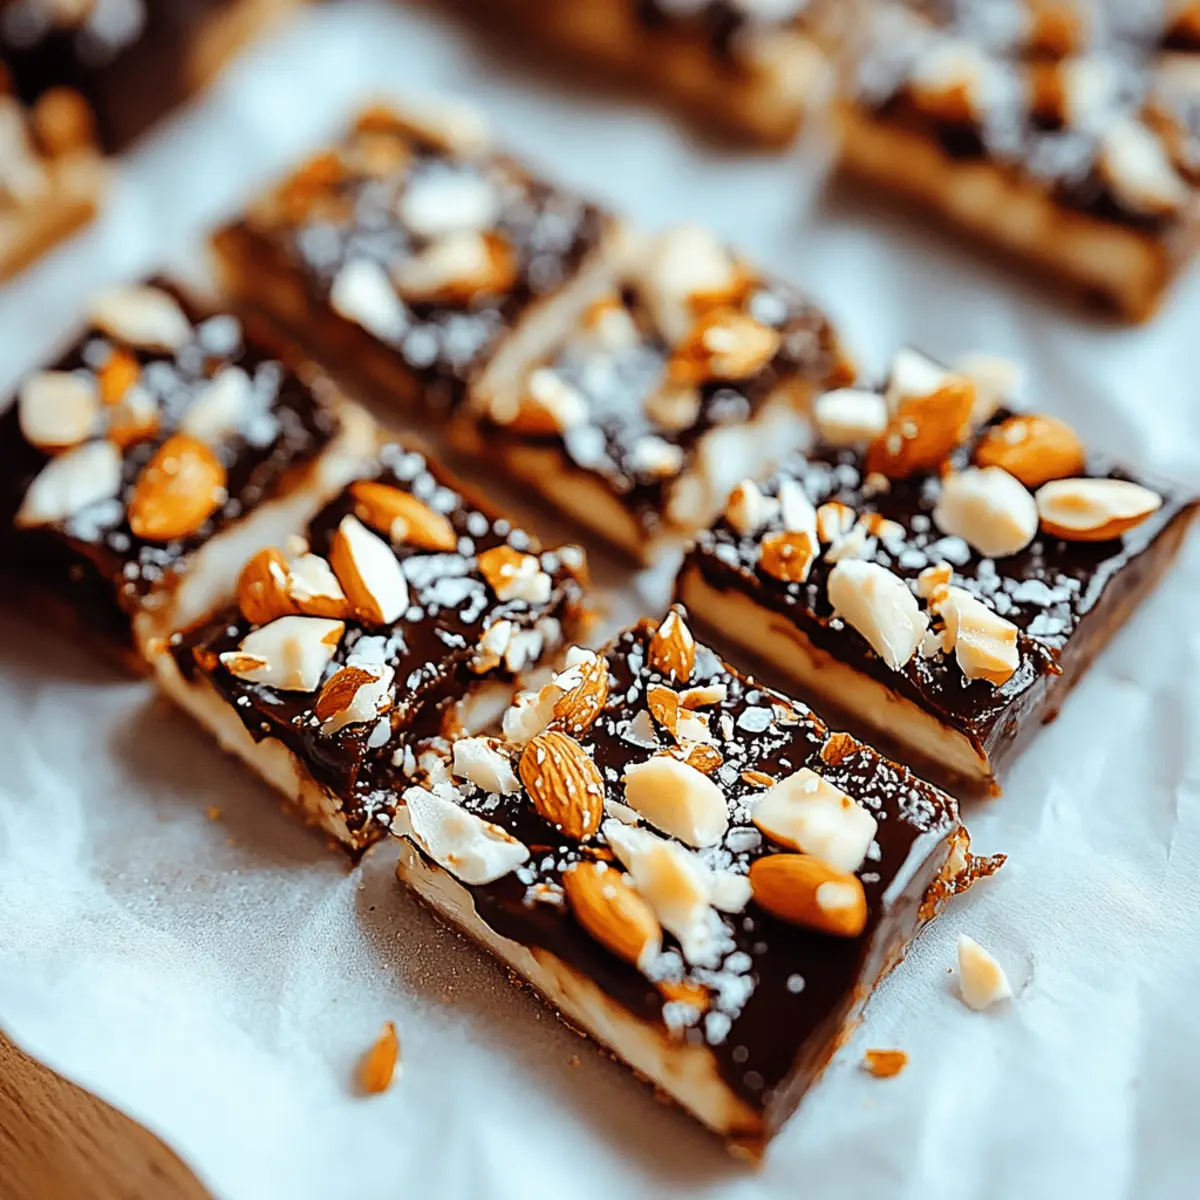
Decadent Flavor: These Dark Chocolate Sea Salt Nut Bars meld the rich bitterness of dark chocolate with a subtle sea salt kick, offering a delightful contrast that elevates your snacking experience.
Nutrient-Packed Crunch: Loaded with 2 ½ cups of assorted nuts, each bite bursts with proteins and healthy fats—perfect for a nutritious pick-me-up!
Quick & Easy: Whipping up these bars takes just over an hour, making them a breeze for those busy days when healthy choices matter most.
Versatile Ingredients: Feel free to mix and match your favorite nuts and sweeteners for a personalized spin that suits your cravings.
Crowd-Pleasing Treat: These bars are sure to impress friends and family—perfect for gatherings or as a thoughtful homemade gift!
Dark Chocolate Sea Salt Nut Bars Ingredients
• Create your own delicious version with these key components!
For the Base
- Unsalted nuts – 2 ½ cups of your choice for that satisfying crunch; consider mixing cashews, peanuts, and almonds for variety.
- Puffed rice – ½ cup to add lightness and texture, making these bars chewily delightful.
For the Sweetness
- Brown rice syrup – ¼ cup acts as a sticky binder; you can swap it with honey or maple syrup for a unique twist.
- Vanilla extract – 1 ½ teaspoons provide a warm flavor that enhances the nutty goodness.
- Sea salt – ½ teaspoon balances the sweetness and enhances the chocolate's rich flavor.
For the Chocolate Coating
- Dark chocolate chips – 1 cup for a luxurious touch; feel free to switch to semisweet or milk chocolate if you prefer something sweeter.
- Coconut oil – 2 teaspoons to help the chocolate melt smooth and shiny.
For the Finishing Touch
- Flaky salt – A sprinkle on top adds an extra burst of flavor; it’s the perfect crispy finish to your Dark Chocolate Sea Salt Nut Bars!
Step‑by‑Step Instructions for Dark Chocolate Sea Salt Nut Bars
Step 1: Preheat and Roast Nuts
Begin by preheating your oven to 325°F (160°C). While the oven warms up, spread your choice of nuts in a single layer on a rimmed baking sheet. Roast them in the oven for 5–8 minutes until they’re fragrant and lightly browned, releasing a delightful nutty aroma that signals they’re ready.
Step 2: Prepare the Pan
While the nuts are roasting, take an 8×8-inch pan and line it with parchment paper. This step is crucial for easy removal later, ensuring your Dark Chocolate Sea Salt Nut Bars lift out effortlessly once they’ve cooled.
Step 3: Combine Ingredients
Once the nuts are roasted and have cooled slightly, transfer them to a large mixing bowl. Add in the ½ cup of puffed rice, creating a perfect blend of textures. Gently toss the mixture together, allowing the toasted nuts and airy rice to mingle evenly—this adds that signature crunch to your nut bars.
Step 4: Mix the Binding Liquid
Next, microwave ¼ cup of brown rice syrup for about 30 seconds to loosen it up. In a bowl, whisk it together with 1 ½ teaspoons of vanilla extract and ½ teaspoon of sea salt. This fragrant blend will serve as the delicious glue that holds your Dark Chocolate Sea Salt Nut Bars together, so pour it over the nut mixture and stir thoroughly.
Step 5: Press into the Pan
With everything mixed well, transfer the nut and syrup mixture to your prepared pan. Using a spatula or your hands, press it firmly into an even layer. Make sure it’s tightly packed, as this will help your bars hold their shape once baked.
Step 6: Bake the Bars
Place the pan in your preheated oven and bake for 18–20 minutes. The mixture should bubble slightly and turn a golden color around the edges. When it’s finished, remove the pan from the oven and allow it to cool for about 30 minutes, filling your kitchen with a wonderful aroma.
Step 7: Slice the Bars
After cooling, carefully take the mixture out of the pan by lifting the parchment paper. Place it on a cutting board, then slice it lengthwise in half. From there, cut each half into 5–6 thinner bars. Let these temptingly chewy Dark Chocolate Sea Salt Nut Bars cool completely before moving on.
Step 8: Melt the Chocolate
In a microwave-safe bowl, combine 1 cup of dark chocolate chips and 2 teaspoons of coconut oil. Heat them in 30-second intervals, stirring between each, until the mixture is fully melted and silky smooth. This decadent chocolate will give your bars an irresistible coating.
Step 9: Coat the Bars
Dip the bottoms of your cooled nut bars into the melted chocolate, ensuring a rich coating. Lay them on a parchment-lined baking sheet. With any leftover chocolate, drizzle it over the tops of the bars and sprinkle lightly with flaky salt for that perfect finishing touch, enhancing the flavor of your Dark Chocolate Sea Salt Nut Bars.
Step 10: Set and Store
Finally, refrigerate the coated bars until the chocolate is set, about 30 minutes. Once firm, store these scrumptious treats in an airtight container, layering with parchment paper to keep them fresh. Enjoy your homemade Dark Chocolate Sea Salt Nut Bars anytime cravings strike!
What to Serve with Dark Chocolate Sea Salt Nut Bars
Indulging in these delightful nut bars is a treat on its own, but pairing them with complementary bites can take your snack experience to the next level.
-
Creamy Greek Yogurt: A dollop of Greek yogurt balances the bars' sweetness and adds a creamy texture, perfect for scooping!
-
Fresh Fruit Salad: A vibrant mix of berries and citrus creates a refreshing contrast, enhancing the flavor of the nut bars with zesty brightness.
-
Classic Coffee: Enjoying these treats with a cup of rich, aromatic coffee transforms snack time into a cozy moment of bliss. The warmth of the coffee pairs perfectly with the chocolatey richness.
-
Crispy Veggies with Hummus: Crunchy veggies like carrots and cucumbers paired with creamy hummus offer a satisfying crunch while adding a nutrient boost to your snack.
-
Chocolate Mint Smoothie: Blend up a chocolate mint smoothie for an invigorating beverage that echoes the flavors of your nut bars, keeping your snack time both sweet and refreshing.
-
Nut Butter Dip: A small bowl of almond or peanut butter allows for a decadent dip, giving each bite an extra layer of creaminess that complements the chocolate beautifully.
-
Green Tea: Sipping on a warm cup of green tea brings a gentle, calming effect while highlighting the bars' nutty tones, making it an elegant pairing choice.
-
Coconut Macaroons: These sweet, chewy cookies provide a contrasting flavor profile that works harmoniously with the chocolate and nuts, while also brushing up on that tropical touch.
-
Ginger Ale: A fizzy glass of ginger ale brings a refreshing zing that invigorates the palate, cleansing your taste buds after each bite.
-
Creamy Ice Cream: For a decadent dessert option, serve a scoop of vanilla or caramel ice cream alongside the bars for a delightful and indulgent combination.
Make Ahead Options
These Dark Chocolate Sea Salt Nut Bars are a fantastic choice for meal prep! You can prepare the nut and puffed rice mixture up to 24 hours in advance by combining the roasted nuts with puffed rice and storing it in an airtight container. Additionally, you can bake and slice the bars ahead of time, keeping them at room temperature for up to 3 days or refrigerating them to maintain freshness. When you’re ready to enjoy, simply melt the chocolate and coat the bars as instructed. This way, you’ll have delicious, homemade snacks ready to go, making your busy days just a little bit easier!
How to Store and Freeze Dark Chocolate Sea Salt Nut Bars
Room Temperature: Keep the bars at room temperature in an airtight container for up to 3 days for the best texture.
Fridge: Store in the refrigerator for up to 1 week, layering with parchment paper between each bar to avoid sticking while maintaining freshness.
Freezer: For longer storage, freeze the bars in a single layer, wrapped tightly in plastic wrap, and then place in a freezer-safe container. They can be kept for up to 3 months.
Reheating: If desired, you can lightly warm the bars in the microwave for about 10 seconds before serving, enhancing that chocolatey goodness!
Dark Chocolate Sea Salt Nut Bars Variations
Feel free to let your creativity shine and customize these delectable bars to suit your taste!
- Nut-Free: Swap the nuts for seeds like pumpkin or sunflower for a tasty, allergy-friendly treat.
- Spicy Kick: Add a sprinkle of cayenne pepper or chili powder to the chocolate coating for a surprising heat! A little goes a long way to elevate the flavor and kick things up a notch.
- Coconut Infusion: Mix in shredded coconut with the nut mixture for a tropical twist. The coconut will add a chewy texture that pairs beautifully with the chocolate.
- Healthier Sweetener: Instead of brown rice syrup, use agave nectar or a sugar-free alternative for a lower-calorie option. This allows you to enjoy the bars while keeping the sugar content in check.
- Fruit Addition: Incorporate dried fruits like cranberries or apricots to provide a chewy, sweet contrast to the crunchy bars. The fruit adds both flavor and a pop of color!
- Flavor Boost: Experiment with flavored extracts, such as almond or orange, to complement the vanilla. A few drops will give your bars a delightful twist and tantalizing aroma.
- Darker Chocolate: Swap dark chocolate chips for a higher cocoa percentage for a richer chocolate experience. This will intensify the chocolate flavor, making it a real treat for chocolate lovers.
- Granola Style: Blend in oats with the nuts for a chewy, granola-inspired version. This adds texture and makes the bars even more filling—a perfect post-workout snack!
Expert Tips for Dark Chocolate Sea Salt Nut Bars
-
Roast Carefully: Keep an eye on your nuts while roasting; they can go from perfect to burnt quickly. Smell them—when fragrant, they’re ready!
-
Choose Wisely: Use a mix of your favorite nuts for the best flavor and texture. If you're unsure, classic combos like almonds, cashews, and peanuts are a hit!
-
Pressure is Key: When pressing the mixture into the pan, ensure it's tightly packed. This keeps your Dark Chocolate Sea Salt Nut Bars from crumbling apart later.
-
Melted Chocolate: Stir your chocolate chips frequently while melting. This ensures a smooth, lump-free coating for your bars, making them extra tempting to eat!
-
Cooling Time: Allow the bars to cool completely before slicing. This helps them hold their shape and makes them easy to dip in chocolate without falling apart.
-
Storage Secrets: Keep your bars fresh by storing them in an airtight container in the fridge or freezer, using parchment paper to separate layers.
Dark Chocolate Sea Salt Nut Bars Recipe FAQs
How do I choose the right nuts for these bars?
Absolutely! You can use any combination of unsalted nuts you love. I often mix cashews, peanuts, and almonds, but feel free to experiment with walnuts or pecans for additional flavors. Just avoid nuts that are overly stale or have dark spots, as they can compromise the taste of your bars.
What’s the best way to store my Dark Chocolate Sea Salt Nut Bars?
To keep your bars fresh, store them in an airtight container. You can keep them at room temperature for up to 3 days. If you extend it to a week, I recommend refrigeration, using parchment paper between layers to prevent sticking.
Can I freeze these nut bars, and how should I do it?
Very! To freeze your Dark Chocolate Sea Salt Nut Bars, first, ensure they’re completely cooled. Wrap each bar tightly in plastic wrap and then place them in a freezer-safe container. They can be stored in the freezer for up to 3 months. When you're ready to enjoy one, just let it thaw at room temperature or warm it in the microwave for about 10 seconds.
What should I do if my bars are crumbly?
If you find your bars crumbling after slicing, it’s likely they weren’t packed tightly enough into the pan before baking. Next time, press the mixture down firmly and evenly. Additionally, make sure to let the bars cool completely before cutting, as this helps them hold their shape better.
Are these nut bars safe for those with nut allergies?
Unfortunately, these bars contain various nuts, so they aren't suitable for those with nut allergies. However, if you're looking for alternatives, you could try substituting the nuts with seeds, like pumpkin or sunflower seeds, to create a similar texture and flavor without the allergy concerns. Always ensure that the ingredients are safe for those consuming them!
What types of chocolate can I use as a substitute?
You can certainly switch up your chocolate choice! While I love using dark chocolate for its rich flavor, semisweet or even milk chocolate work beautifully if you prefer a sweeter treat. Just remember, darker chocolate has a bit of health boost, so pick what pleases your palate!
Indulgent Dark Chocolate Sea Salt Nut Bars You’ll Adore
Ingredients
Equipment
Method
- Preheat your oven to 325°F (160°C) and roast the nuts on a baking sheet for 5–8 minutes.
- Line an 8x8-inch pan with parchment paper.
- In a mixing bowl, combine roasted nuts and puffed rice.
- Microwave brown rice syrup for 30 seconds, then whisk with vanilla extract and sea salt, and pour over the nut mixture.
- Press the mixture into the prepared pan tightly.
- Bake for 18–20 minutes until golden around the edges.
- After cooling, lift the mixture out and slice it into bars.
- Melt dark chocolate chips with coconut oil in intervals, stirring until smooth.
- Dip the bottoms of the bars in the melted chocolate and drizzle with remaining chocolate. Sprinkle with flaky salt.
- Refrigerate until the chocolate is set, then store in an airtight container.


Leave a Reply