
As I stood in my kitchen, the scent of melting butter mingled with the anticipation of something wonderful baking in the oven, I couldn't help but smile. Today, I’m sharing my beloved recipe for Cream Puffs, a treat that beautifully combines crispiness and creaminess in each delightful bite. These little clouds of joy are not only quick to prepare, but they also make for a perfect showstopper at any gathering—whether you’re treating yourself or impressing friends and family. The best part? They’re made from simple ingredients you likely already have on hand! What’s your favorite way to enjoy these delicate pastries—filled with sweet whipped cream or perhaps a more adventurous filling? Let’s dive into this delectable treat together!
Why Are Cream Puffs So Irresistible?
Delightfully Easy: The beauty of cream puffs lies in their simplicity—using just a handful of ingredients, you can create a gourmet dessert!
Decadent Flavors: The contrast of airy pastry and rich whipped cream guarantees a melt-in-your-mouth experience that keeps everyone coming back for more.
Perfect for Any Occasion: Whether it's a casual family dinner or a festive celebration, these cream puffs are sure to impress guests and elevate the mood.
Versatile Creations: Feel free to experiment with various fillings! From chocolate ganache to fruit-infused creams, the possibilities are endless.
Quick Preparation: Ready in just 45 minutes, these delightful treats fit seamlessly into your busy schedule, bringing joy without the wait.
Cream Puff Ingredients
Dive into the essentials for crafting irresistible cream puffs!
For the Pastry
- Water – 1 cup, essential for creating steam that puffs up the pastry.
- Unsalted Butter – ½ cup, provides richness and flavor; use high-quality butter for the best taste.
- All-Purpose Flour – 1 cup, the backbone of the dough; sifting it beforehand helps create a lighter texture.
- Salt – ¼ teaspoon, enhances flavor; a pinch can make all the difference.
- Large Eggs – 4, these add structure and moisture; ensure they are at room temperature for optimal mixing.
- Sugar – 1 tablespoon, adds a hint of sweetness to balance the flavors.
For the Whipped Filling
- Heavy Cream – 1 cup, whipped to create a luscious filling; make sure it’s cold for better volume.
- Powdered Sugar – ½ cup, sweetens the cream while also stabilizing it; gently sift to avoid lumps.
- Vanilla Extract – 1 teaspoon, for a delightful aromatic boost; opt for pure vanilla for a richer flavor.
These ingredients come together to create the famed cream puffs that are sure to impress anyone lucky enough to indulge!
Step‑by‑Step Instructions for Cream Puffs
Step 1: Preheat the Oven
Begin by preheating your oven to 400°F (200°C). This temperature is crucial for achieving those perfectly golden and airy cream puffs. While your oven warms up, gather your ingredients and prepare a baking sheet lined with parchment paper to set yourself up for success.
Step 2: Prepare the Dough
In a medium saucepan, combine 1 cup of water and ½ cup of unsalted butter. Bring the mixture to a rolling boil over medium-high heat, allowing the butter to melt completely. Once boiling, quickly stir in 1 cup of all-purpose flour and ¼ teaspoon of salt. Continue stirring until the mixture forms a cohesive ball that pulls away from the sides of the pan, about 2-3 minutes.
Step 3: Cool the Mixture
Remove the saucepan from the heat and let the dough cool slightly for about 5 minutes. This cooling period is essential as it prevents the eggs from cooking when added. You want the dough to be warm but not hot; a good indicator is when it's just warm to the touch.
Step 4: Incorporate the Eggs
Once the dough has cooled, add 4 large eggs one at a time, beating vigorously after each addition until the mixture is smooth and glossy. This process may take a few minutes of elbow grease, but it’s crucial for creating the desired light texture of the cream puffs. The batter should be thick but pipeable.
Step 5: Sweeten the Dough
Next, stir in 1 tablespoon of sugar until fully combined with your dough. The sugar not only enhances the flavor but also helps the cream puffs achieve that perfect touch of sweetness. Your dough is now ready to be shaped into delightful cream puffs!
Step 6: Shape the Cream Puffs
Using a tablespoon or a piping bag, drop rounded tablespoons of the dough onto your prepared baking sheet, leaving space between each for spreading. Aim for uniform sizes to ensure even baking. The dough will puff beautifully in the oven, creating that signature hollow center.
Step 7: Bake the Pastries
Place the baking sheet in your preheated oven and bake for 20-25 minutes, or until the cream puffs are a deep golden brown and sound hollow when tapped. Avoid opening the oven door during the first 15 minutes of baking, as this can cause the pastries to collapse.
Step 8: Cool Completely
Once baked, remove the cream puffs from the oven and transfer them to a wire rack. Allow them to cool completely, about 30 minutes. Proper cooling is important for retaining their shape and for easy filling later on.
Step 9: Whip the Cream
While your cream puffs cool, whip 1 cup of heavy cream in a mixing bowl until soft peaks form. Gradually add ½ cup of powdered sugar and 1 teaspoon of vanilla extract, continuing to whip until you have a stable, fluffy whipped cream. This will serve as the luscious filling for your cream puffs.
Step 10: Fill the Cream Puffs
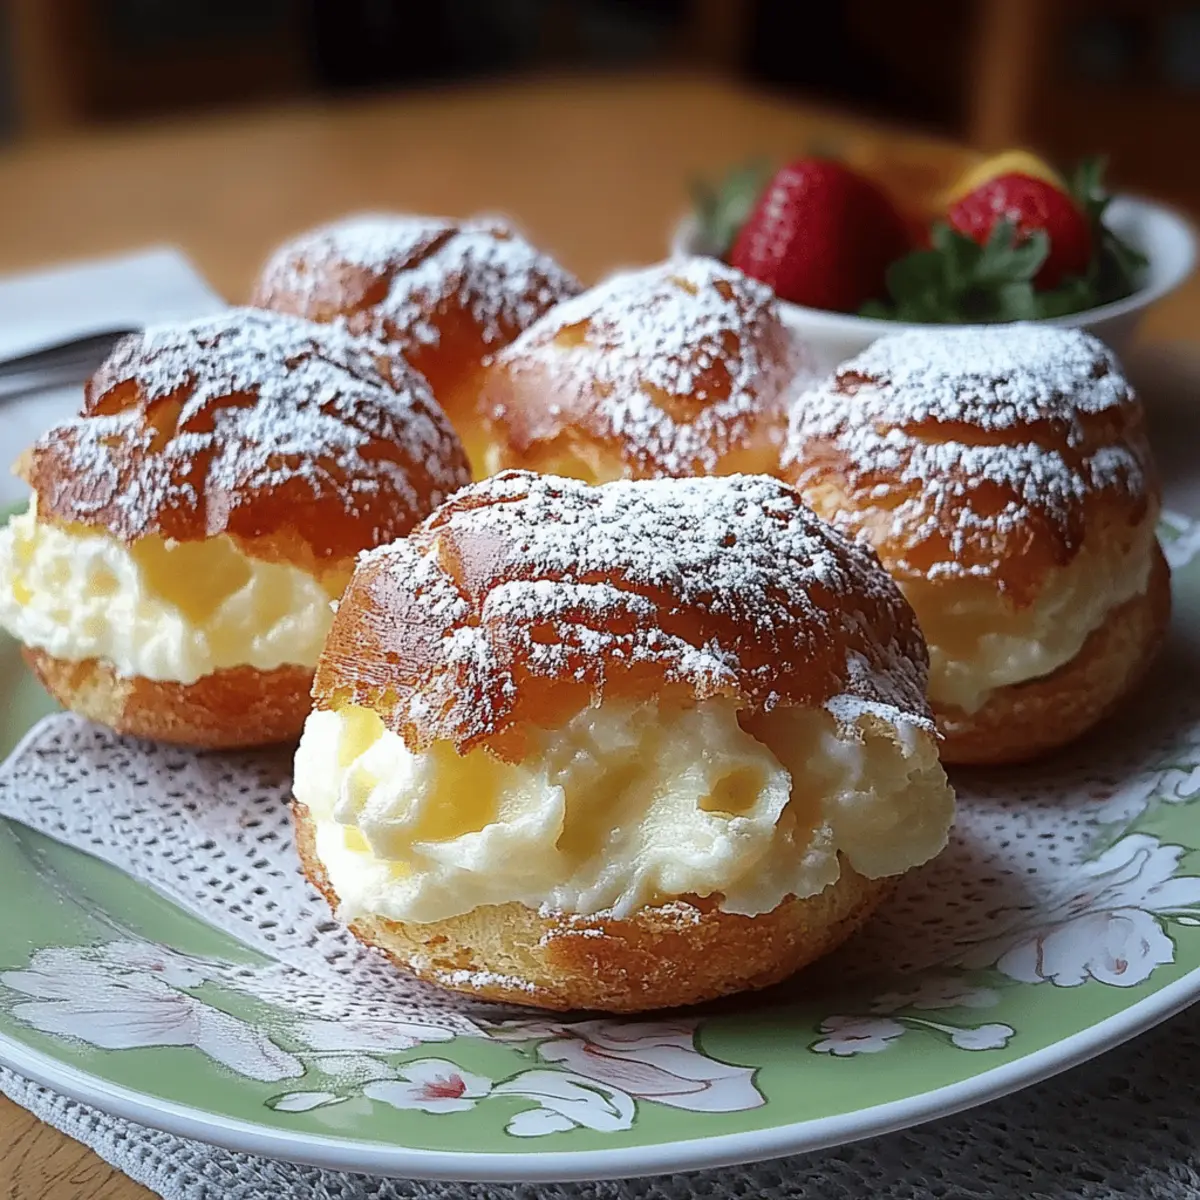
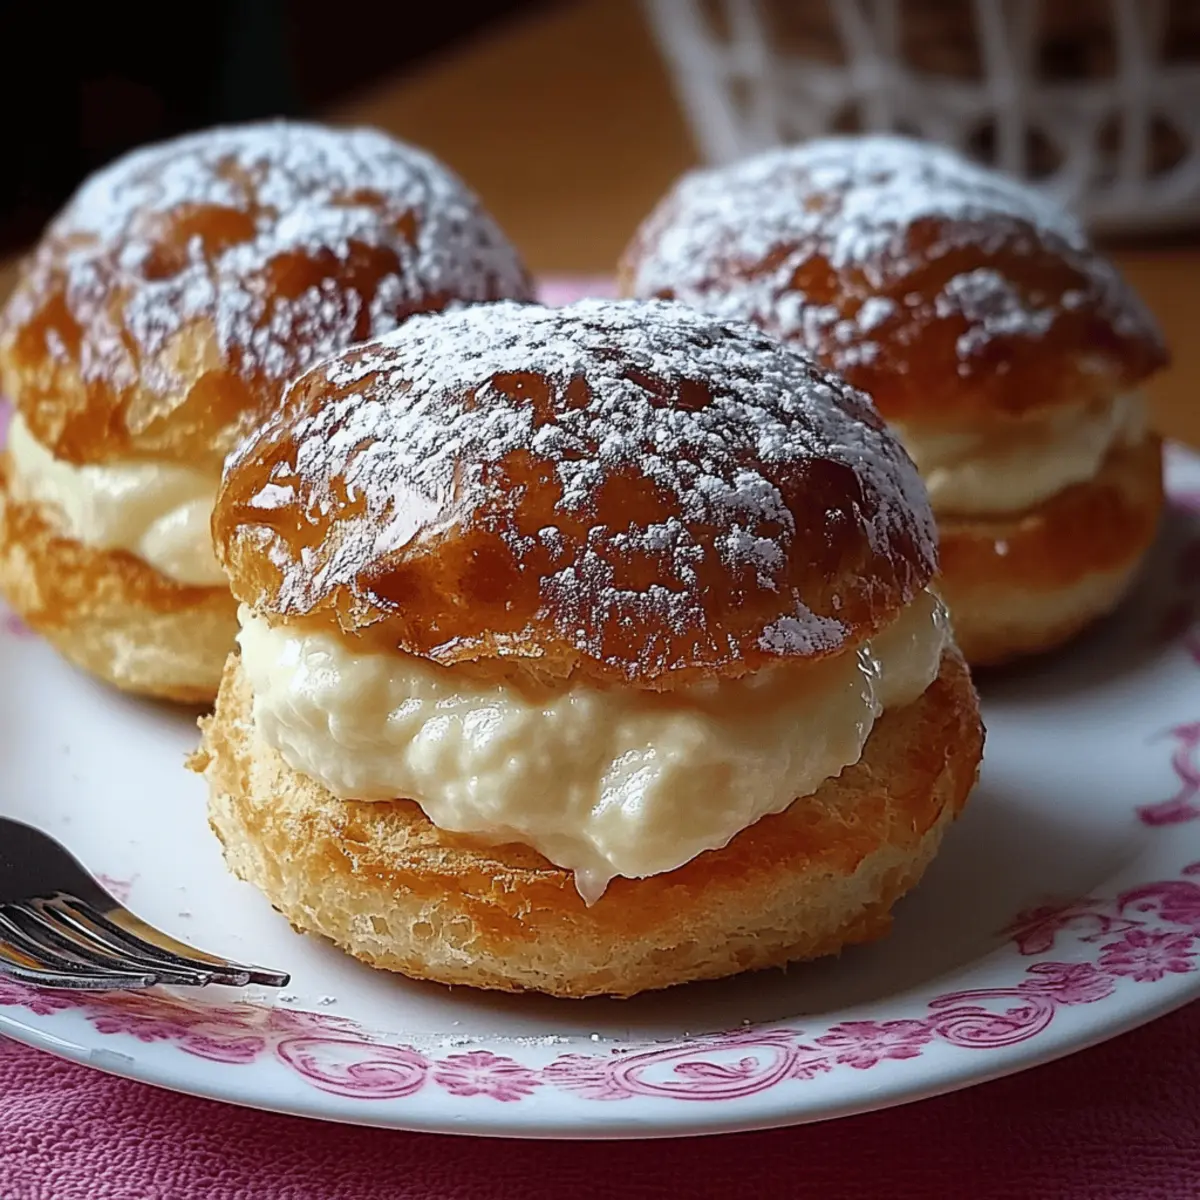
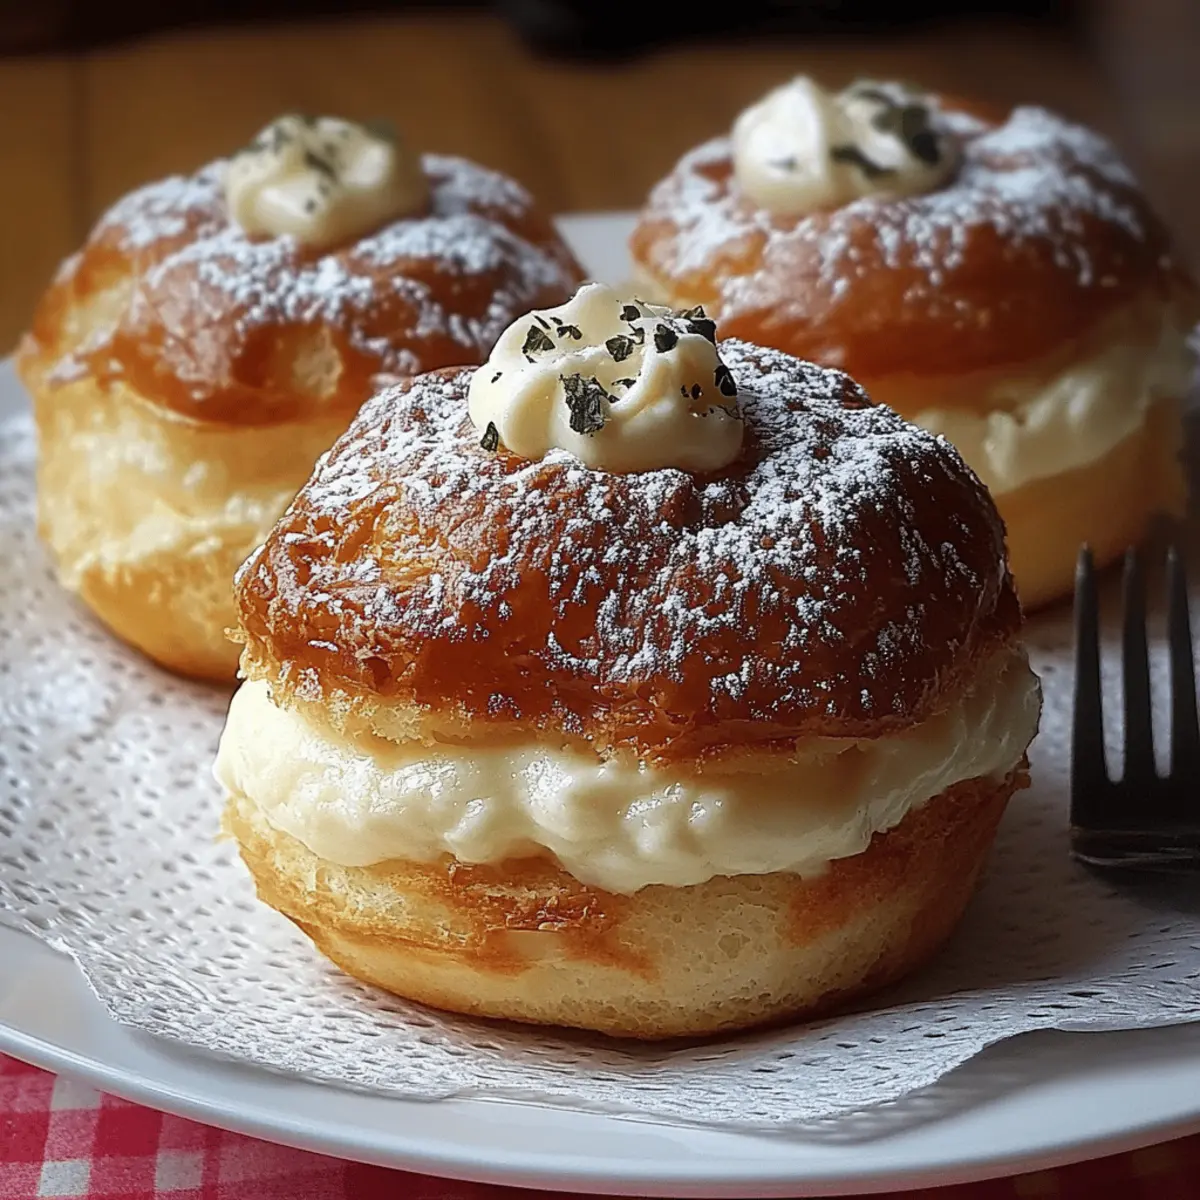
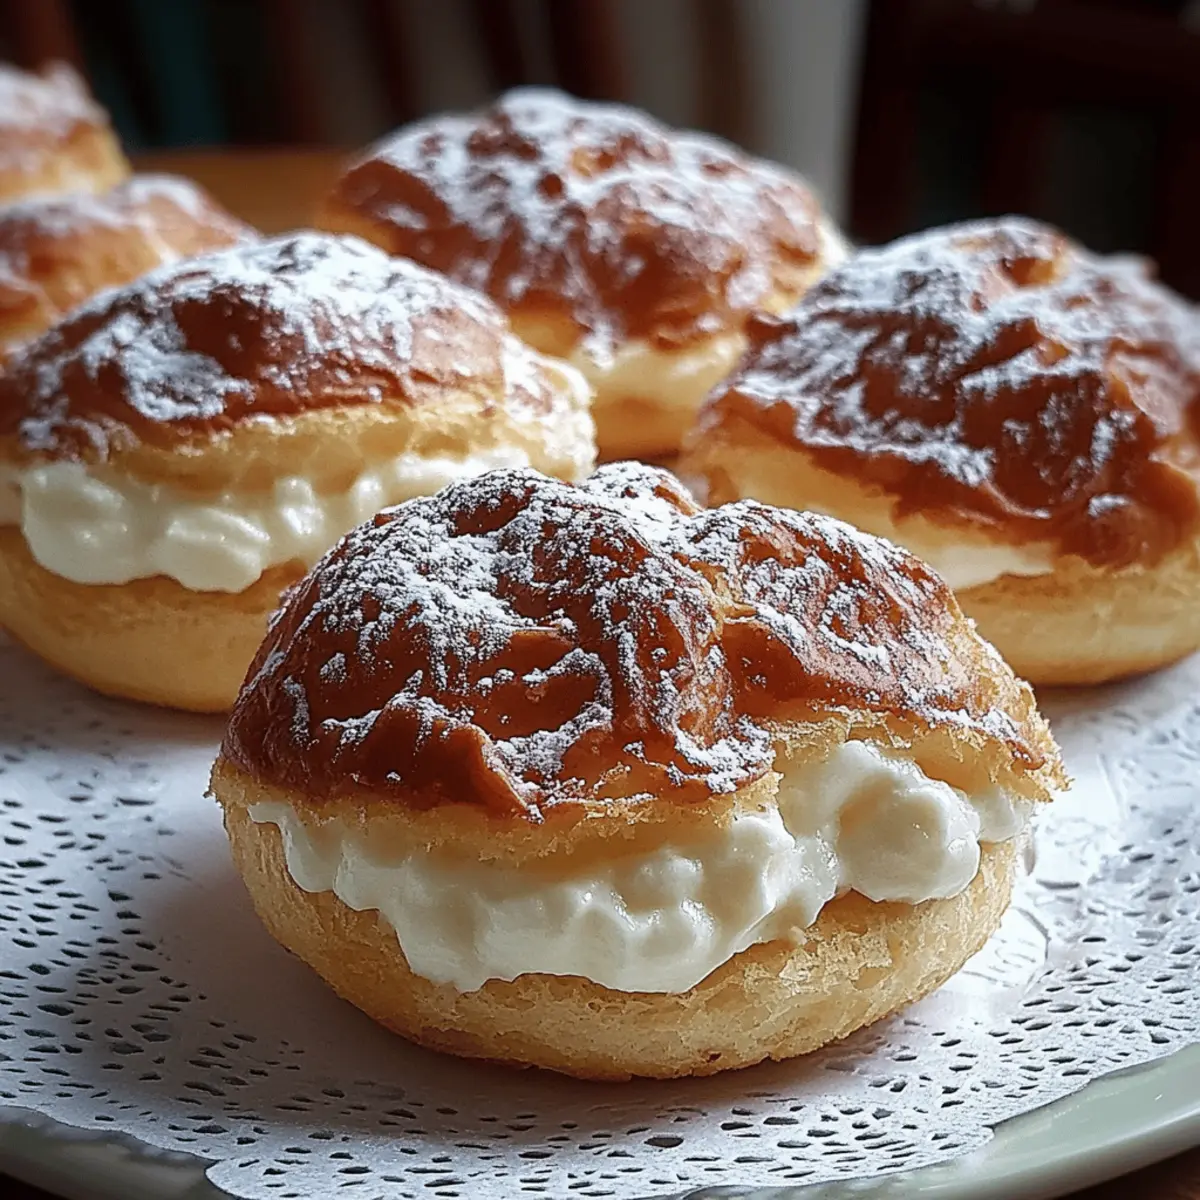
Carefully slice each cooled cream puff in half. Use a spoon or a piping bag to fill each half with the whipped cream mixture, ensuring a generous and delightful filling. Once assembled, your cream puffs are ready to be served, showcasing their wonderfully flaky pastry and delicious creamy center.
Make Ahead Options
These Cream Puffs are perfect for busy home cooks looking to save time without compromising on quality! You can prepare the pastry dough up to 24 hours in advance; just refrigerate it in an airtight container. When ready to bake, simply bring the dough to room temperature before shaping and baking for that delightful puff. The whipped cream filling can also be made ahead; store it in the refrigerator for up to 3 days in a covered bowl to ensure it stays fresh. When it's time to serve, fill the cooled cream puffs with the whipped cream mixture for a delectable dessert that feels instantly special, allowing you more time to enjoy with family and friends!
Cream Puffs Variations & Substitutions
Get ready to transform your cream puffs into something truly special with these delightful adaptations!
- Dairy-Free: Substitute unsalted butter with coconut oil and use coconut cream for the filling to create a rich, dairy-free option.
- Gluten-Free: Replace all-purpose flour with a gluten-free flour blend; just ensure it's a 1:1 substitute for best results.
- Chocolate Lovers: Fold in cocoa powder to the pastry dough or pipe chocolate ganache into the puffs for an indulgent twist.
- Fruit-Filled: Instead of whipped cream, fill your puffs with lemon curd or strawberry jam for a fresh, fruity flavor explosion.
- Savory Spin: Swap the sugar with herbs and cheese to make a delightful savory cream puff, perfect for an appetizer.
- Spiced Up: Add a pinch of cinnamon or nutmeg to the whipped cream filling for a warm, comforting flavor profile that’s perfect for cozy gatherings.
- Mini Puffs: Make bite-sized versions by using a teaspoon of dough instead of tablespoons; these mini puffs are perfect for parties!
- Caffeine Kick: Add espresso powder to your whipped cream for a delightful coffee-infused filling that will wake up your taste buds!
With these variations, you can cater to different tastes and preferences, ensuring everyone can enjoy their own delightful version of these classic cream puffs.
Expert Tips for Cream Puffs
Texture Check: Ensure the dough is smooth and glossy before baking. Lumps can lead to dense cream puffs instead of airy delights.
Cooling Time: Don’t skip the cooling step after cooking the dough—this is crucial to prevent the eggs from cooking and ruining the texture.
** Oven Door:** Avoid opening the oven in the first 15 minutes of baking. This maintains steam and helps your cream puffs rise beautifully.
Uniform Size: Make sure your dough mounds are uniform in size for even baking. Use a cookie scoop for consistent portions.
Whipped Cream Technique: When whipping the cream, ensure it's cold for better volume; soft peaks yield a light filling that complements the cream puffs perfectly.
How to Store and Freeze Cream Puffs
Room Temperature: Keep unfilled cream puffs at room temperature for up to 2 days in an airtight container to maintain their crispy texture.
Fridge: Store filled cream puffs in the fridge for up to 3 days. Use a covered container to prevent them from drying out; they’re best enjoyed fresh!
Freezer: For longer storage, freeze unfilled cream puffs for up to 2 months. Wrap each puff in plastic wrap and then place in a freezer bag to prevent freezer burn.
Reheating: To refresh frozen cream puffs, thaw at room temperature for about 30 minutes, then bake at 350°F (175°C) for 5-7 minutes to regain their crispiness before filling.
What to Serve with Cream Puffs
Cream puffs are not just a treat on their own—they can inspire an entire meal or an elegant dessert spread.
-
Fresh Berries: A medley of strawberries, blueberries, and raspberries adds a pop of color and fruity freshness, balancing the creaminess. These vibrant berries can brighten up your plate while providing a tangy contrast to the sweet filling.
-
Chocolate Sauce: Drizzling rich chocolate sauce over cream puffs adds a decadent touch, enhancing their luxuriousness while appealing to chocolate lovers. The warm sauce melts into the airy pastry, creating a delightful partnership of flavors.
-
Vanilla Ice Cream: Pairing your cream puffs with a scoop of creamy vanilla ice cream introduces a cool, silky element that complements the warm pastry beautifully. The combination of textures is simply irresistible, inviting each spoonful to be savored.
-
Espresso or Coffee: Serving cream puffs alongside a rich cup of espresso or your favorite coffee elevates the dessert experience. The bitterness of the coffee balances the sweetness perfectly, providing a comforting after-dinner indulgence.
-
Lemon Sorbet: A light and refreshing lemon sorbet is a fantastic palate cleanser when served with cream puffs. Its bright acidity cuts through the creaminess, offering a delightful contrast and a burst of flavor in each bite.
-
Whipped Cream Topping: For a classic twist, serve your cream puffs with an extra dollop of spiced whipped cream, perhaps flavored with a hint of cinnamon or hazelnut. This adds a new layer of flavor while maintaining that creamy delight.
By pairing these complementary dishes, you can create a delightful spread that highlights the elegance of your cream puffs while tantalizing everyone's taste buds!
Cream Puffs Recipe FAQs
How do I choose the right butter for cream puffs?
Absolutely! For cream puffs, I recommend using high-quality unsalted butter. This way, you can control the salt content in your dough and enhance the flavor of your pastries without any overpowering saltiness.
How should I store cream puffs?
For unfilled cream puffs, keep them in an airtight container at room temperature for 1 to 2 days to maintain their crispy texture. If they’re filled with whipped cream, store them in the refrigerator in a covered container, but do enjoy them within 3 days for optimal taste!
Can I freeze cream puffs, and if so, how?
Yes, you can freeze them! To freeze unfilled cream puffs, wrap each one individually in plastic wrap to prevent freezer burn, then place them in a freezer-safe bag for up to 2 months. When you’re ready to enjoy them, thaw at room temperature for 30 minutes, then bake at 350°F (175°C) for about 5-7 minutes to bring back their crispy texture before filling.
What should I do if my cream puffs don’t rise?
Very! If your cream puffs don’t rise, it could be due to a few common issues. Ensure that you’re cooking the dough long enough before adding the eggs—this step allows for proper moisture evaporation. Also, avoid opening the oven door during the first 15 minutes. This helps keep steam inside, which is essential for rising. Lastly, make sure your ingredients are fresh, as old eggs or flour can affect the dough.
Are cream puffs suitable for those with allergies?
While cream puffs are delicious, they do contain common allergens like eggs, dairy, and gluten. If cooking for someone with allergies, consider alternatives like gluten-free flour or plant-based creams. Just keep in mind that substituting ingredients can change the texture and flavor slightly, so experimentation may be key!
What kind of fillings can I use for cream puffs?
The more the merrier! While classic whipped cream is a favorite, you can fill cream puffs with a variety of delicious options like chocolate mousse, pastry cream, or even fruit compote for a fresh twist. Just ensure that your filling complements the airy pastry for that perfect balance of texture and flavor.
Decadent Cream Puffs That Will Melt Your Heart
Ingredients
Equipment
Method
- Preheat your oven to 400°F (200°C). Prepare a baking sheet lined with parchment paper.
- In a medium saucepan, combine 1 cup of water and ½ cup of unsalted butter. Bring to a rolling boil.
- Stir in 1 cup of all-purpose flour and ¼ teaspoon of salt. Stir until it forms a cohesive ball.
- Remove from heat and let cool for 5 minutes.
- Add 4 large eggs one at a time, beating well after each addition until smooth.
- Stir in 1 tablespoon of sugar until fully combined.
- Drop rounded tablespoons of dough onto the prepared baking sheet.
- Bake for 20-25 minutes until golden brown and hollow when tapped.
- Cool completely on a wire rack for about 30 minutes.
- Whip 1 cup of heavy cream until soft peaks form. Gradually add ½ cup of powdered sugar and 1 teaspoon of vanilla extract.
- Slice cooled cream puffs in half and fill with whipped cream mixture.


Leave a Reply